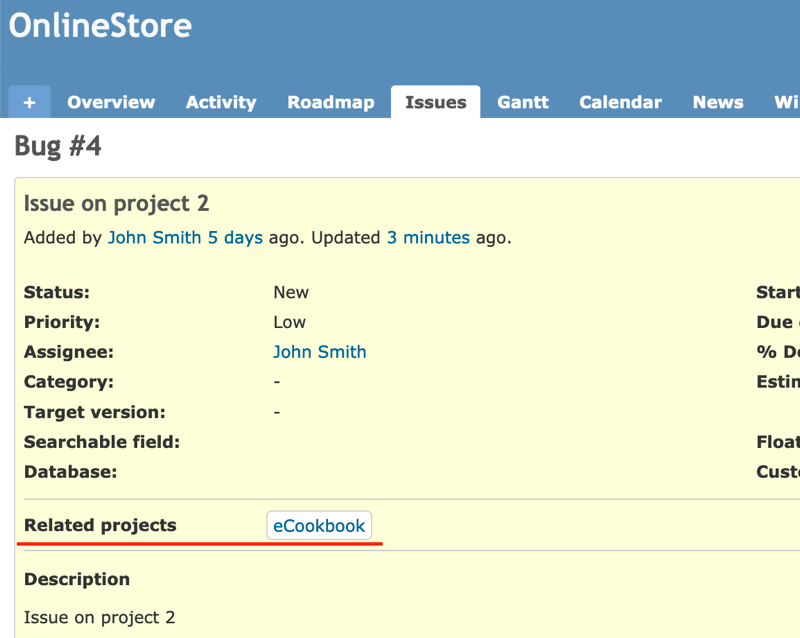
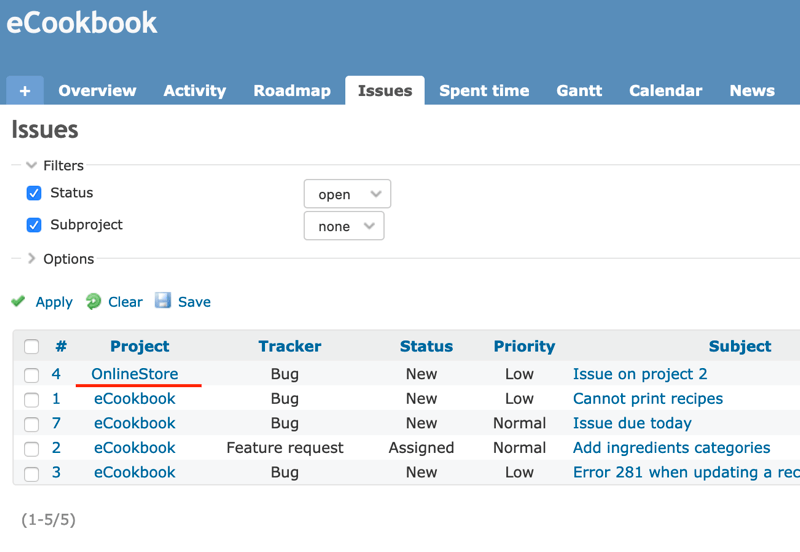
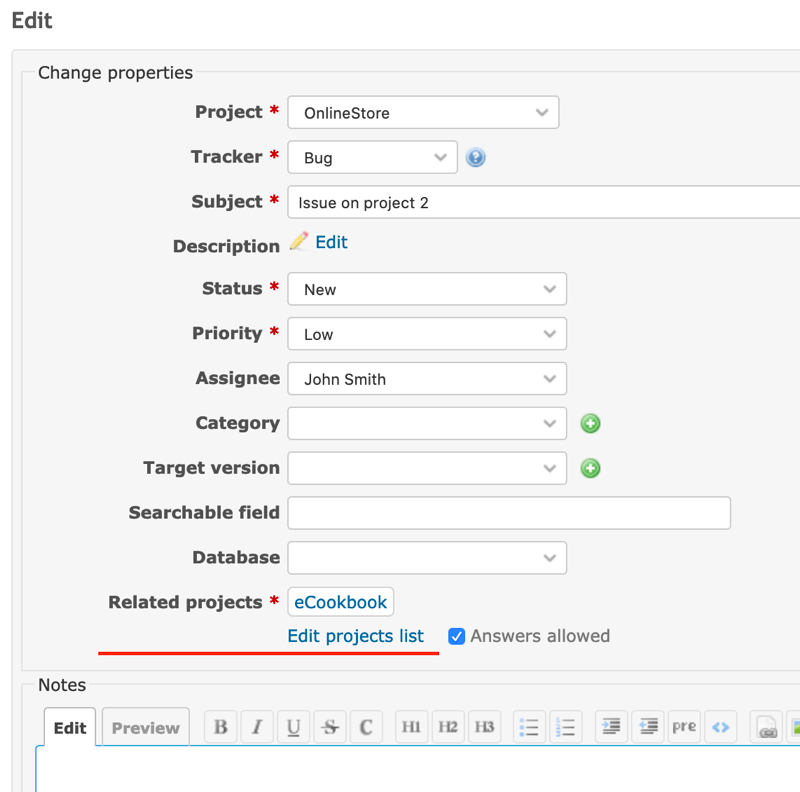
This redmine plugin allows you to specify more than one project per issue.
Cross-projects issues appear in all related projects. They can be viewed by every users who have enough permission on at least one related project, but can be updated only by users who have enough permissions on the main project (the project used to create the issue).
Do not forget to add the "View multi-projects issues" permission to authorized roles.
This plugin has been tested with Redmine 2.3.0+.
Compatibility with older Redmine versions:
- for Redmine versions up to 3.2.x, release v0.2 must be used.
- for Redmine version 3.3 & 3.4, please use this release v3.4.6
- for Redmine version 4.0 & 4.1, use this release v4.1.2
- for Redmine version 4.2.x, use this release v4.2.7
With Redmine 5.0+, use the current master branch. See below for specific instructions.
Please apply general instructions for plugins here.
Note that this plugin depends on:
These plugins must be installed first.
Then, download the source or clone the plugin and put it in the "plugins/" directory of your redmine instance. Note that this is crucial that the directory is named 'redmine_multiprojects_issue'!
Then execute:
$ bundle install
$ rake redmine:plugins
And finally restart your Redmine instance.
| Plugin branch | Redmine Version | Test Status |
|---|---|---|
| master | 5.1.5 | |
| master | 6.0.2 | |
| master | master |
- Fork it
- Create your feature branch (
git checkout -b my-new-feature) - Commit your changes (
git commit -am 'Add some feature') - Push to the branch (
git push origin my-new-feature) - Create new Pull Request


