iOS installation using Xcode
This is the recommended method for the advanced users that want to have access to more xDrip features.
Table of contents:
- To install any iOS application on a non-jailbroken iPhone or iPad, you would need your own development account.
- There are two types of accounts - paid and free. Certificates for a free account last for only 7 days, while for a paid account last for 1 year that cost $100 per year.
- To avoid xDrip from stopping working, make sure to renew the certificate before it expires.
- Always use the same Apple developer account, otherwise you won't be able to update the application.
- Read this guide till the end, because it contains important information.
- Any macOS device is required to install and re-sign xDrip. If you don't own a Mac you can install a virtual environment. A virtual Mac environment can be installed under Windows and Linux effectively making this method work on all operating systems.
- xDrip needs to be re-signed before it expires. This can be done in about 1 minute by connecting your device to your PC using a USB cable and re-signing/re-installing xDrip.
- Xcode
- xDrip repository that you can download here by selecting Source Code option.
First of all, you need to add your developer account to Xcode Account. You need to go to Preferences -> Accounts and press plus (+) button at the bottom left corner.


Then select Apple ID.

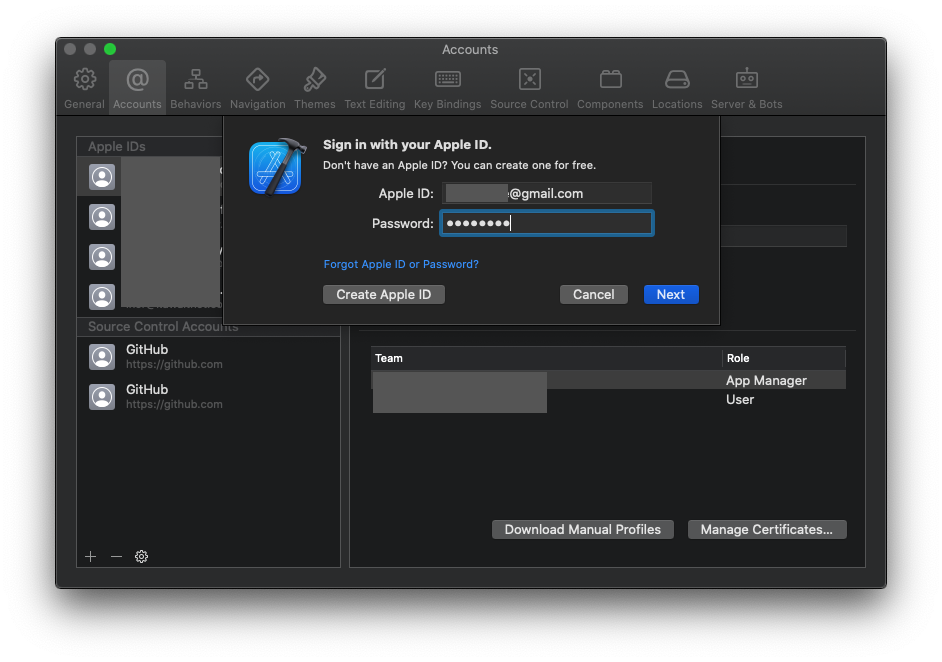
After that input your developer account credentials.
In case if you don't have one yet, you can press Create Apple ID button and it will redirect you to the apple.com sign up web page.
After you've logged in you will see your account in the left column here.

Now you can go to the workspace.
You need to download xDrip project repository to your computer. You can find the link in the requirements section. You can save it anywhere on your Mac. We will use the Downloads folder as an example in this guide.
Looking at your Downloads folder you should now have a zip file with xDrip-XXX, where XXX is a version number, or a folder. If you used Safari to download xDrip project, you should have a folder as Safari automatically extracts downloaded zip files. If you used any other browser you’ll have to extract the zip file manually. Let’s assume you have a zip file. You can easily extract the zip file by double clicking it.
In the folder you need to open a xDrip.xcodeproj file.

System may ask you if you want to open this project. Read the description of the alert and if you trust to the source of the project press Trust and Open or if you don't - press Cancel and then you can choose another installing option (in this case you can leave this guide).

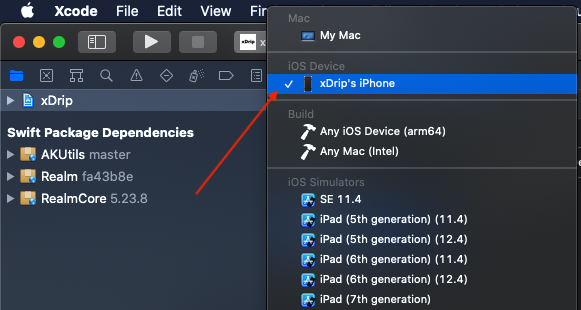
Now, when you open the project and have already set up your Apple ID in Xcode, the first thing you want to do is connect your device to your computer via USB. Now select your device in Xcode. This will allow Xcode to associate your device(s) to your Apple Account so you’re able to run xDrip on it (them). If at any point Xcode asks you if you want to add the device(s) to your account just say yes. Leave your device(s) selected in Xcode during the remaining of the guide.

Now make sure you select xDrip from the Project Navigator (1), the Project and Targets List view is activated (2) and the xDrip target is selected (3) and Signing & Capabilities tab selected (4).

Change the “com.faifly” part of the bundle identifier to something else (1). Change ONLY the “com.faifly” and leave the rest intact “.xDrip”. Normally a reverse domain is used. You can change the “com.faifly” part to net.XXXX, org.XXXX, com.XXXX, where XXXX is whatever you want. Change it to whatever you want as long as it’s unique and not used by anyone else. Let’s assume you chose org.imnotwaiting then the complete bundle id should be org.imnotwaiting.xDrip
After you’ve changed the bundle id select your account under the Team section (2).
If anything goes wrong look at the status section (3). A suggestion or button will appear that you can use to fix any issues.

And that all. Now you can build and run xDrip app on your iOS or MacOS device. Just click play button in top left corner.
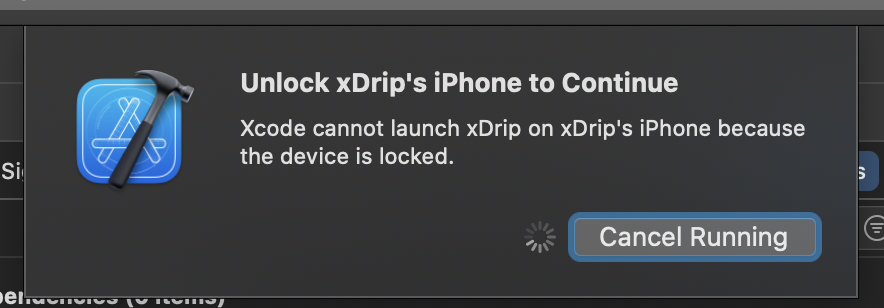
After Xcode complete building app it will ask you to unlock your device, if it has a password on lock.
Then you can see image like this.
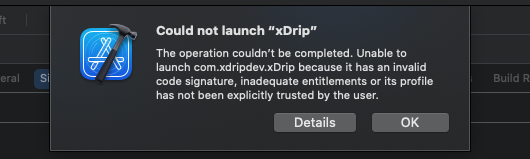
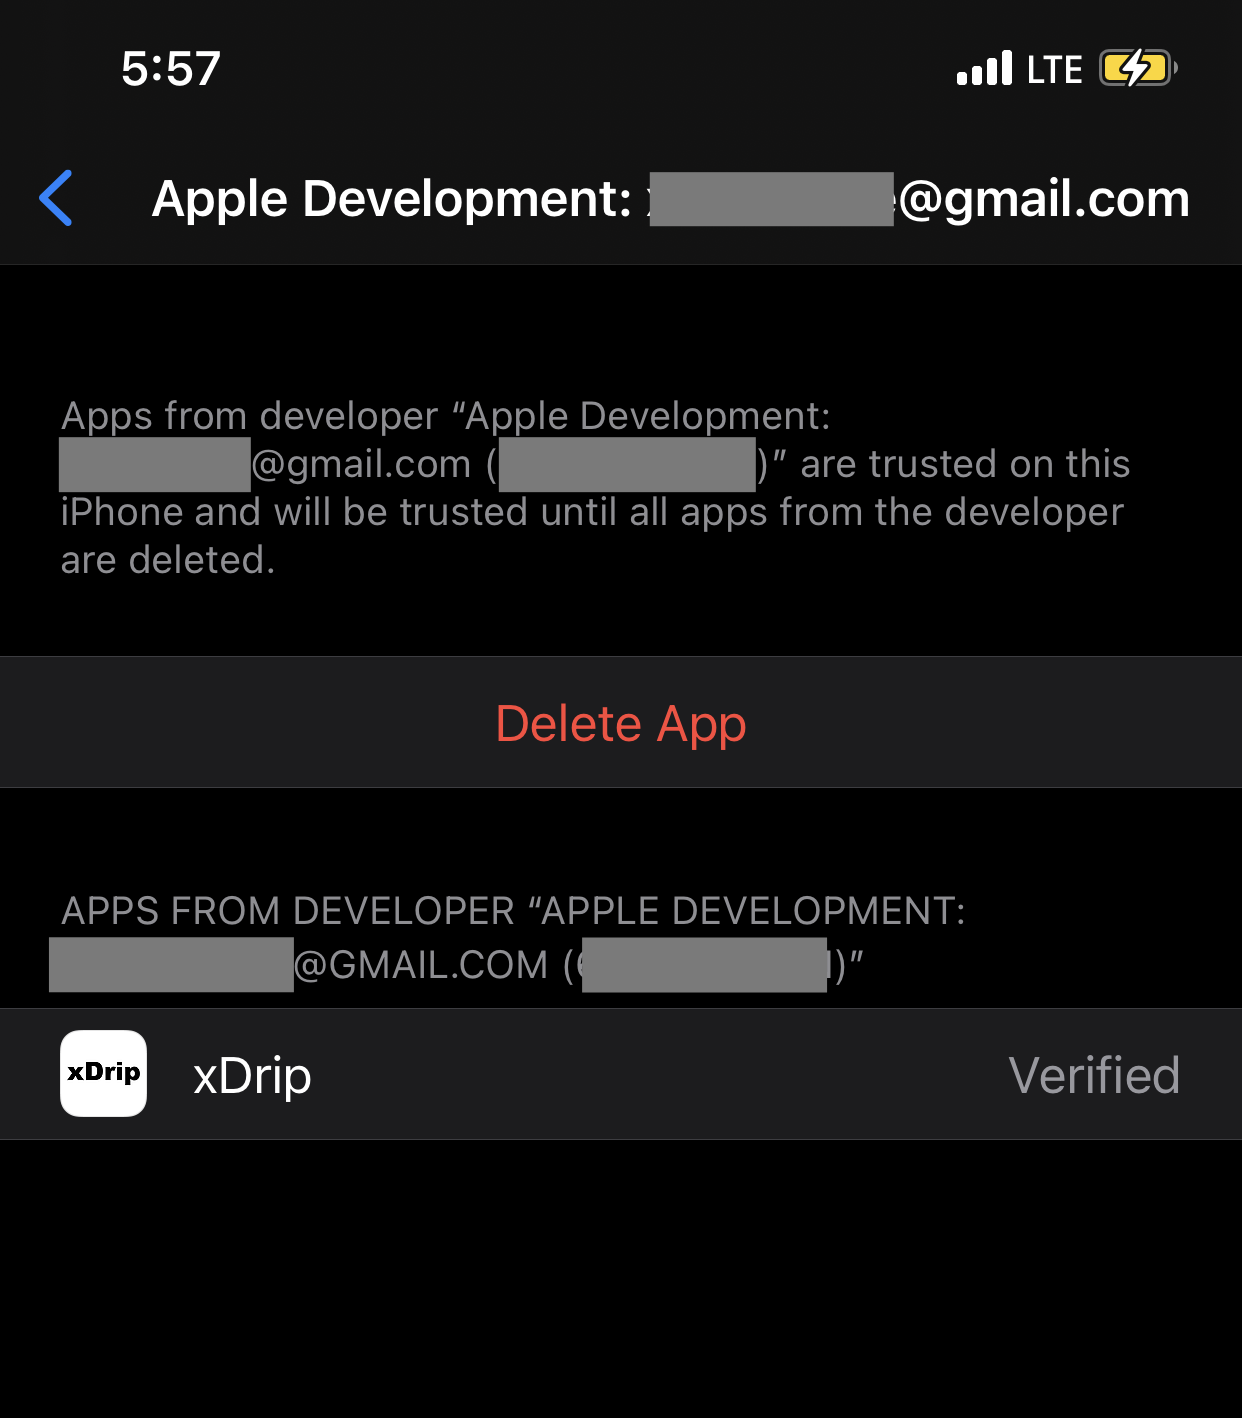
If you see this, you need to go to device Settings -> General -> Device Management. And then few more steps, just follow the screenshots.

Select Apple Development: ... option.

Select Trust ... button.

Select Trust.

That's the end.
Congratulations, now you can run app on your device.