Continuous integration with InstaCoverage
Continuous integration (CI) is a wide-spread automation approach for efficient SW engineering. In this document we focus on unit testing, an important task in the SW development process, and explain how to integrate Jenkins (a mainstream CI server), InstaCoverage (a new unit testing tool for LabVIEW) and Github (a mainstream source-code management system).
InstaCoverage is a flexible unit testing tools for the LabVIEW programming language. InstaCoverage is the only tool available for LabVIEW NXG, the next generation of the LabVIEW environment. For the current generation of LabVIEW, InstaCoverage is the only tool that supports code coverage measurement and can be fast on big projects at the same time.
Jenkins is a self-contained, open-source automation server which can be used to automate all sorts of tasks related to building, testing, and delivering or deploying software.
Jenkins can be installed through native system packages, Docker, or even run standalone by any machine with a Java Runtime Environment (JRE) installed. In this document we are focusing the standalone solution in Windows, for other solutions visit this website.
Clone this repository.
This repository contains two LabVIEW projects. One of them is instacoverage-ci-demo.lvproj
which represents the project under unit test. The unit tests are already included in the project. The other project is Unit test runner.lvproj which contains auxiliary VIs to execute unit tests via Jenkins.
Note: you can reuse the latter project by copying the Unit Test runner folder next your project.
Another asset you’ll need is a Jenkinsfile, which is located in the root of the example project.
Note: you can reuse this file as well by making the following changes to it: set the
PROJECT_UNDER_TEST parameter’s default value to the path of your *.lvproj file (if it is in some subfolder you should use double backslash, e.g. "some\\folder\\projectName.lvproj"). Another parameter you may need to change is LV2018_PATH with the path to your LabVIEW installation.
Install Java runtime (if not already installed)
|
Important
|
Jenkins requires Java Runtime Environment (JRI). We used version 8u221 for our setup. Don’t forget to add the java.exe command to your environment variables (e.g., C:\Program Files (x86)\Java\jre1.8.0_221\bin).
|
Install Jenkins
Download Jenkins here and install.
|
Important
|
The default folder for the installation is C:\Program Files (x86)\Jenkins, but
we recommend not to use that because the C:\Program Files (x86) folder uses stricter rights for
writing files, which can free you from a lot of headache.
|
Define a new environment variable JENKINS_HOME for the Jenkins installation folder as it is shown in the following example.

Start the Jenkins service
|
Note
|
Jenkins normally starts using port 8080. However, if you have other services starting up you might find that this port is already taken. |
In this document we will use port 9090:
-
Open a command prompt as Administrator
-
CD into your Jenkins folder (e.g.
C:\Jenkins) -
Start Jenkins with next command:
java -jar jenkins.war --httpPort=9090 -
Load Jenkins from your browser at
http://localhost:9090. -
Set credentials.
|
Note
|
You might not need new personal credentials. For preparing this tutorial we used the admin user.
|
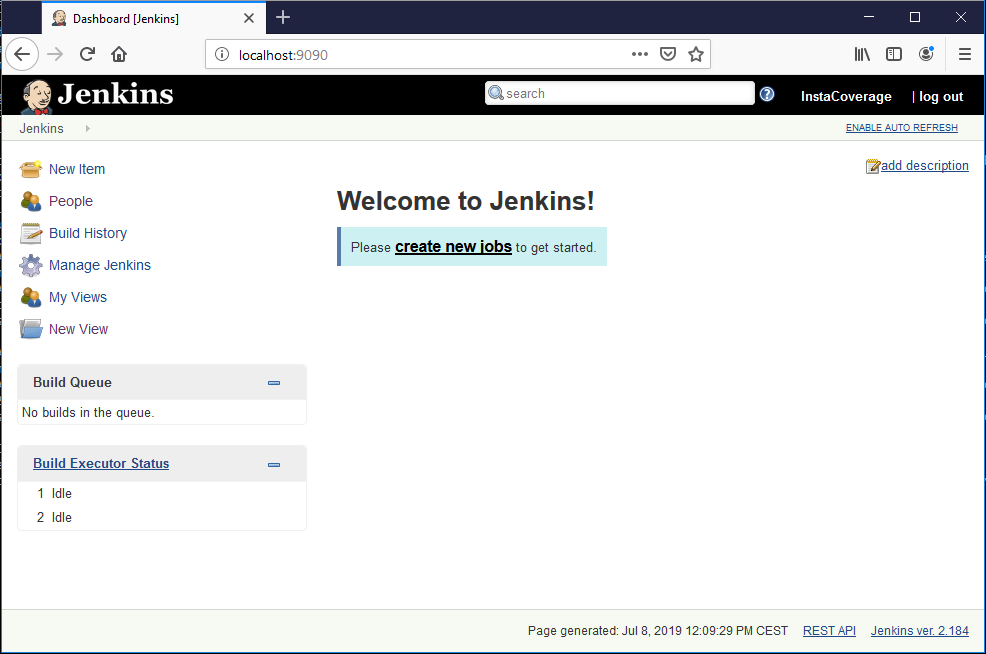
Log in now and you should see something like this:
In this example we use the following 4 plugins listed below.
-
GitHub Integration Plugin
-
GitHub Authentication plugin
-
Pipeline: GitHub
You can install them via the main menu: Jenkins > Manage Jenkins > Manage Plugins. Restart Jenkins by stopping stopping and starting the above command again.
If necessary, set your credentials so that Jenkins can talk to GitHub. In this tutorial we use a public GitHub repository and so no authentication is needed.
At this point Jenkins is ready to get GitHub repository to build that and run tests.
-
Adding New Item
-
Select
New Item -
First step:
-
Enter name to the project (e.g., InstaCoverage CI example)
-
Select
MultiBranch Pipeline -
Click
Ok.
-
-
Second step:
-
At
Branch Sourcesselect GitHub -
At
Repository HTTPS URLand GitHub repository clone link (we used this public URL in this tutorial)-
You can hit
Validateto see if the URL is fine -
Credentials: none
-
-
Build Configuration
-
Mode: by Jenkinsfile -
Script Path: path of the Jenkins file relative to the root of the repository, in our case:LabVIEW projects/Continuous Integration with InstaCoverage example/Jenkinsfile
-
-
Hit
Save
-
-
This will launch a longer process on a page called Scan Repository Log. Sit back and relax. After the process ends, expect a message like this: Finished: SUCCESS.