Note: This repo is currently still underdevelopment. Please feel free to contribute via pull requests.
- Management Services
- Deploy Commands
- Logging into your Services
- OpenLDAP
- Guacamole
- XenOrchestra
- Webmin for DNS, DHCP, and DDNS
- Simple WebServers A/B
- WebGoat
- TFTP Server
- Customize Service Parameters
- Troubleshooting
This project will deploy the following services:
- Openldap on X.X.X.22
- Corresponding php based openldap web ui on X.X.X.23
- Webmin with only DHCP and DNS installed on X.X.X.24
- Guacamole on X.X.X.25
- XenOrchestra on X.X.X.26
- Simple webserver A on X.X.X.28
- Simple webserver B on X.X.X.29
- WebGoat on X.X.X.31
- Simple HTTP File Server on X.X.X.
- TFTP iPXE Server on X.X.X.
Note: Each service has its own IP in the designated subnet defined in the
/mgmt_env.shfile.
Note: Persistence for each service is built in by default to stored app data locally on host at :
/mgmt_data
Please extract data.zip and go through the /data directory to see the bare minimum data required for each service for the stack to successfully provision services. Here is an overview:
cloud-drive: Holds any file that can be accessed and downloaded at http:/. A sample cloud-init config is provided if you want to use with the TFTP server to network boot RancherOS for an ondemand Container OS.dhcpdns: Sample bind9 config is provided with no master zone other than defaults. Sampledhcpd.congfis provided indhcpd.conf. This file MUST be updated to your networks configuration otherwise the container will not start properly. Update subnet and client options according to your environment.guac: Empty directory that will be populated after guacamole is launched for the first time.ldap: Empty directories that will be populated after LDAP and LDAP-UI are launched for the first time.tftp: Directory where you can place file to be booted and pulled from the network. A sample file is provided that you can set in DHCP client option to boot RancherOS over the network. Note: update the cloud-init file reference with your cloud-drive service's IP.xo: Empty directory that will be populated after XenOrchestra is launched for the first time.
On a clean install of Ubuntu do the following 3 steps:
Step 1: Enter the following commands:
git clone https://github.com/Citrix-TechSpecialist/management-stack.git
Step 2: Open up the mgmt-env.sh file within the management-stack directory and personalize the variables at the top of the file with any text editor like nano or vi. Make sure you point your $DATA variable to the exact path of the /data directory found in this repository to get started.
Step 3: Finally, once customized, run the following command:
sudo ./management-stack/init-stack.sh
Note: these scripts will:
- Update and upgrade your host.
- Install docker with experimental features enabled if not already installed.
- Deploy above services using docker-compose.
In this section I will outline how to logon to each service deployed by this project. Most of these service has a Web based UI that you can use to manage.
Need LDAP but want to ditch Windows AD? Simple external LDAP auth can be leveraged using this container and management of users, security groups, and even computer objects can be done directy though a web console.
To access OpenLDAP web UI, navigate to
https://X.X.X.23
Logon using:
Login DN: cn=admin,dc=full,dc=domain
- For example if your
$DOMAINvariable wascitrix.labyou would type incc=admin,dc=citrix,dc=lab - By default, the value to logon is
cn=admin,dc=citrix,dc=lab
Password: Value of $PASSWORD variable in mgmt-env.sh
- Default value is
Password01
Remember to create a POSIX group before adding users to ensure GID is available to add users to. Read more here.
Webmin is a web-based interface for system administration for Unix. Using any modern web browser, you can setup user accounts, Apache, DNS, file sharing and much more. Webmin removes the need to manually edit Unix configuration files like /etc/passwd, and lets you manage a system from the console or remotely. In this version of Webmin in Docker, we have only installed the DNS Bind and DHCP module for those two functionalities.
Please Note: Only DNS and DHCP modules have been installed. DNS configuration mangement console can be found in Servers > DNS from the side pane. The DHCP configuration management console can be found in Un-used Modules > DHCP Server from the side pane.
To access webmin console, navigate to
https://X.X.X.X.24:10000
Username: admin
Password: Password01
Password01 is a hard coded password that you can change once you log on for the first time.
Onced logged in, navigate to the DNS and DHCP configuration panes and configure your DNS and DHCP settings to get started.

Guacamole is a clientless remote desktop gateway. It supports standard protocols like VNC and RDP. We call it clientless because no plugins or client software are required. Thanks to HTML5, once Guacamole is installed on a server, all you need to access your desktops is a web browser.
To access Guacamole, navigate to
http://X.X.X.25:8080/guacamole/
Username: guacadmin
Password guacadmin

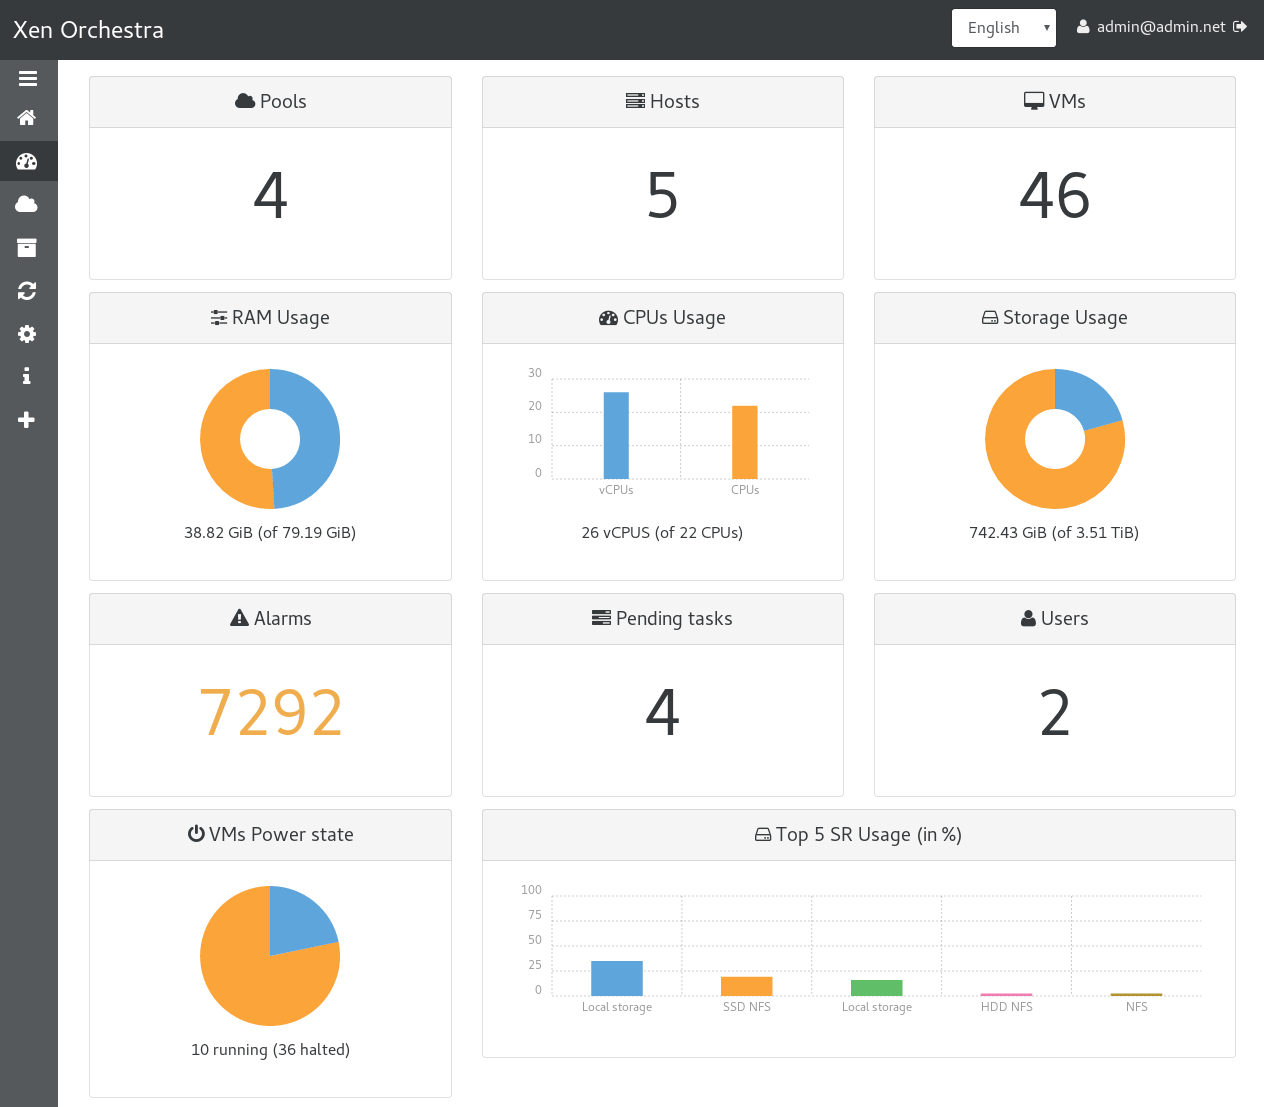
Xen Orchestra provides a web based UI for the management of XenServer installations without requiring any agent or extra software on your hosts nor VMs. The primary goal of XO is to provide a unified management panel for a complete XenServer infrastructure, regardless of pool size and quantity of pools. For those seeking a web based replacement for XenCenter, Xen Orchestra fully supports VM lifecycle operations such as VM creation, migration or console access directly from a browser. Xen Orchestra extends the capabilities of XenCenter to also provide delegated resource access, delta backup, continuous replication, performance graphs and visualizations.
To access XenOrchestra's web UI, navigate to
http://X.X.X.26:8000
Username: [email protected]
Password admin
These are simple static HTTP webpages running on port 80 that host some simple Citrix Networking advertisement. The site has only 4 local URLs including the homepage which can be access at :
WebServer A
Homepage: http://X.X.X.27/
URL1: http://X.X.X.27/url1
URL2: http://X.X.X.27/url2
URL3: http://X.X.X.27/url3
WebServer B
Homepage: http://X.X.X.29/
URL1: http://X.X.X.28/url1
URL2: http://X.X.X.28/url2
URL3: http://X.X.X.28/url3
Note: The footer of each site contains which server the site is hosted on (A or B) to show simple Load Balancing, GSLB, Content Switching, and/or URL Redirect Demos with NetScaler ADC.
WebGoat is a deliberately insecure web application maintained by OWASP designed to teach web application security lessons.
This program is a demonstration of common server-side application flaws. The exercises are intended to be used by people to learn about application security and penetration testing techniques.
WARNING 1: While running this program your machine will be extremely vulnerable to attack. You should disconnect from the Internet while using this program. WebGoat's default configuration binds to localhost to minimize the exposure.
WARNING 2: This program is for educational purposes only. If you attempt these techniques without authorization, you are very likely to get caught. If you are caught engaging in unauthorized hacking, most companies will fire you. Claiming that you were doing security research will not work as that is the first thing that all hackers claim.
To access WebGoat UI, navigate to
http://X.X.X.29:8080/WebGoat/login

This is a simple service that hosts files for accessible downloads via an HTTP server. One use case is to store your Cloud-Config files that can be pulled by PXE booting to configure RancherOS for example.
To access Cloud Drive, navigate to
http://X.X.X.30
This is a simple TFTP service that one can use as a client option in DHCP for network booting capability.
To leverage TFTP, use the following IP
http://X.X.X.31
Have a look at the mgmt-env.sh file for environmental variables that you can configure to suite your lab's need. It is likley you will have to adjust the following variables from their default values for your usecase:
- PASS
- NET
- GATEWAY
Note: the
NETvariable only requires you to enter the first three octets of your network's CIDR (X.X.X). The last octet is added based on the service IP. For example if yourNETvariable is set to192.168.20then your XenOrchestra service will be hosted on192.168.20.6IP.
If anything breaks or a service stops working, you can always re-issue the sudo init-stack.sh command. All application data is stored with persistency locally on the host in the /mgmt_data direcotry by default -- as set in the mgmt-env.sh file.
The init-stack.sh command will tear down all containers defined in the docker-compose.yaml file, the associated networks, and re-pull all new images from dockerhub. The services will re-deploy and map to the locally saved persistence data so you can resume the service where you left off.