SoftinuxBase is a free, open source, and cross-platform framework with built-in security access support and management for creating modular and extendable ASP.NET Core Core web applications.
It is built using ExtCore framework and the most modern tools and languages. Join our team!
- It's free and open source.
- It runs on Windows, MacOS and Linux.
- It's completely modular and extendable. Using the features of the underlying ExtCore framework you can easily create your own extensions to extend its functionality.
- Project overview
- License
- Getting started
- Browsers Support
- Using Visual Studio Code For Developing
SoftinuxBase is a framework that looks like a .NET Core web application, but is intended to host mini web applications called extensions. Every extension will plug its content (pages, menu items) as well as security and authentication related items (permissions, roles, links...).
SoftinuxBase manages the common stuff so that the developer can focus on its extension and business logic, just having to provide what we call metadata to know how to display and authorize access to content, and use our version of Authorize attribute.
Read documentation to learn more about this.
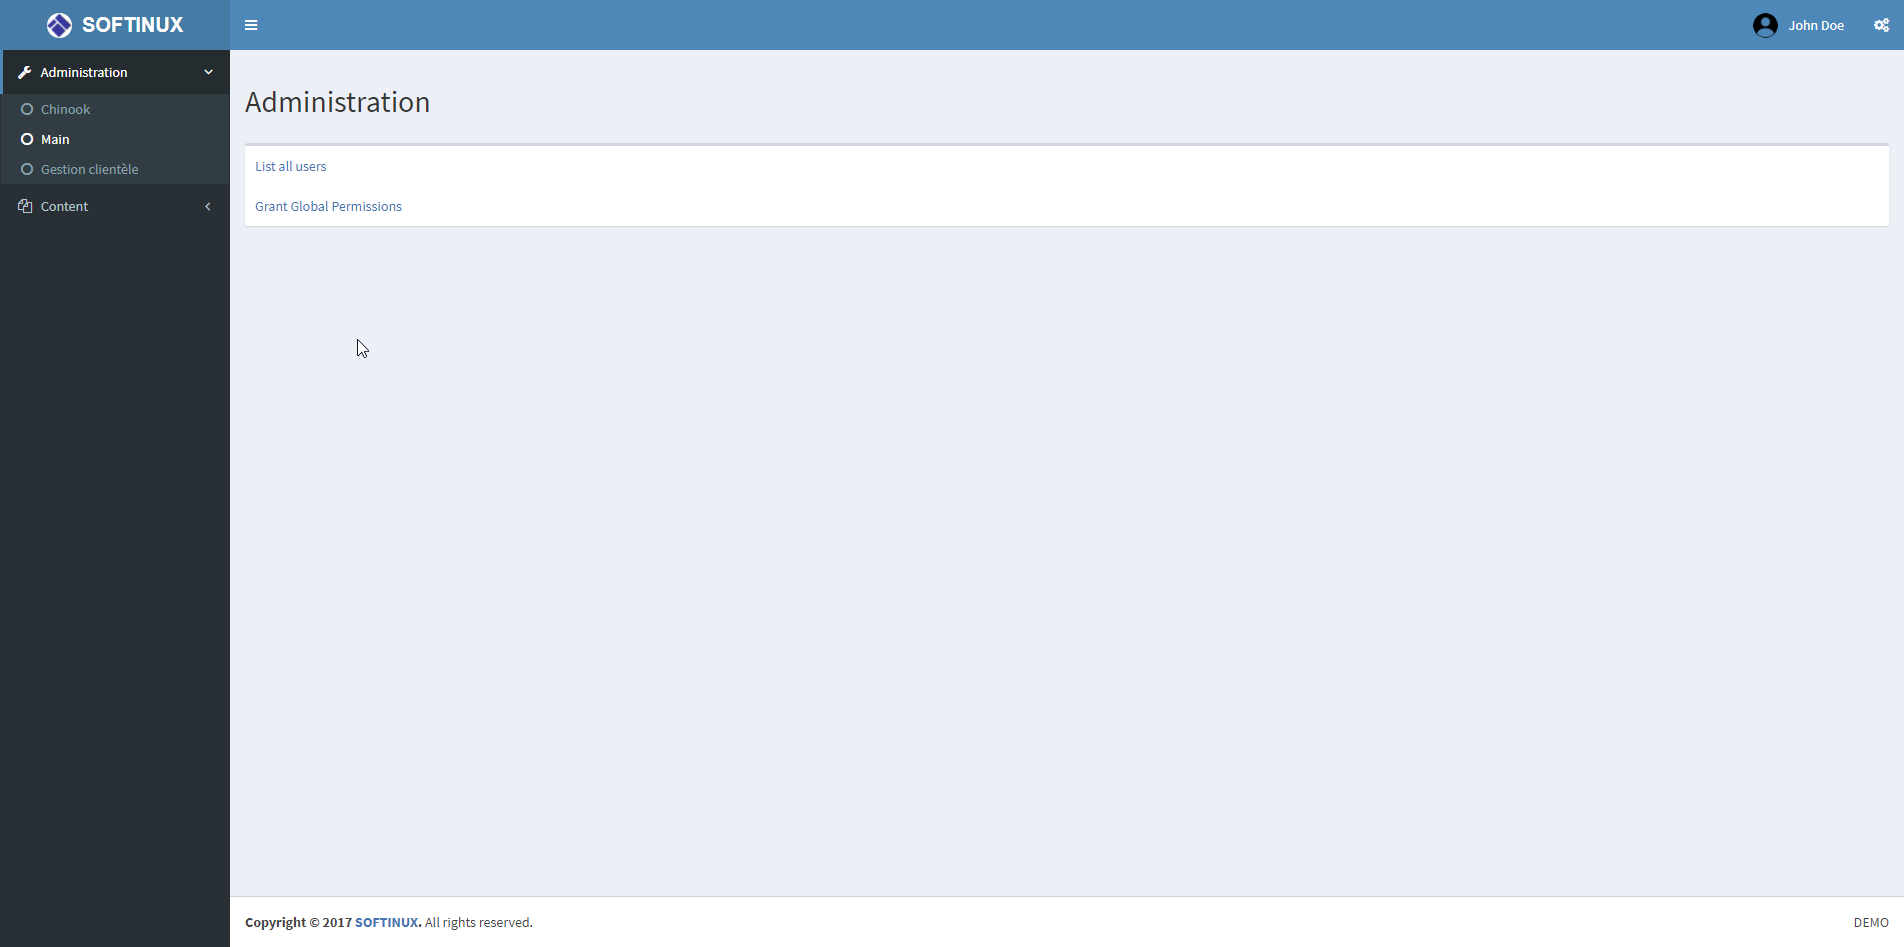
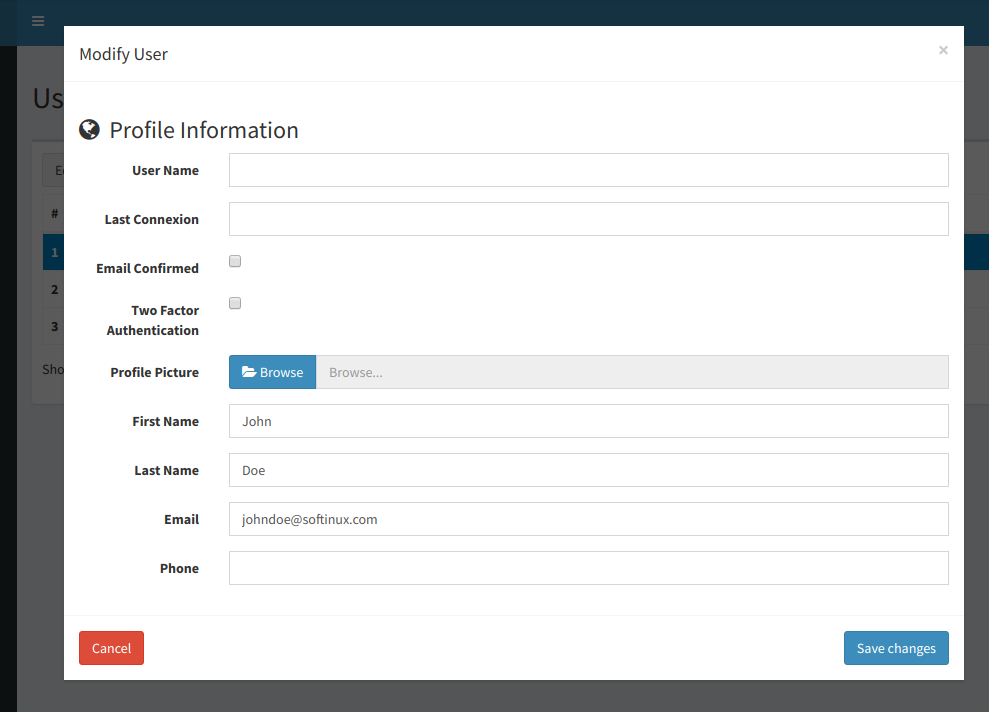
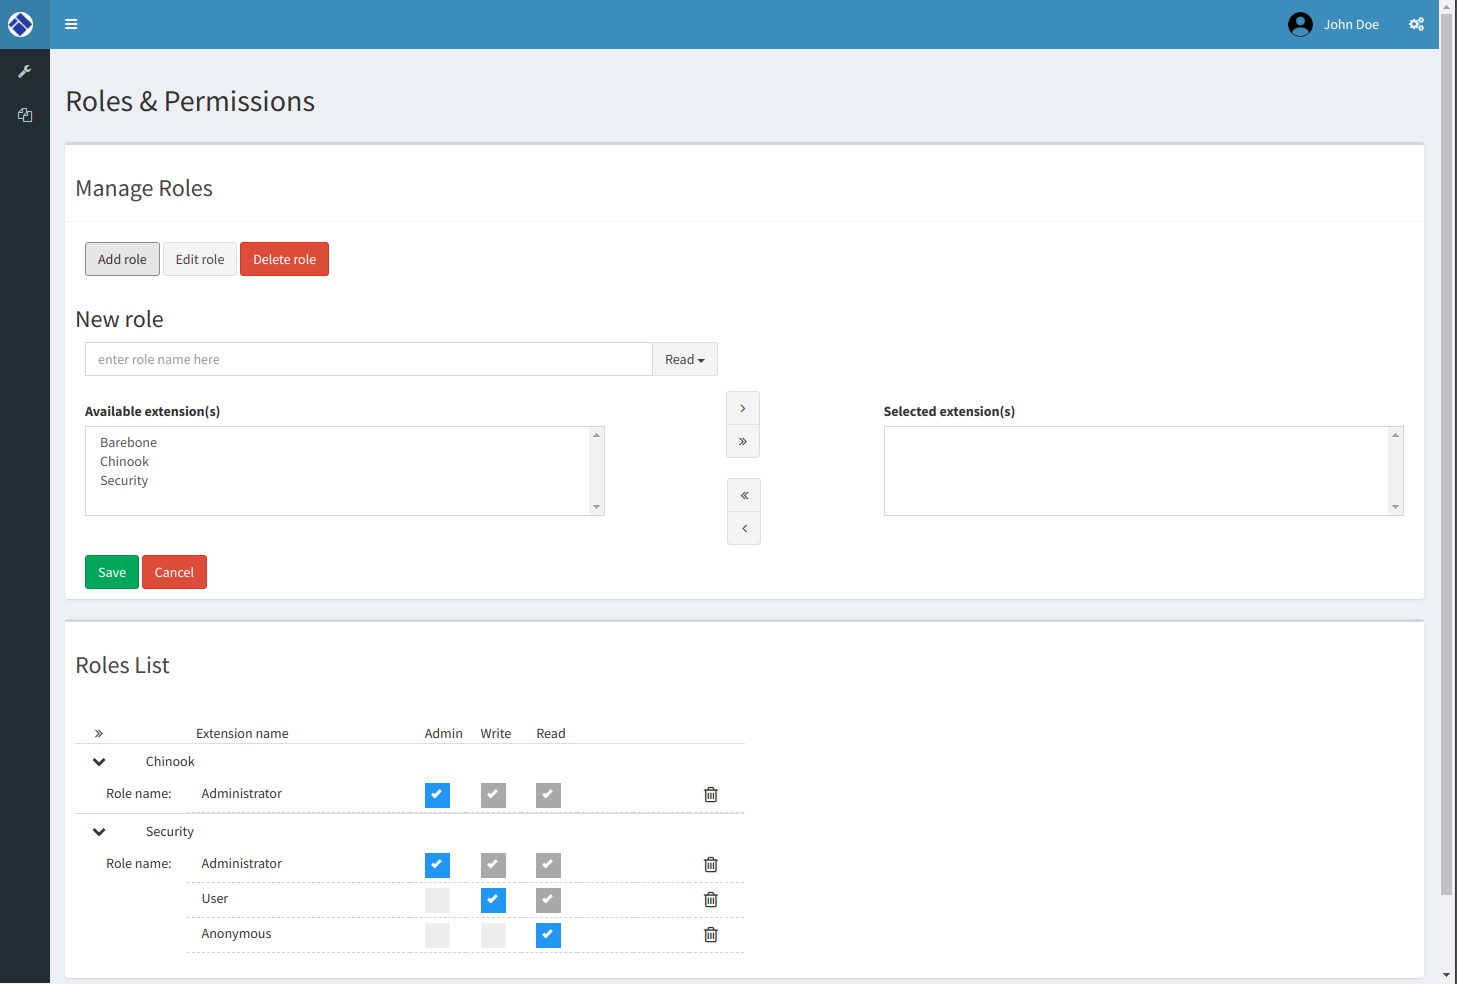
Some screenshots of features:
Licensed under the MIT License. See LICENSE file for license information.
In order you must have installed:
- .NET Core SDK version 3.1.
- Node JS to get javascript dependencies with npm.
To avoid error System.IO.IOException: The configured user limit (128) on the number of inotify instances has been reached. at System.IO.FileSystemWatcher.StartRaisingEvents() you must execute this command in terminal:
echo fs.inotify.max_user_instances=524288 | sudo tee -a /etc/sysctl.conf && sudo sysctl -p
Run npm i command so that dependencies packages are installed.
Restore the nuGet packages is now an implicit command executed at application build.
But you can still restore packages without building the application with the command dotnet restore in solution root folder.
Go to src/WebApplication folder and run dotnet ef database update.
This will create the database. See appsettings.json for database path.
The Entity Framework database context is defined in web application's Startup.cs.
We use Sqlite for development, but you can change this easily for another SGDB (see appsettings.json file).
Go to the solution root folder and run bp.bat under Windows or bp.sh under Linux/MacOS. (use -h for help).
This is the quick way. Some commands from bp.bat/bp.sh are also used by PreBuild and PostBuild events
but this may not work for all IDEs.
Go to src/WebApplication folder and type dotnet run.
If you prefer, you can also execute this command from solution root folder: dotnet run --project src\WebApplication\WebApplication.csproj
(Beware of the path if you are on Linux/MacOS).
After that, the application is available on http://localhost:5000/ or https://localhost:5001/
If you launched application from Visual Studio, this port will change, being randomly defined, and value is stored in src/WebApplication/Properties/launchSettings.json You can edit this value in Visual Studio: WebApplication's properties > Debug tab > Web Server Settings/App URL or directly in launchSettings.json file. After, the default port used by dotnet run is the port defined in src/WebApplication/Properties/launchSettings.json.
Rider 2017.3 cannot execute the PostBuild event declared in src/WebApplication.csproj.
You need to execute ./bp.sh copyexts and ./bp.sh copydeps after building the solution or project.
Or refer to our documentation to see how to configure external tools that will be launched by build process.
With Postman (or the program of your choice) make a POST request to this url: http://localhost:5000/dev/seed/create-user With command line:
- using curl:
curl -i -X POST http://localhost:5000/dev/seed/create-user -d "Content-Length: 0" - using powershell:
Invoke-WebRequest -Uri http://localhost:5000/dev/seed/create-user -Method POST
This will create the demo user with general permissions.
user: [email protected] (or johndoe) password: 123_Password (password is case sensitive)
You can use Visual Studio 2017, Visual Studio Code or JetBrains Rider to make your own extension. If you decide to use Visual Studio, be aware that projects are not compatible with Visual Studio 2015.
Using command-line (easy and cross-platform):
dotnet new classlib -o <you_new_project>Go to solution folder and type:
dotnet add reference <path_to_your_new_project>In your new project, create a class that implements SoftinuxBase.Infrastructure.IExtensionMetadata.
Your extension will depend on SoftinuxBase.Infrastructure.
Have a look at sample extensions, wiki, feel free to open issues for questions.
We give simple code covering with coverlet coverage. But to use it with Visual Studio Code, you need two extensions:
If you want code coverage automatically in .NET Test Explorer, you must configure dotnet-test-explorer.testArguments
and add /p:CollectCoverage=true /p:CoverletOutputFormat=lcov /p:CoverletOutput=./lcov.info in text field.
Configuratrion by Json value :
"dotnet-test-explorer.testArguments": "/p:CollectCoverage=true /p:CoverletOutputFormat=lcov /p:CoverletOutput=./lcov.info"
We also provide many test watchers script in TestWatchesr folders.
If you have the error :
System.IO.IOException: The configured user limit (128) on the number of inotify instances has been reached, or the per-process limit on the number of open file descriptors has been reached.
Execute:
- Ubuntu, Debian and derivativbe:
echo fs.inotify.max_user_watches=524288 | sudo tee -a /etc/sysctl.conf && sudo sysctl -p - Macos:
 IE / Edge |
 Firefox |
 Chrome |
 Safari |
 Opera |
|---|---|---|---|---|
| IE11, Edge | last 10 versions | last 10 versions | last 10 versions | last 10 versions |
If you prefer to use Visual Studio Code, you need these extensions:
Very recommended for this project
- Net Core Test Explorer
- C#
- Debugger for Chrome
- IntelliSense for CSS class name
- Path Intellisense
- ESLint
- Visual Studio Code Solution Explorer
- Visual IntelliCode
- Bracket Pair Colorizer 2
- EditorConfig for VS Code
- Rest Client
- Better Comments
- MarkdownLint
- Version Lens
- Trailing Spaces
- Todo
- Log File Highlighter
Optional for better experience:
- Git History
- Git Lens
- Git Graph
- gitignore
- HTML CSS Support
Output Colorizernot maintained.- Task Explorer
Code Outlinedepreciated.Vs Code to this.- TSLint
- Can I Use
At your discretion:
We also provide the tasks.json and launch.json configuration for Visual studio Code.


