 Windows 10, Ubuntu WSL - Windows Terminal
Just like how a 🔪 is undoubtedly the most important tool of a sushi chef, a text editor (and perhaps a good mechanical keyboard) is undoubtedly the most important tool of a developer. It has to be robust, versatile, extensible, performant and powerful. Occasionally, it requires sharpening in order to produce quality work one is proud of. Also, it has to look and feel good in hand so that one will enjoy using it on every use.
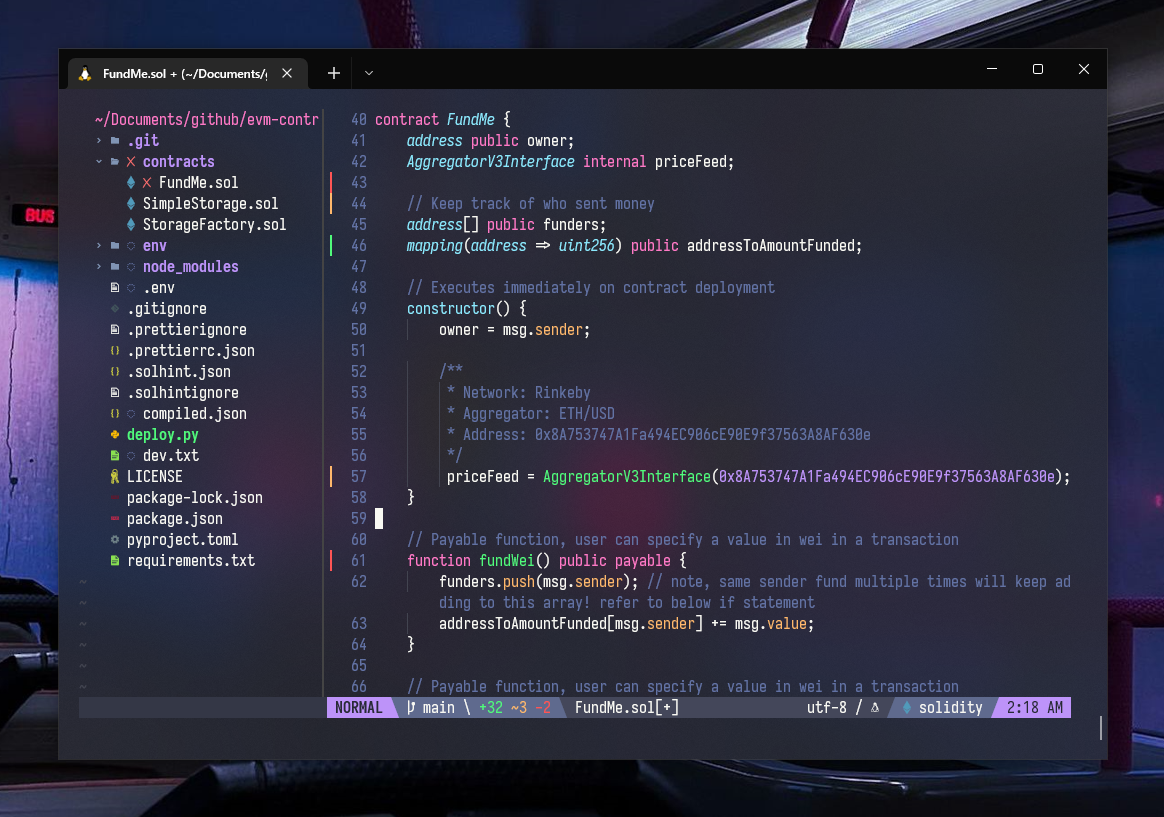
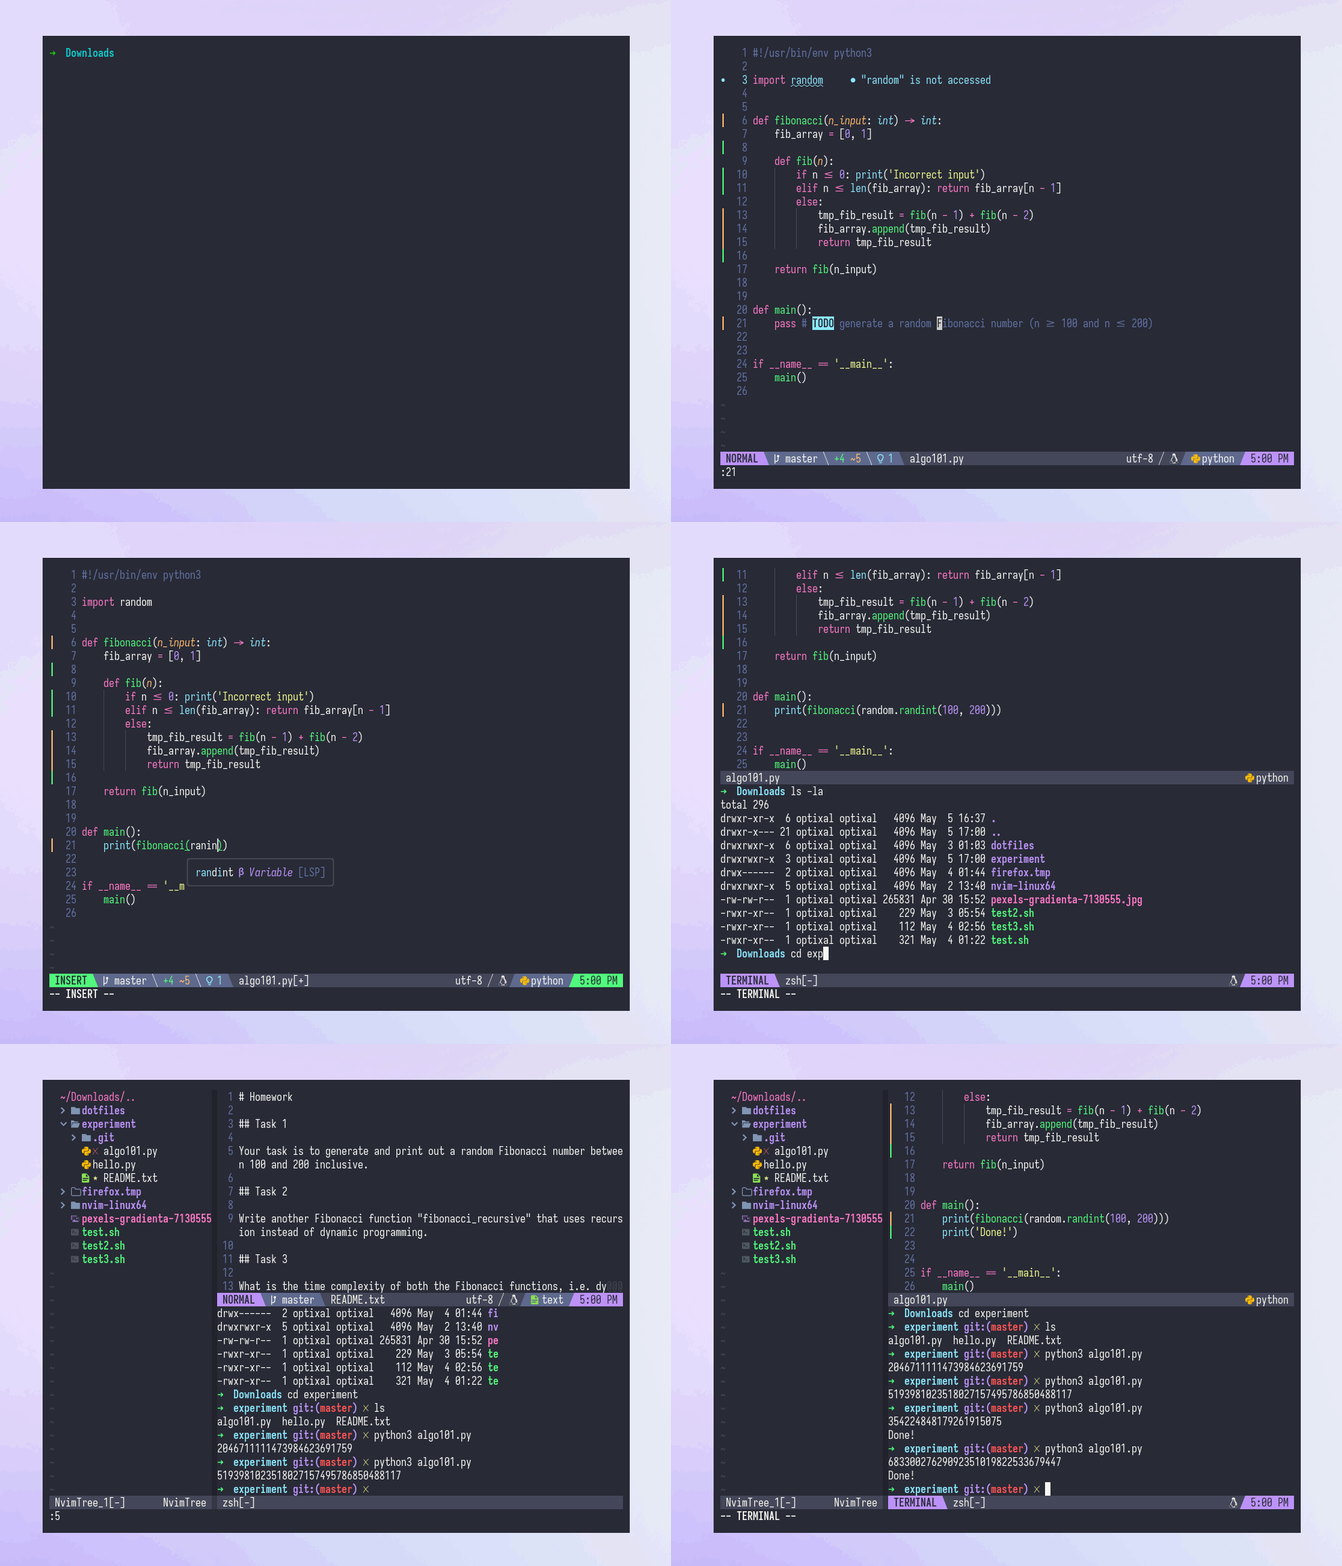
My neovim config has been updated for neovim 0.7.0. It is now a hybrid init.vim with lua support. It features core plugins including nvim-treesitter, nvim-lspconfig, nvim-cmp, telescope, lualine and nvim-tree.
The colorsheme used is my favorite, Dracula, and the font used is my favorite too, Iosevka.
git clone https://github.com/Optixal/neovim-init.vim.git
cd neovim-init.vim/convenience
./install.sh
Automatically installs my configuration along with dependencies into your system. Tested on Ubuntu 22.04. I highly suggest reading and understanding each line of the installation script before running it, especially if you are using other Linux distros, or macOS. For macOS, manually run the commands, and use homebrew instead of apt.
The following are high-level steps to install my neovim config:
- Download this repo
- Install dependencies: wget, curl, git, gcc, ripgrep and python3 (along with pip and venv)
- Install neovim 0.7.0+
- Add neovim to your PATH
- Install node (with nvm or n) (along with npm)
- Install language servers with npm
- Set up a virtual environment for Python dependencies with venv, and install Python dependencies while in it with pip
- Install vim-plug
- Make a copy of this repo's
init.vimand place it in~/.config/nvim/. Delete everything aftercall plug#end() - Install plugins by entering neovim and running the command
:PlugInstall - Copy this repo's full version of
init.vimand the directorylua/to~/.config/nvim/ - Done!
For exact commands to run, refer to convenience/install.sh.
nvim-cmp, telescope, lualine and nvim-tree require a patched font to display icons properly. Nerd Fonts are recommended. Run ./font_install.sh to download and install Iosevka Term Nerd Font into your ~/.fonts directory, or run the command manually:
curl -fLo ~/.fonts/Iosevka\ Term\ Nerd\ Font\ Complete\ Mono.ttf --create-dirs https://github.com/ryanoasis/nerd-fonts/raw/master/patched-fonts/Iosevka/Regular/complete/Iosevka%20Term%20Nerd%20Font%20Complete%20Mono.ttf
fc-cache -rv
Once downloaded, open your terminal's preferences and change the font to "Iosevka Term Mono". If your terminal allows to differentiate the regular, bold, italics and bold-italics, make sure to download the other variations as well.
If the font does not appear in your terminal settings, try restarting your terminal. If it's still not appearing, your OS' font directory may not be ~/.fonts. Find out which directory your fonts are stored in, and place the downloaded font file in that directory instead. Or, install the font normally using your OS' GUI.
If you are using a GPU-accelerated terminal like kitty, or if the font starts to look weird in your terminal, it could be better to avoid using a Nerd Font and use the original font instead, while still using a single Nerd Font as the fallback for the symbols.
So, instead of installing:
- Iosevka Term Nerd Font Mono (Regular, Bold, Italics, Bold-Italics) (Characters & symbols will be used)
Install this:
- Iosevka (Regular, Bold, Italics, Bold-Italics) (Characters will be used)
- Iosevka Term Nerd Font Mono (Regular) (Symbols will be used)
Your terminal should pick up the symbols automatically from the single nerd font as the fallback font.
As I focus on Python development, I ensured installation of python grammar within treesitter-config.lua to get proper highlighting when editing Python files. To install additional grammars (e.g. TypeScript), run the following in nvim:
:TSInstall typescript
For other languages, refer to this list.
As I focus on Python development, the installation script installs Python language server (pyright) by default. To install additional language servers (e.g. TypeScript):
npm install -g typescript-language-serverThen append it to the array of servers in the lua section of init.vim:
local servers = {
    'pyright',
    'tsserver',
}
For other language servers, refer to this list to see the packages you need to install.
It may be easier for you to type vim instead of nvim everytime you edit a file, so aliasing it could save you some trouble. Add an alias to your bashrc/zshrc/somerc or aliases file to alias nvim to vim:
echo "alias vim='nvim'" >> ~/.zshrcRunning nvim within a tmux session may cause certain unwanted issues like escape key lag, or displaying wrong colors. Run cat .tmux.conf >> ~/.tmux.conf or manually add these to your ~/.tmux.conf configuration file to address the issues:
set -sg escape-time 5 # fix vim esc delay
set -g default-terminal "screen-256color" # ensures vim uses right $TERM color, default is "screen"
set -ga terminal-overrides ",*256col*:Tc" # fixes vim reproducing slightly wrong colors in tmuxRun these to install new plugins, update or delete existing plugins, or upgrade vim-plug itself.
- Install plugins:
:PlugInstallin nvim. Run this after adding new plugins (e.g.Plug 'username/repo') to init.vim - Update plugins:
:PlugUpdatein nvim - Delete unused plugins:
:PlugCleanin nvim - Update vim-plug itself:
:PlugUpgradein nvim
Core:
,- Map leader, nearly all my custom mappings starts with pressing the comma key,qor\\- Toggle sidebar filetree viewer (nvim-tree.lua),r- Refresh/source ~/.config/nvim/init.vim,t- Trim all trailing whitespaces,a- Auto align variables (vim-easy-align), eg. do,a=while your cursor is on a bunch of variables to align their equal signs,h- Toggle rainbow parentheses highlighting (rainbow-parentheses.vim),j- Set filetype to "journal" which makes the syntax highlighting beautiful when working on regular text files and markdown,k- Toggle coloring of hex colors,l- Toggle Limelight mode, highlight the lines near cursor only (Limelight),,- Remove highlights (after searching with/)<Tab>- Next buffer<Shift-Tab>- Previous buffer,$s- New terminal in horizontal split,$v- New terminal in vertical split
Python:
,d- Automatically generate Python docstrings while cursor is hovering above a Python function or class (vim-pydocstring and doq),x- Auto format Python scripts (yapf)
Telescope:
,ff- Find files,fg- Live grep from files,fb- Buffers,fh- Help tags,fc- Change colorscheme,f/- Fuzzy find current buffer
Other mappings:
,c<Space>- Toggle comment for current line (Nerd Commenter)<Alt-r/c>- Toggle RGB color picker (vCoolor) (uses GTK+, requires yad or zenity)- nvim-lspconfig mappings
