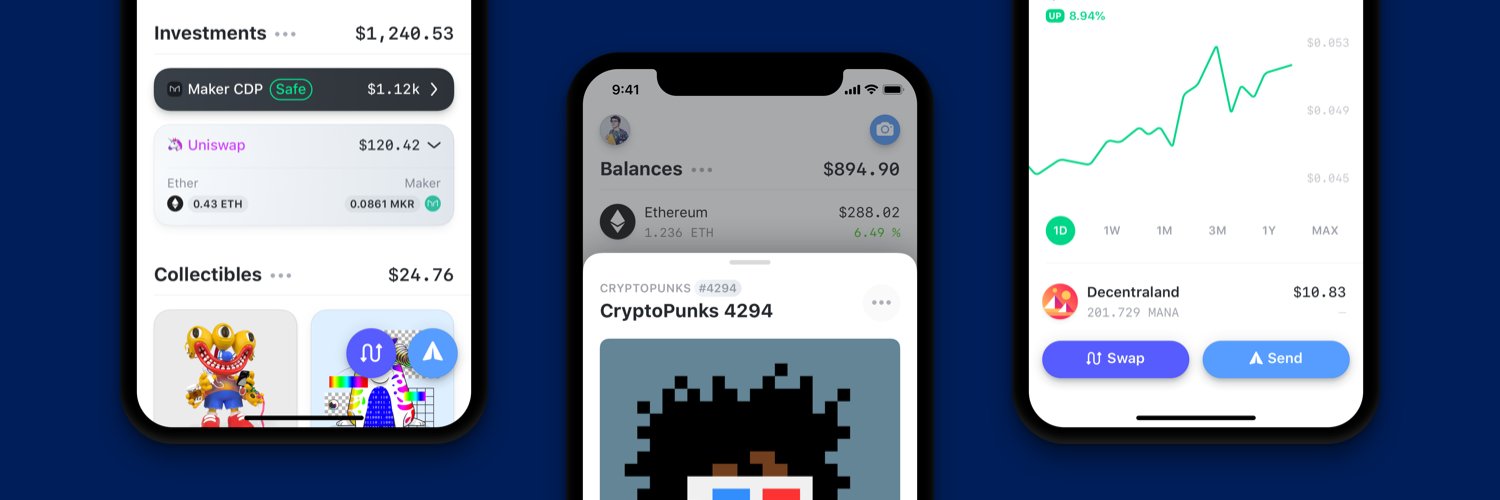
the Ethereum wallet that lives in your pocket!
📲️ Available on the iOS App Store.
- A computer running macOS.
- NVM installed or Node.js 12: https://github.com/creationix/nvm
- Install CocoaPods by running
sudo gem install cocoapods - Install Watchman
brew install watchman - Install the latest version of XCode: https://developer.apple.com/xcode/
If you are new to React Native, this is a helpful introduction: https://facebook.github.io/react-native/docs/getting-started.html
-
Clone the GitHub repository to your machine.
-
Run
nvm use 12to use set the version of node for this project. -
Set up your .env file, use our env.example as a guide.
Note that some features are currently not accessible, we are working with our Data Providers in order to provide open source API Keys!
Here are some resources to generate your own API keys:
- Etherscan: https://etherscan.io/apis
- Infura: https://infura.io/
- ETH Gas Station: https://docs.ethgasstation.info/
-
Run
yarnto get all of the packages required. -
Run
yarn install-bundle. -
Install required Pods by running
yarn install-pods. -
Run
yarn startto start the React Native Bundler. -
Open
rainbow-wallet/ios/RainbowWallet.xcworkspacein XCode. -
Run the project by clicking the play button.
In order to use code push you must be logged into the correct Microsoft App Center account.
npm install -g code-push
code-push login
At this point you will be required to log into the account tied to the code push public keys in Info.plist
code-push release-react RainbowWallet-iOS ios -d <DEPLOYMENT>
The deployment can either be Staging or Production depending on the mode of the application you wish to update was built in through XCode.
In order to build the application in "release" mode but not use the code push distribution you must build the application using the scheme LocalRelease.
Building the application with the Staging scheme or Release scheme will result in your bundle being replaced by the live code push deployment on resume of the application.
