Follow these steps to create a website using proxy databases:
- Log in to Datasketch.
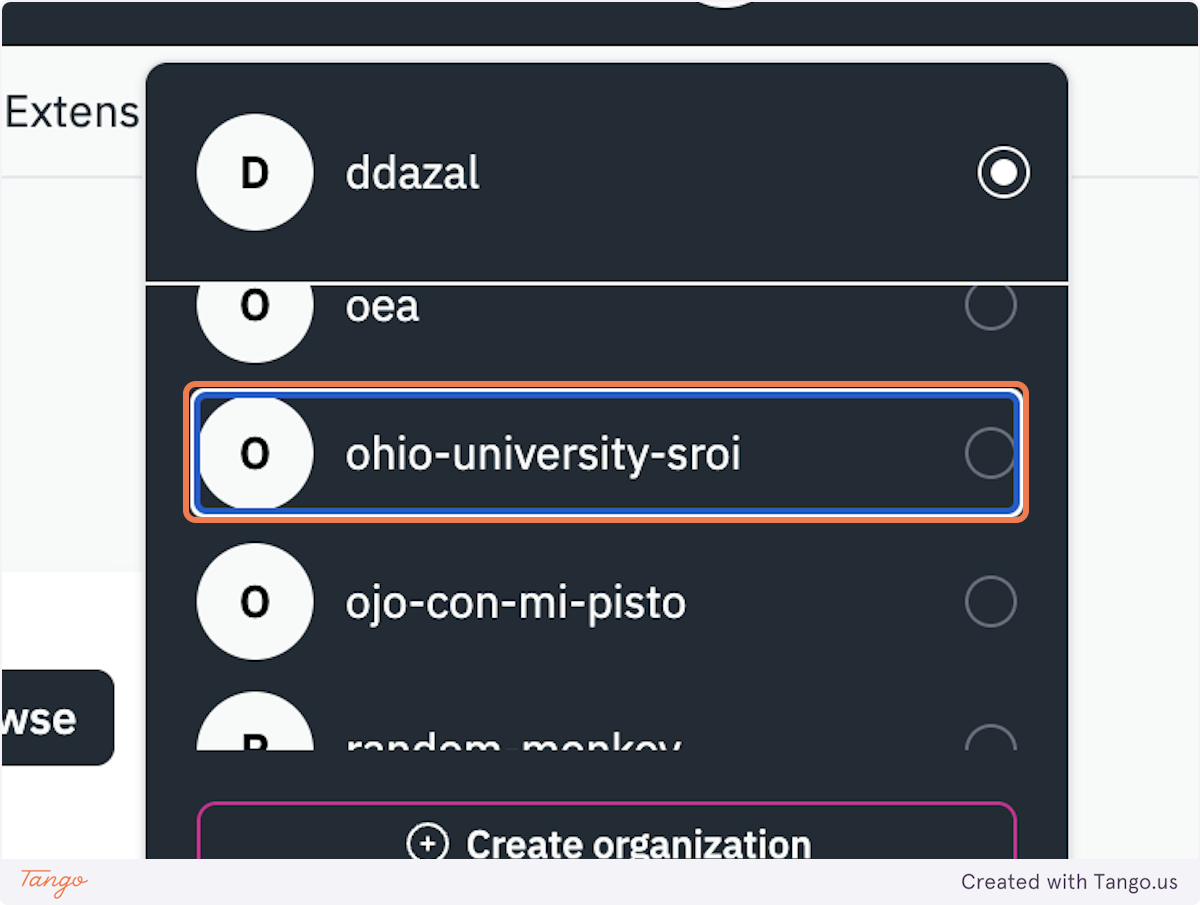
- From the account selector, choose "ohio-university-sroi".
- Click on "Extensions".

- At the Custom extensions section, click on "Proxy Database".

- Go to the "Upload" tab and fill the form with the Name and select the option to upload a file from your computer. The file must be in .xlsx format (Excel) and contain five sheets named as follows:
- themes
- proxies
- proxy_inputs
- proxy_values
- list_references
- Then click on "Process File".

- Once the database upload is complete, go to the "Databases" section and verify that the database has been created and copy the database slug.

- Next go to the SROI Impact Calculators Database.

- Here you can see the list of impact calculators that have been created, to relate the new database uploaded you must add a new row by entering edit mode and then right-click wherever inside the table. Add title, images (logo, main_image, bg_image1, bg_image2 and banner), the theme and most important, the slug of the database uploaded.

- Exit the edit mode by clicking Finish button. It automatically saves the changes.

- Go back to "Databases" section and enter the recently created database.
- Here you go to the "proxies" table, enter edit mode and go to the value column. Click on the "..." button and select "Edit field".

- Change Column type to Number and Save.

- Repeat the same process for the "proxy_inputs" and "proxy_values" tables.
- Now we're ready to create the website, click on the "..." button in the left sidebar on any of the tables names, then select "Create Site".

- In the form that appears, enter a name and description for the website. To proceed, you must choose any of the tables shown in the selector.
- Click "Complete" to navigate to the control panel of the newly created site.
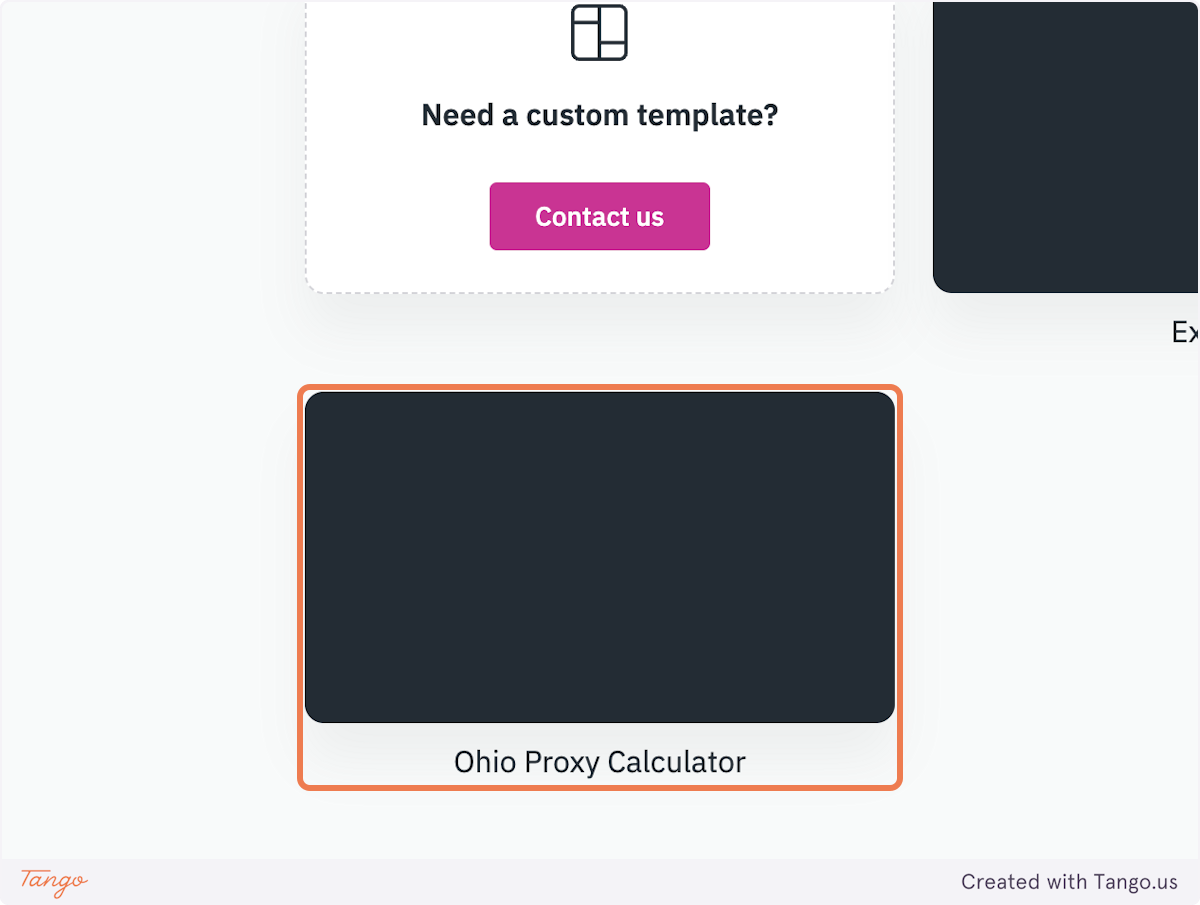
- On the page that appears, click "Edit Template" and select the "Ohio Proxy Calculator" template. This template has been developed for Ohio University and can only be selected from the ohio-university-sroi organization.
- In the control panel, click "Deploy". This will initiate the process to make the calculator live.
- Click the "Refresh" button to check the deployment status. It can be either "Published", "In progress", or "Error". This may take some minutes.
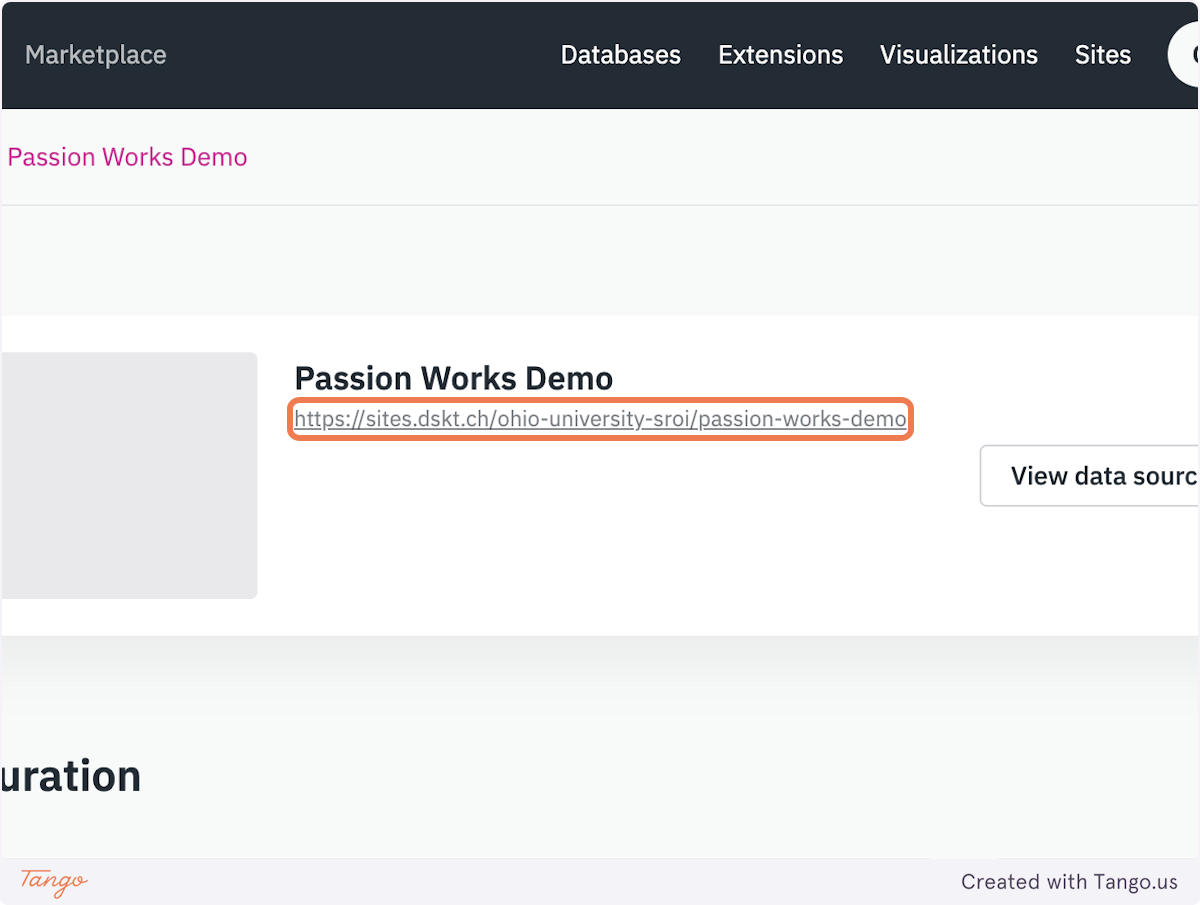
- When the status changes to "Published", click the link below the created site's title to visit the live webpage.
