A auto swiper for bumble that learns your preferences

Welcome to the BumbleBot Readme! This document will provide you with an overview of the Bumble AutoSwipe bot, its features, installation instructions, and usage guidelines. The Bumble AutoSwipe bot is designed to automate the swiping process on Bumble. Also, note that this is for educational purposes only. Besides being quite unethical, using Bumble as a bot is also illegal. For the whole article that delves into the details of why it was done, please check here : Shenanigans Article
Also, here is a demo of the bot in action:
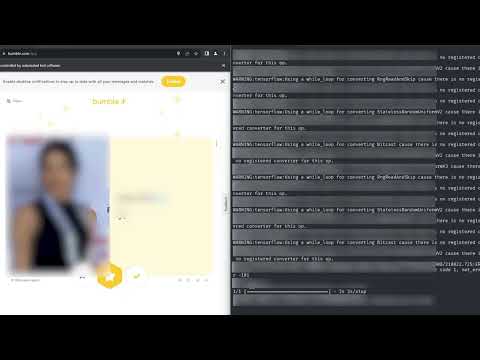
-
Automated Swiping: The Bumble AutoSwipe bot is programmed to automatically swipe left or right on profiles based on predefined criteria. This eliminates the need for manual swiping, allowing you to browse through profiles more efficiently.
-
Customizable Settings: The bot comes with customizable settings that allow you to define your preferences for swiping. You can set parameters such as age range, location, and gender to tailor the swiping behaviour according to your preferences.
Follow these steps to install the Bumble AutoSwipe bot:
-
Clone the Repository: Clone this repository to your local machine using the following command:
git clone https://github.com/range-et/BumbleBot -
Navigate to the Directory: Move into the project directory:
cd BumbleBot -
Install Dependencies: Install the required dependencies using:
pip install -r requirements.txtNote this installs from the requirements.txt file. I highly recommend using VEnv as a virtual environment. I personally used Conda and installed all the packages into an Anaconda environment.
-
Errors in pipenv: I have encountered a similar issue as others when installing from the requirements.txt file where some of the dependencies were cached on my local system. I could not work out a way to fix this by generating a txt file, so I suggest running the following command to install the libraries into a pipenv environment.
pipenv install tensorflow selenium pandas scikit-image scikit-learn
- Configuration: Open the
settings.jsonfile and customize the settings such as the model file - where the trained model will be stored, the data folder, where the data is stored (Like the pictures etc). Number of epochs to train the model for. TTS is the Test Training split, where a number like 0.75 means 75% of the data is used for training and 0.25 is used for validation/testing. Lastly thresh, the ML model outputs a number between 0-1 to how confident it is about a profile; the threshold defines at what point you would want the model to swipe. A number like 0.65 worked well for me.
To start using the Bumble AutoSwipe bot, follow these steps:
-
Run the Bot: In the project directory, run the bot using the following command:
python main.py HELPThis prints out all the possible commands.
-
Collecting Data: To collect data for training, Start the bot with the command:
python main.py SCRAPEThis launches a browser window where you can log into Bumble and start swiping. By typing yes or no in the command terminal. (Also, there are instructions in the terminal.)
-
Train the Model: To train the model type:
python main.py TRAIN -
To start auto swiping: Type the command:
python main.py SWIPE -
Interrupting the Bot: If you want to stop the bot, press
Ctrl + Cin the terminal where the bot is running.
Please note that using automated bots on platforms like Bumble may violate their terms of service. Use this bot at your own risk. The creators of this bot are not responsible for any consequences that may arise from its usage. This was made for educational purposes only.
If you'd like to contribute to developing the Bumble AutoSwipe bot, feel free to submit pull requests or raise issues in the GitHub repository.
The Bumble AutoSwipe bot is released under the MIT License.
Happy swiping! If you encounter any issues or have suggestions for improvements, don't hesitate to reach out or contribute. Your feedback is greatly appreciated.