Web 前端路由原理解析和实现 #13
Labels
Comments
|
good!!! |
|
学习了。 |
|
您好,可以转载到公众号【code秘密花园】吗 |
|
@ConardLi 可以,请保留原文链接 |
|
好的 |
|
学习了 |
|
赞赞赞 |
|
i am very puzzled before i saw this art |
Sign up for free
to join this conversation on GitHub.
Already have an account?
Sign in to comment
什么是前端路由?
路由的概念来源于服务端,在服务端中路由描述的是 URL 与处理函数之间的映射关系。
在 Web 前端单页应用 SPA(Single Page Application)中,路由描述的是 URL 与 UI 之间的映射关系,这种映射是单向的,即 URL 变化引起 UI 更新(无需刷新页面)。
如何实现前端路由?
要实现前端路由,需要解决两个核心问题:
下面分别使用 hash 和 history 两种实现方式回答上面的两个核心问题。
hash 实现
#) 及后面的那部分,常用作锚点在页面内进行导航,改变 URL 中的 hash 部分不会引起页面刷新<a>标签改变 URL、通过window.location改变URL,这几种情况改变 URL 都会触发 hashchange 事件history 实现
pushState/replaceState或<a>标签改变 URL 不会触发 popstate 事件。好在我们可以拦截pushState/replaceState的调用和<a>标签的点击事件来检测 URL 变化,所以监听 URL 变化可以实现,只是没有 hashchange 那么方便。原生JS版前端路由实现
基于上节讨论的两种实现方式,分别实现 hash 版本和 history 版本的路由,示例使用原生 HTML/JS 实现,不依赖任何框架。
基于 hash 实现
运行效果:
HTML 部分:
JavaScript 部分:
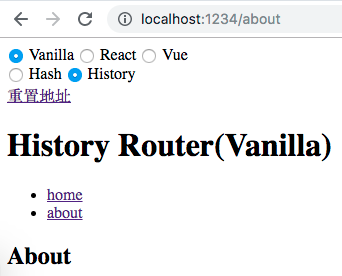
基于 history 实现
运行效果:
HTML 部分:
JavaScript 部分:
React 版前端路由实现
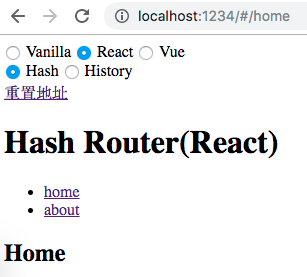
基于 hash 实现
运行效果:
使用方式和 react-router 类似:
BrowserRouter 实现
Route 实现
Link 实现
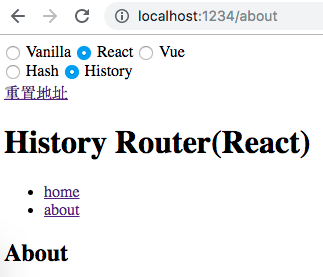
基于 history 实现
运行效果:
使用方式和 react-router 类似:
HistoryRouter 实现
Route 实现
Link 实现
Vue 版本前端路由实现
基于 hash 实现
运行效果:

使用方式和 vue-router 类似(vue-router 通过插件机制注入路由,但是这样隐藏了实现细节,为了保持代码直观,这里没有使用 Vue 插件封装):
router-view 实现
router-link 实现
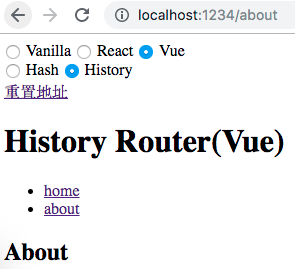
基于 history 实现
运行效果:
使用方式和 vue-router 类似:
router-view 实现:
router-link 实现
小结
前端路由的核心实现原理很简单,但是结合具体框架后,框架增加了很多特性,如动态路由、路由参数、路由动画等等,这些导致路由实现变的复杂。本文去粗取精只针对前端路由最核心部分的实现进行分析,并基于 hash 和 history 两种模式,分别提供原生JS/React/Vue 三种实现,共计六个实现版本供参考,希望对你有所帮助。
所有的示例的代码放在 Github 仓库:https://github.com/whinc/web-router-principle
参考
The text was updated successfully, but these errors were encountered: