-
Notifications
You must be signed in to change notification settings - Fork 45
SBS Guided Example
Current against: v0.0.10 + errata
- Current "Keep Unmasked" appears as "Keep Masked" in context menu images - minor visual difference from images in guide, no affect to results
If this guide isn't updated to reflect the most recent version of openOutpaint, no functionality has changed nor breaking changes have been introduced and the guide should still be applicable.
EXACTNESS OF IMAGE IS NOT GUARANTEED, PARTICULARLY IF USING XFORMERS and probably many other options but xformers is infamous for being somewhat nondeterministic. For the purpose of this guide, "close" is far more than good enough.
This example makes a few assumptions that may not be the same as how your local environment is configured.
The following assumptions are made:
- webUI will be hosted at http://127.0.0.1:7860
- openOutpaint will be hosted at http://127.0.0.1:3456
You can host openOutpaint and/or webUI on completely different machines, specify alternative ports, require HTTPS, etc - if you're doing so, simply use the value appropriate to your installation instead of the defaults listed above.
This example also has the following prerequisites:
- webUI at commit 44c46f0 or more recent
- model sd-v-1-5-inpainting.ckpt 3e16efc8 (and preferably the SD1.5 VAE (VAE installation instructions))
- SD webUI option
Eta noise seed deltaset to value31337- note this is not a prerequisite of openOutpaint, but merely to get as-close-to-identical results to this example guide's output
This example will be a step-by-step walkthrough with specific models, seeds, prompts, and other values used to ensure nearly identical results are able to be achieved. Please don't deviate from the values supplied for anything not listed in the above assumptions section to ensure you receive the same output and essentially make sure all's working as expected.
This example assumes that A1111 webUI is already installed and operational and that openOutpaint is not installed or downloaded. Feel free to skip any steps related to downloading/extracting openOutpaint if you've already done so.
The intent of this guide is by no means whatsoever to produce anything even remotely confusable with Art so don't expect a masterpiece, best quality, masterpiece, 4k, trending on artstation, greg rutkowski. This is merely a quick introduction to how openOutpaint's feature set works and is not a comprehensive usage manual.
Screenshots were taken using Firefox on Windows, so your browser may appear differently than some of the screenshots. This should not affect openOutpaint nor Stable Diffusion.
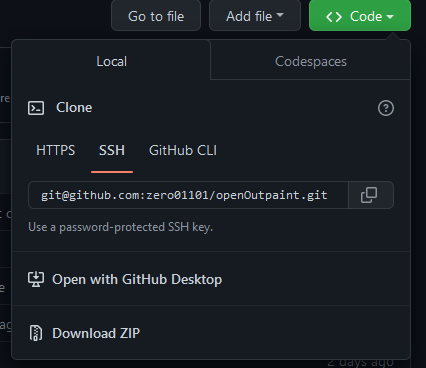
- "Install" the openOutpaint repository either by simply downloading the current codebase as a .zip file, then extract the contents of that .zip file to a new folder, or via
git cloneif you're comfortable with using git directly.git cloneis recommended just for ease of updates viagit pull, otherwise you'll need to redownload the .zip file and overwrite your openOutpaint directory any time you want to get the latest updates.
- In your webUI installation directory, open
webui-user.bat/shin a text editor, and ensure the line starting withset COMMANDLINE_ARGS=contains the following:--api --cors-allow-origins=http://127.0.0.1:3456, then save the file.
NOTE: the commandline flag --gradio-debug disables custom API routes and completely breaks openOutpaint. if applicable, please remove it from your COMMANDLINE_ARGS before running openOutpaint.

- Run the newly-saved
webui-userscript file and wait for it to report that webUI is ready.
(please note: http://0.0.0.0:7860 is a result of the--listenCOMMANDLINE_ARGS flag which is only necessary if you wish to access webUI from another computer on your LAN. Your instance will likely report http://127.0.0.1:7860 instead if you do not have that flag enabled.)

- Once webUI is successfully running, open the directory where you have cloned/unzipped openOutpaint into and run
openOutpaint.bat/shto launch the tiny Python local webserver. It will state that it is serving HTTP on port 3456 as specified in the batch or shell script file.

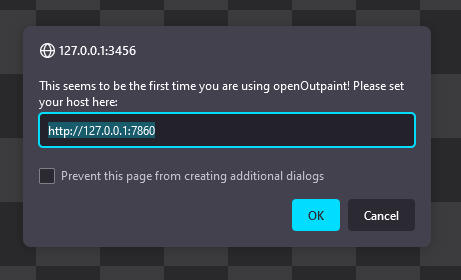
- Now that both applications are running, go to your web browser and navigate to http://127.0.0.1:3456. On the first launch, you will be prompted to confirm the webUI API address. This can of course be updated later if necessary.
-
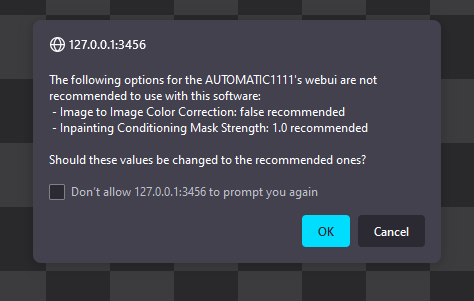
After confirming the host address, a few quick checks are made to ensure maximum outpainting compatibility, and openOutpaint offers to update a few webUI settings to the recommended values automatically if non-optimal values are detected. The changes are:
- option
Inpainting conditioning mask strength, sets value to 1.0 - option
Apply color correction to img2img results to match original colors., sets value to false/disabled
- option
-
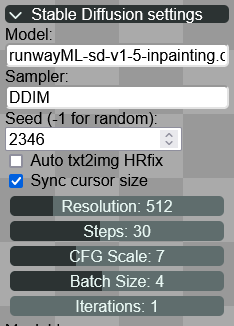
Welcome to openOutpaint! We'll be leaving the default prompts and canvas size alone, so let's start with the Stable Diffusion settings button. Click that to expand the available options, and set the following:
- Model: SD v1.5 Inpainting (titled
runwayML-sd-v1-5-inpaintingin screenshots) - Sampler: DDIM
- Seed: 2346
- Auto txt2img HRfix: disabled
- Sync cursor size: enabled
- Resolution: 512
- Steps: 30
- CFG Scale: 7
- Batch Size: (select a quantity appropriate for your available VRAM, max of 8)
- Iterations: 1
- Model: SD v1.5 Inpainting (titled
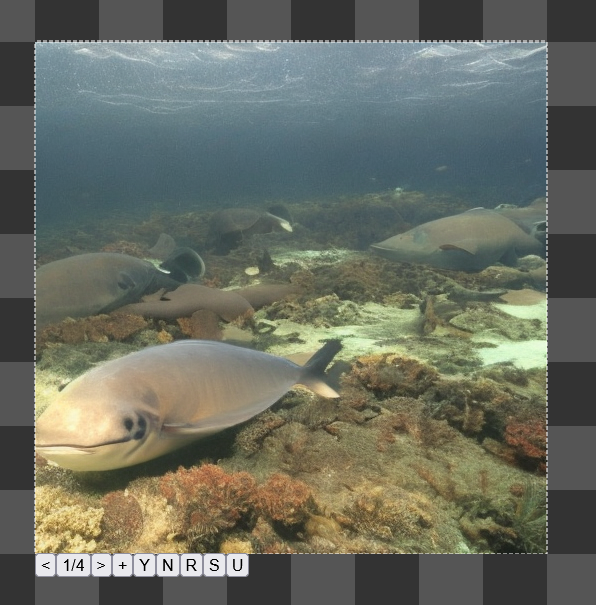
- Once you've got those set, you can click the Stable Diffusion settings button again to minimize those options if desired. Move the mouse cursor somewhere over the checkerboard background and click to start the txt2img process which we will lovingly call "𝒹𝓇𝑒𝒶𝓂𝒾𝓃𝑔". You'll be presented with a progress estimations at the top of the dream region, and an Interrupt button to rudely halt the dreaming. When the final image appears, a new set of buttons will be presented beneath the dream - click "Y", simply left-click inside the image reticle (it'll turn red), or press your [
↩] key to accept the first image for now.
- Time to outpaint! Leaving Snap to Grid enabled, click to the southwest of the original image, expanding the lower portion by 2 rows, and the left edge by 3 columns.
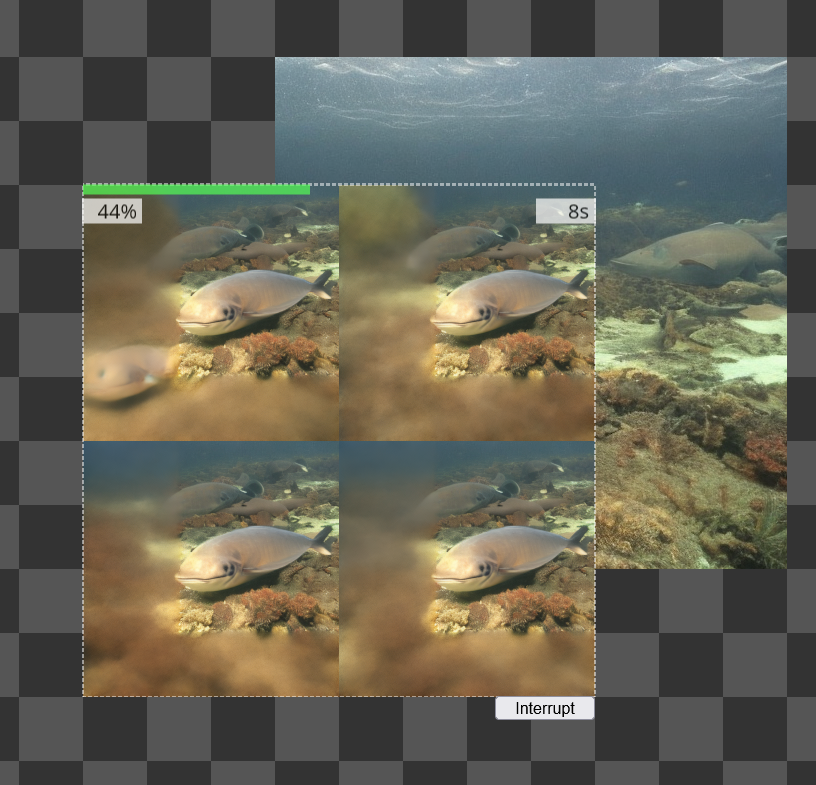
- Whoops, there's a pretty rough seam there, quite unpleasant. Let's click the "N" button, right-click inside the image reticle, or press your [
ESC] key to cancel that batch.

- At the bottom of the main openOutpaint options panel, drag the Overmask px slider to 20 pixels, and outpaint over the same area of image once more. Much better. Click through the rendered images if your batch size is greater than 1 (you can also request an additional batch by clicking the "+" button or pressing the [
+] key on your keyboard but it's useless with a fixed seed), however for the purposes of this example, select the first image to continue. You can quickly jump back to the original image (or empty space) in your current accept/reject batch by clicking the "X of Y" button between the < and > buttons as well.
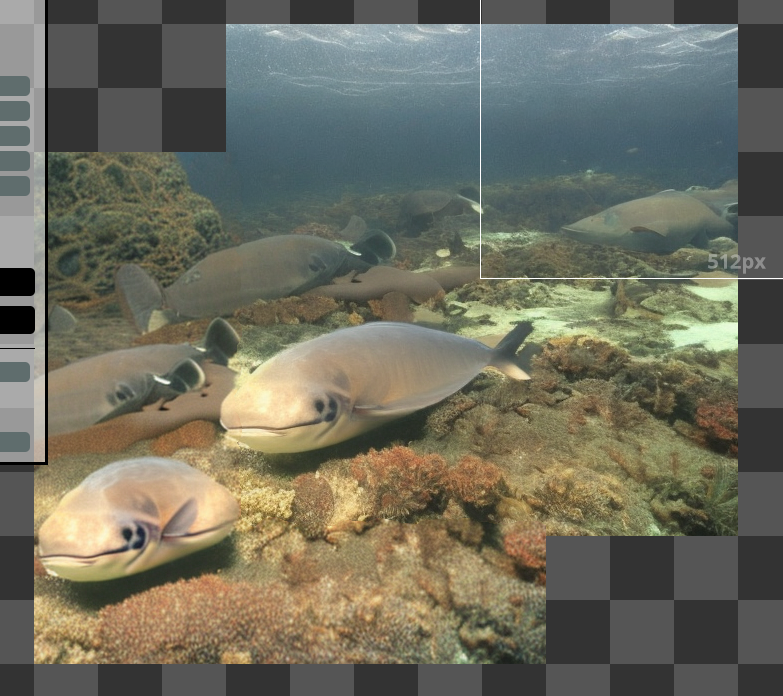
- Let's give these fish more room to explore. Expand the left edge by 4 columns, keeping the bottom edge aligned with the new lower boundary. Unless otherwise noted, from here on out it'll be assumed that the first image in a batch will be used for the rest of this example guide.
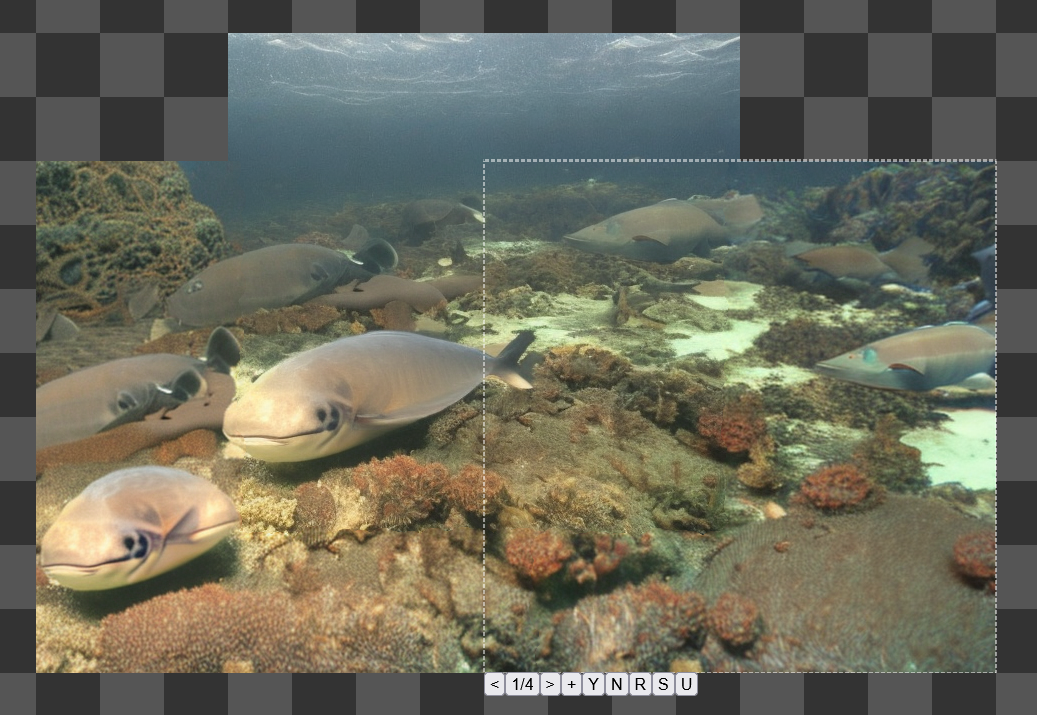
- Now let's give them a bit more vertical space too. (If you need more room yourself, hold [
CTRL] (or [CMD] on Mac), hold your scrollwheel button down, and pan the canvas upward or you can also simply scroll the scrollwheel to zoom the canvas.) Have you noticed the center of the reticle is a crosshair? You can left-click and drag any arbitrary dream region you want. Start two rows above the left edge and drag out a 960x256 region.
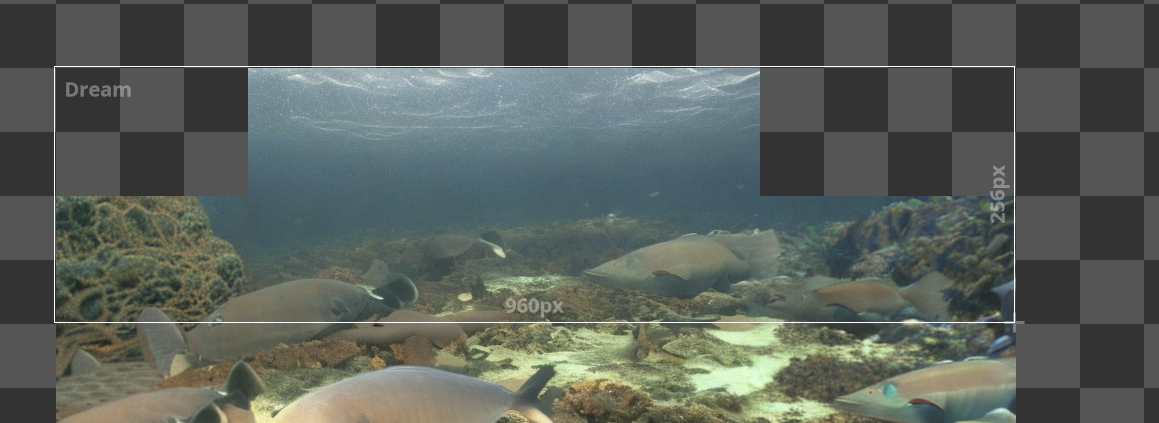
- After releasing the mouse button, move the cursor back inside the region you just drew to indicate you're ready to interact with the region and turn the cursor border red.

- You can click anywhere else on screen, or right-click in the activated area to cancel the custom region, but for now left-click inside of it and it'll generate a dream just like the square cursor.
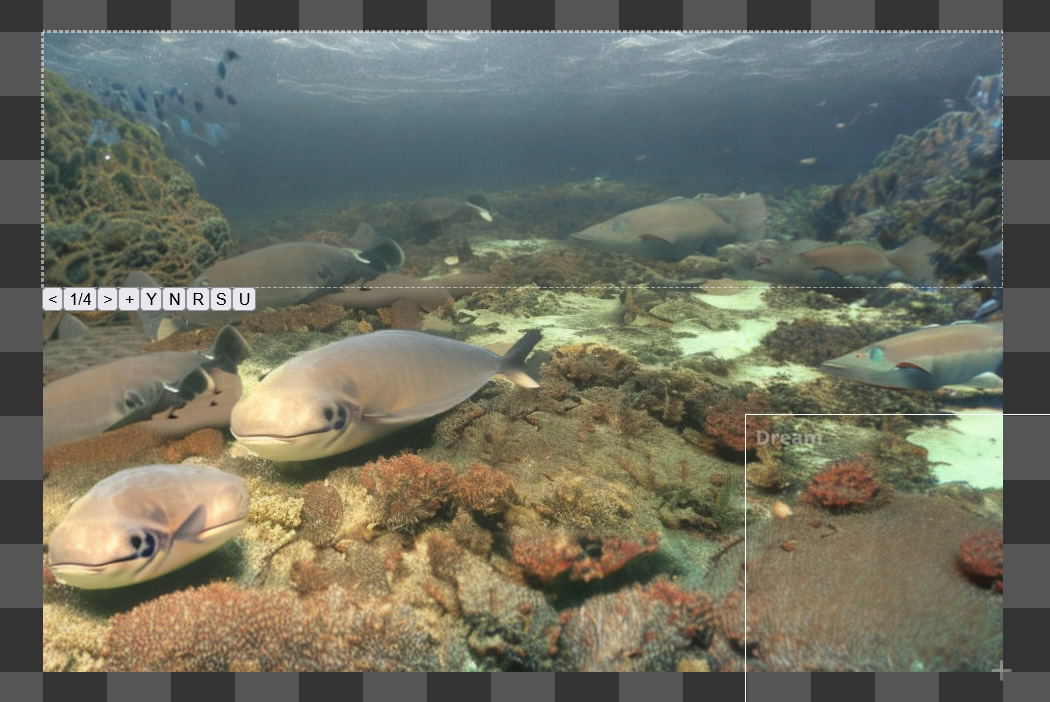
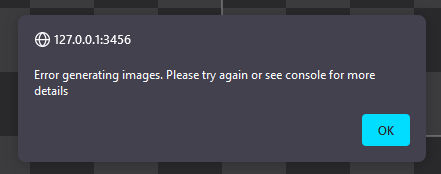
- Still not enough room for the fish to swim comfortably, though. Use your mouse scrollwheel, the Resolution slider, or the Cursor Size slider to double the size of the reticle all the way up to 1024 px - note that you may need to reduce your Batch Size for this higher output resolution to avoid errors like the following due to the VRAM usage caused by the increased resolution:

- You may also observe the estimated completion time increasing steadily, while the percentage stays at 1%. This might possibly be alleviated by simply opening a new tab, if your browser makes use of 3D acceleration. In this scenario, check for something similar to the following usage profile between 3D processing cores, CUDA, and VRAM usage:

- Regardless, leave the existing dream collage at the southwest corner of the new boundary box.
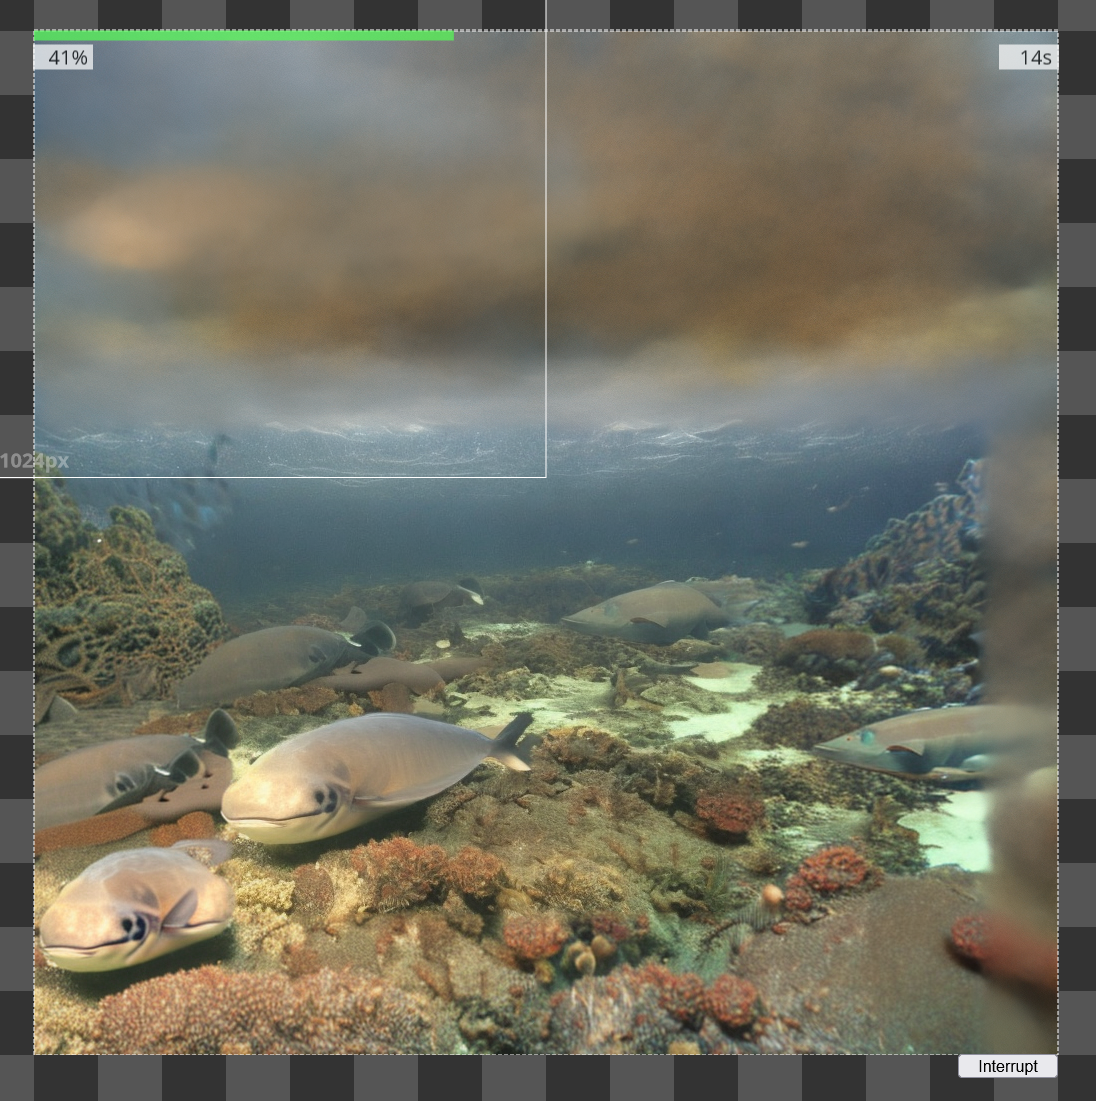
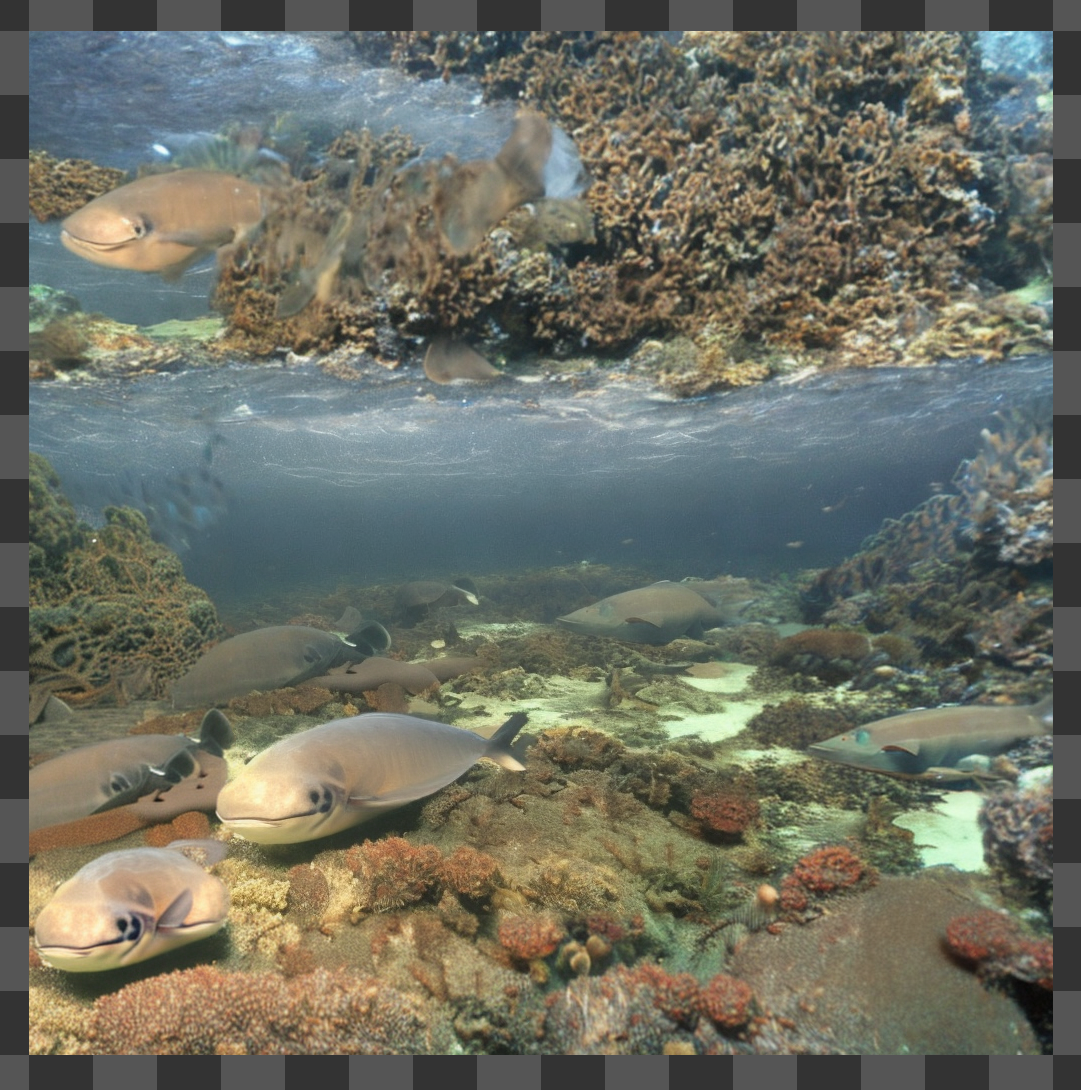
- Alright, well, hm. Feels like too much coral, really.
- Open your Prompts section in the main window and add the word
coralto the beginning of the negative prompts. Fun fact: the big blue button to the right of the prompts is a history panel, saving your previous entries.

- Click the Mask Brush tool (keyboard shortcut: [
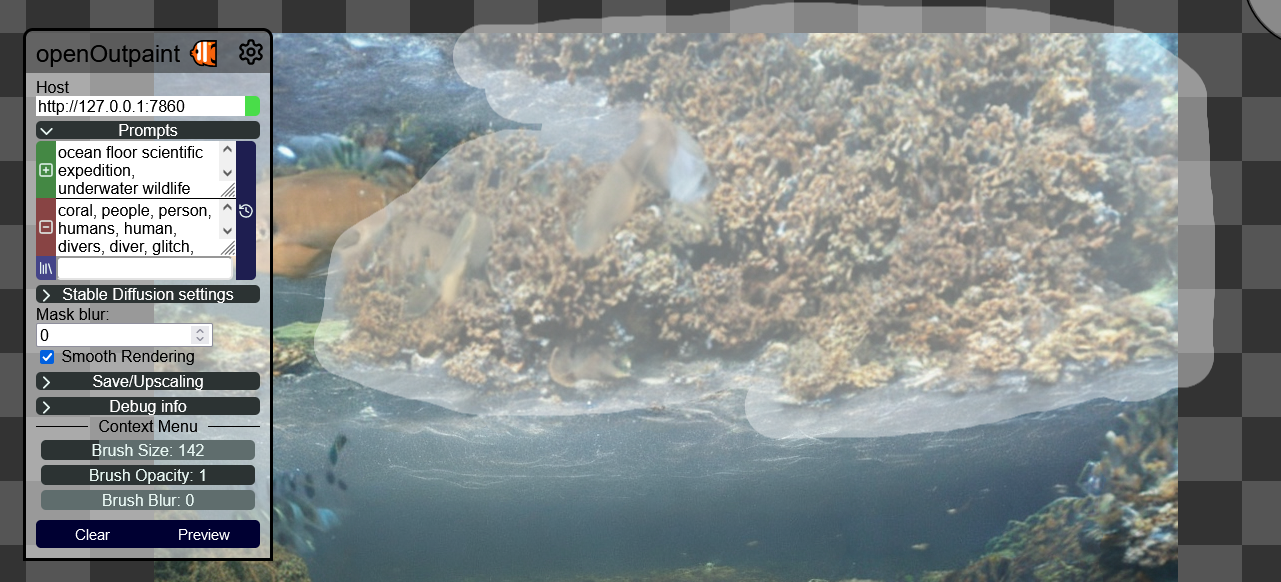
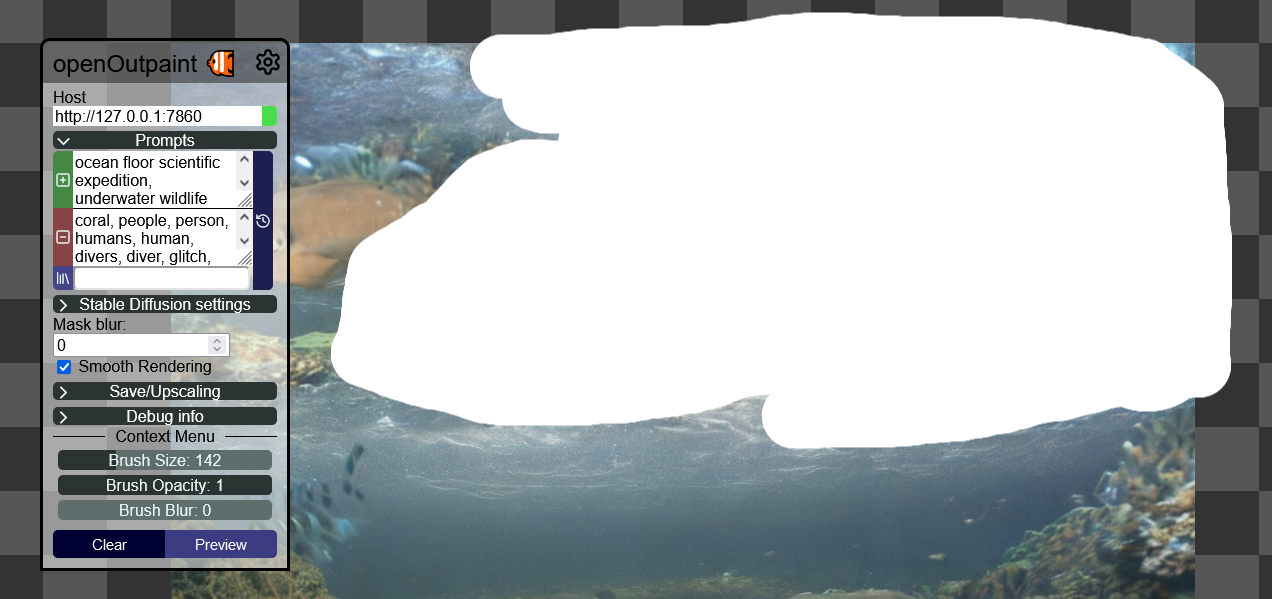
M]) in the floating toolbar on the right-hand side of the screen, and paint over the coral as best as possible. You can use the scrollwheel to change the size of your brush, as well as click the "Preview" button in the Context Menu on the left-hand main options to see the mask without transparency if desired. NOTE: Resultant output images will certainly differ just due to human-drawn mask differences. Determinism is no longer applicable as human variables and behavior cannot be accurately quantified with current models.
- Now select the dream tool (keyboard shortcut: [
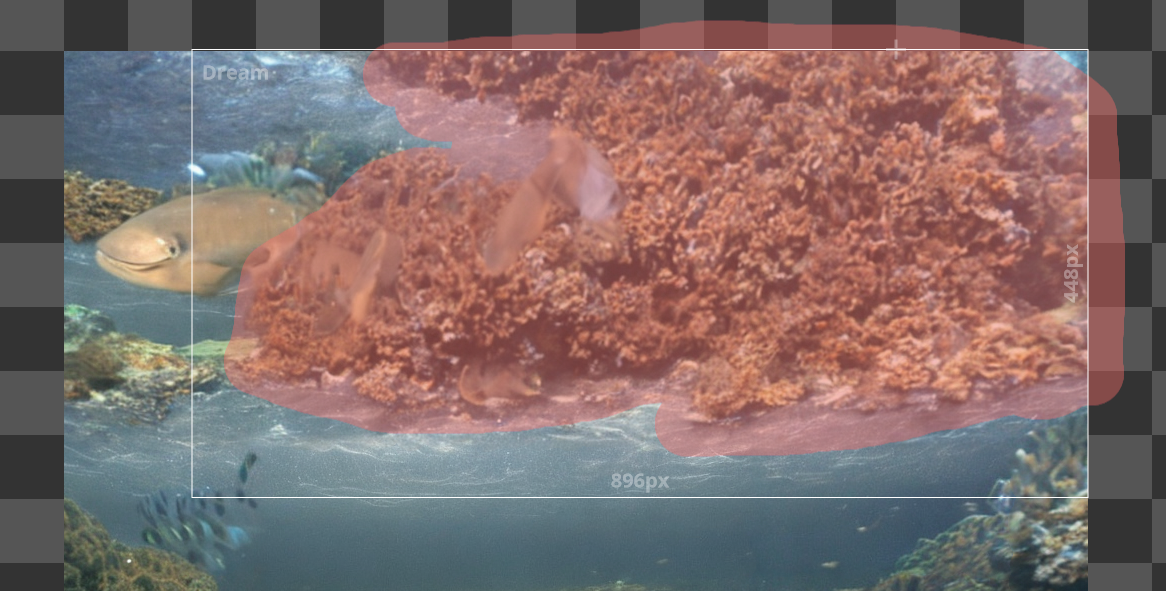
D]) and drag a rectangle over your masked region.
- Well, we somewhat solved the coral problem.
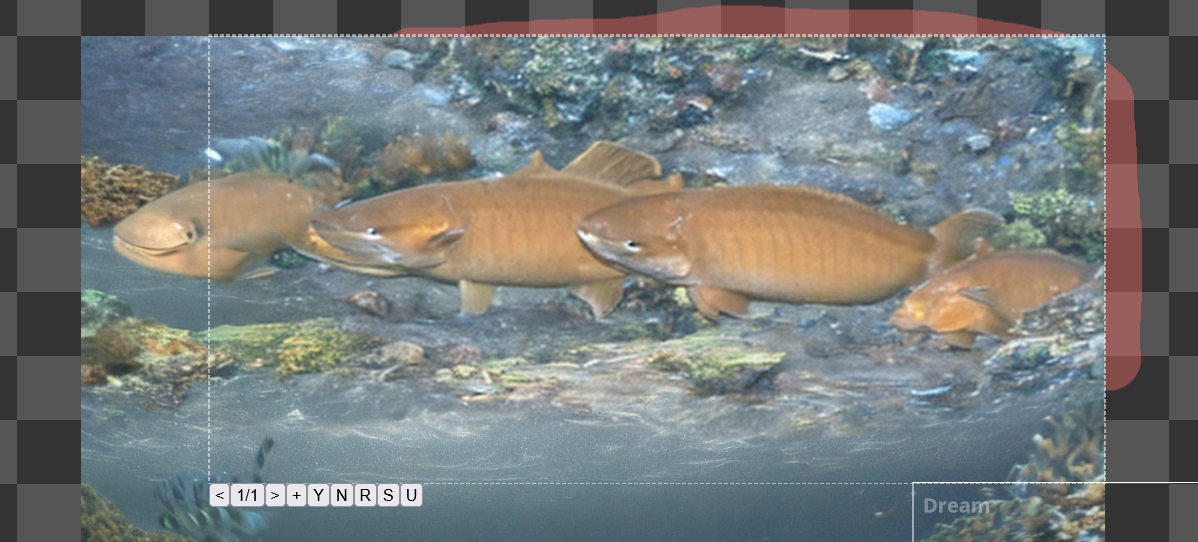
- Let's try something else. Click the Prompts button and change the primary prompt to
an octopus, select the img2img tool (keyboard shortcut: [I]), then drag the tool over the resultant fish.
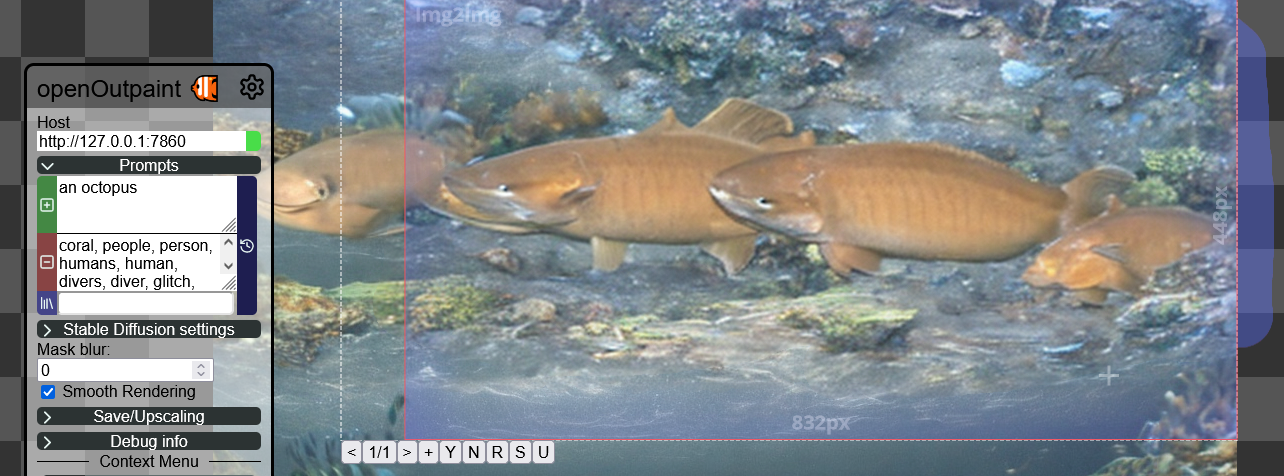
- Now we supposedly have an octopus.
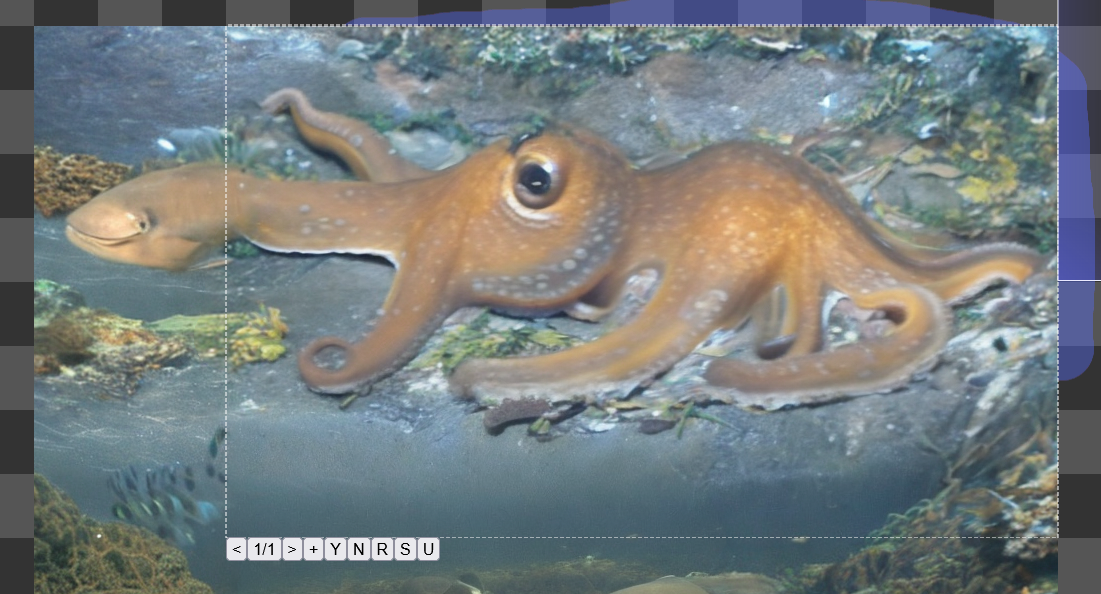
- Just out of curiosity, let's click the interrogate tool (keyboard shortcut: [
N]) and click directly over the octopus
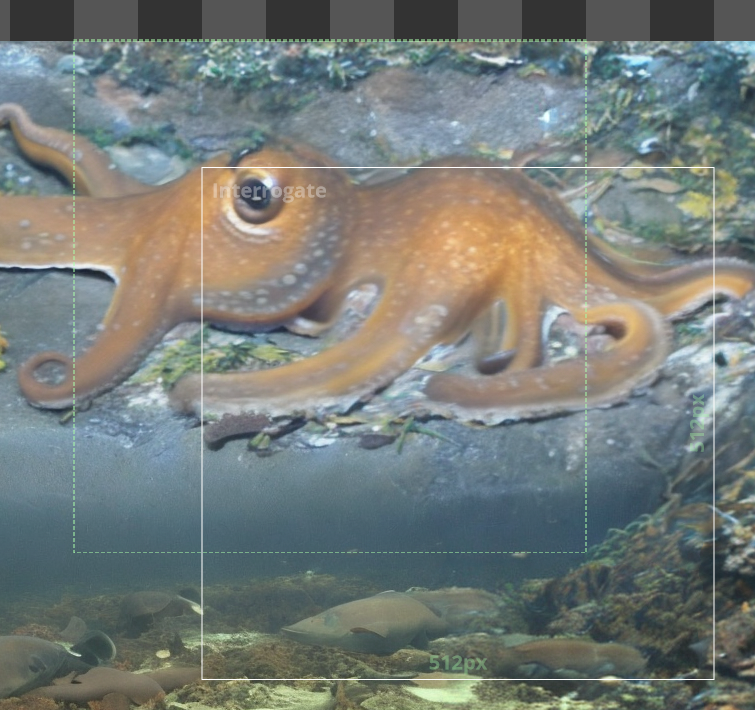
- Now I can't say I understand how deterministic CLIP is for given visual inputs and I'm pretty sure I've set some various options I've forgotten about so you may have different results, but I was informed that the octopus looks like the following:
an octopus is laying on the ground with its eyes open and it's head above the water's surface, lovecraftian, physically based rendering, rendered in maya, an illustration of, a photorealistic painting, a 3D render, photorealism
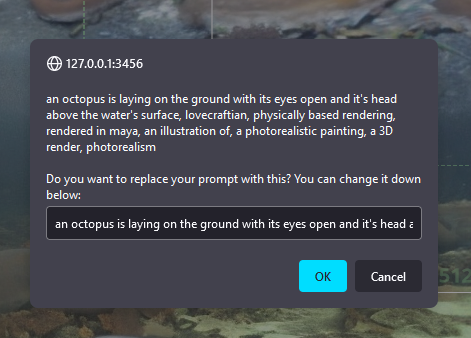
- As long as you received some kind of result, simply click OK to replace your prompt just for fun. Select the img2img tool again and click the southeast corner of your dream collage. Click the Y button immediately without a second's thought when it completes.
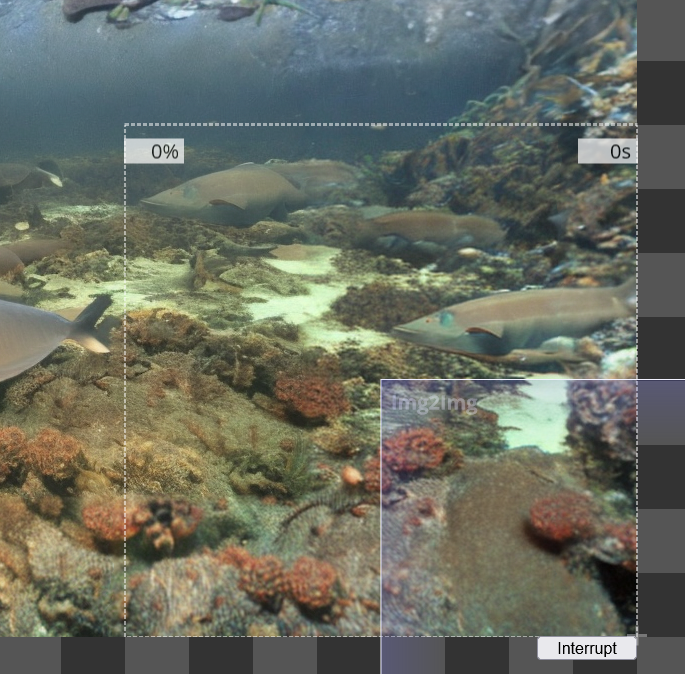
- I, uh... I got this.
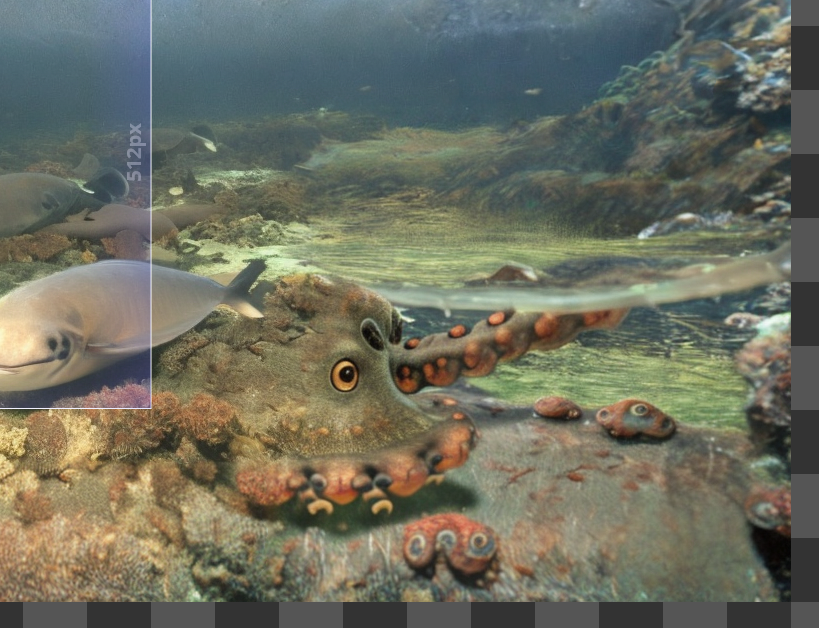
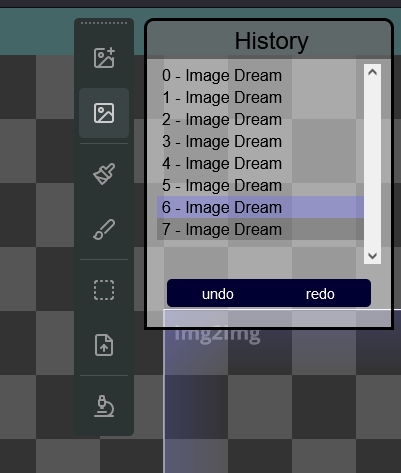
- Maybe I shouldn't have been so cavalier suggesting we click Y without a second's thought. Press [
CTRL]+[Z] or click the "undo" button in the floating History palette to remove... whatever it is we just made. The history palette should reflect the changes we just made by highlighting the previous action. You can click around in here freely if you'd like, but return to the penultimate action once you're done.
- Let's try to forget the tragedy of the horrors we've now unleashed. Click the "Add Layer" button in the floating Layers Palette, likely in the bottom-right of your window. Select the color brush tool (keyboard shortcut: [
C]) and draw a barrel in the southeast corner of the dream collage. Let out your inner art major. Change paint colors with the large button on the bottom of the Context Menu, or use the eyedropper tool to select a color already on the canvas.
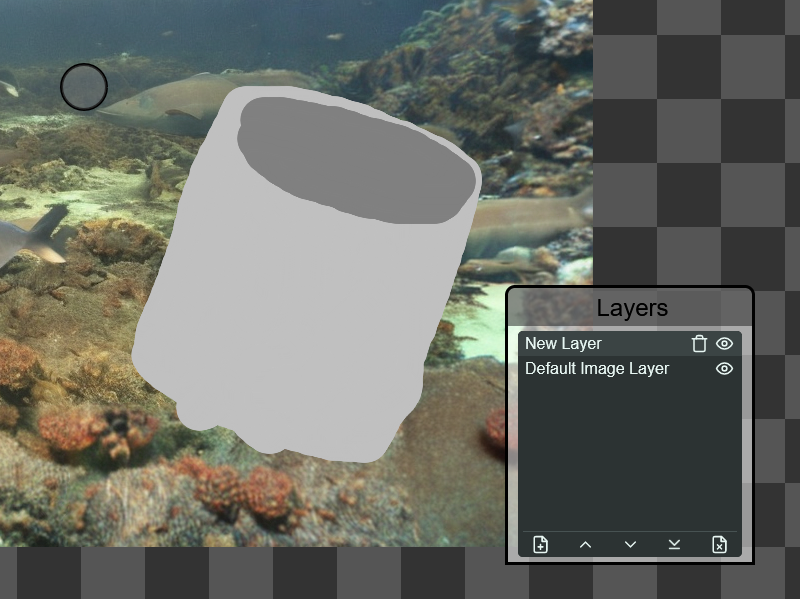
- Change your prompt to
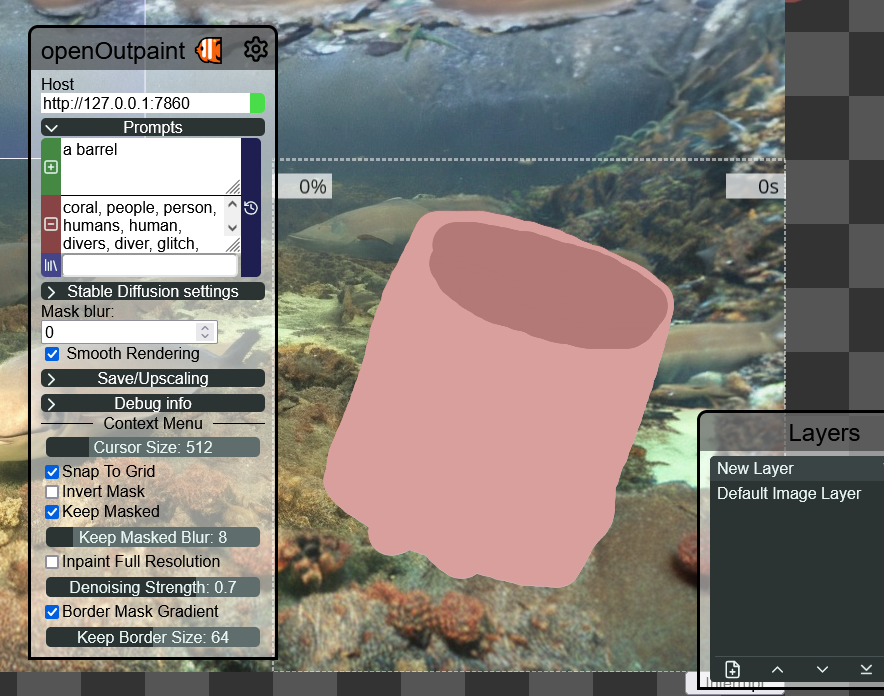
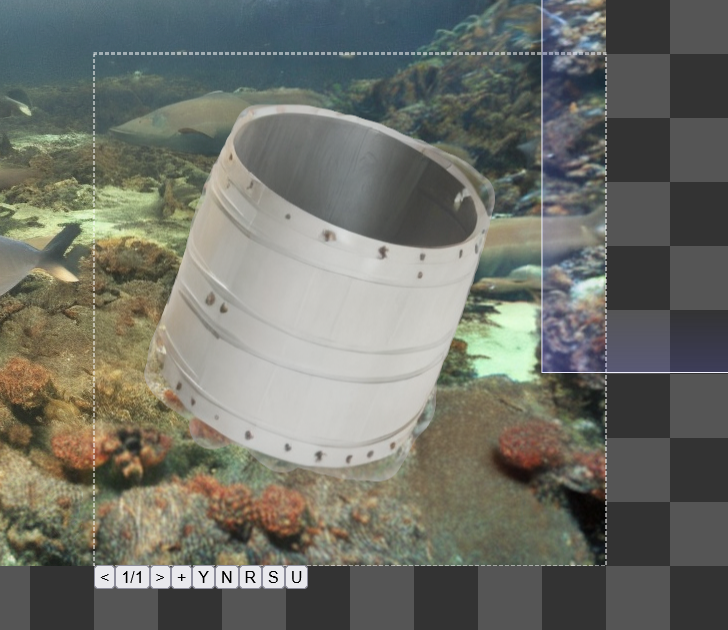
a barrel, select the img2img tool, disable the Invert Mask option, and click over the "barrel". NOTE: As earlier, resultant output images will guaranteed differ from this point forward unless you drew PRECISELY the same barrel as I did.
- Click the Select Image tool (keyboard shortcut: [
S]) and draw a box around your shiny new barrel. Click the "Resource" button at the bottom of the Context Menu, and start randomly left-clicking to stamp your new resource. You can right-click to deactivate the stamp resource when you're done playing around, then [CTRL]+[Z] your way back out of that mess, or just click on the "Image Dream" history entry prior to the "Image Stamp" entries.
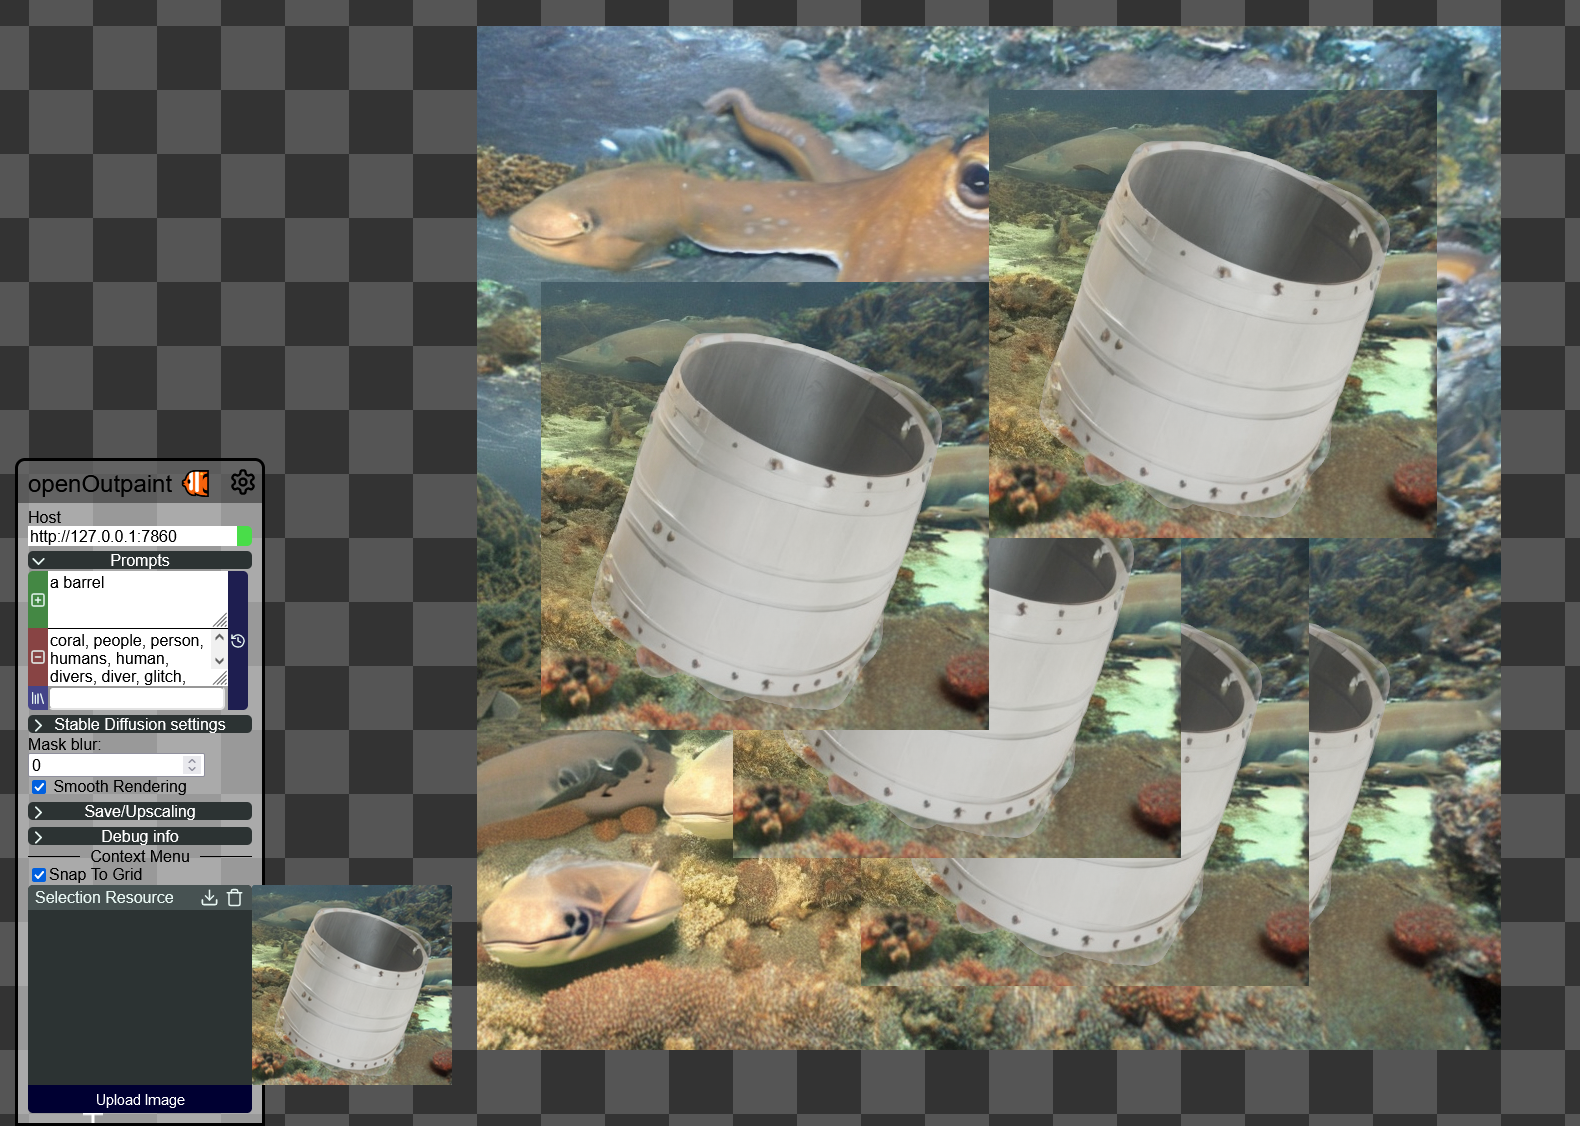
- You can also scale stamped resources or selections using the handles arbitrarily, and even "reveal" and modify things on "lower" layers.
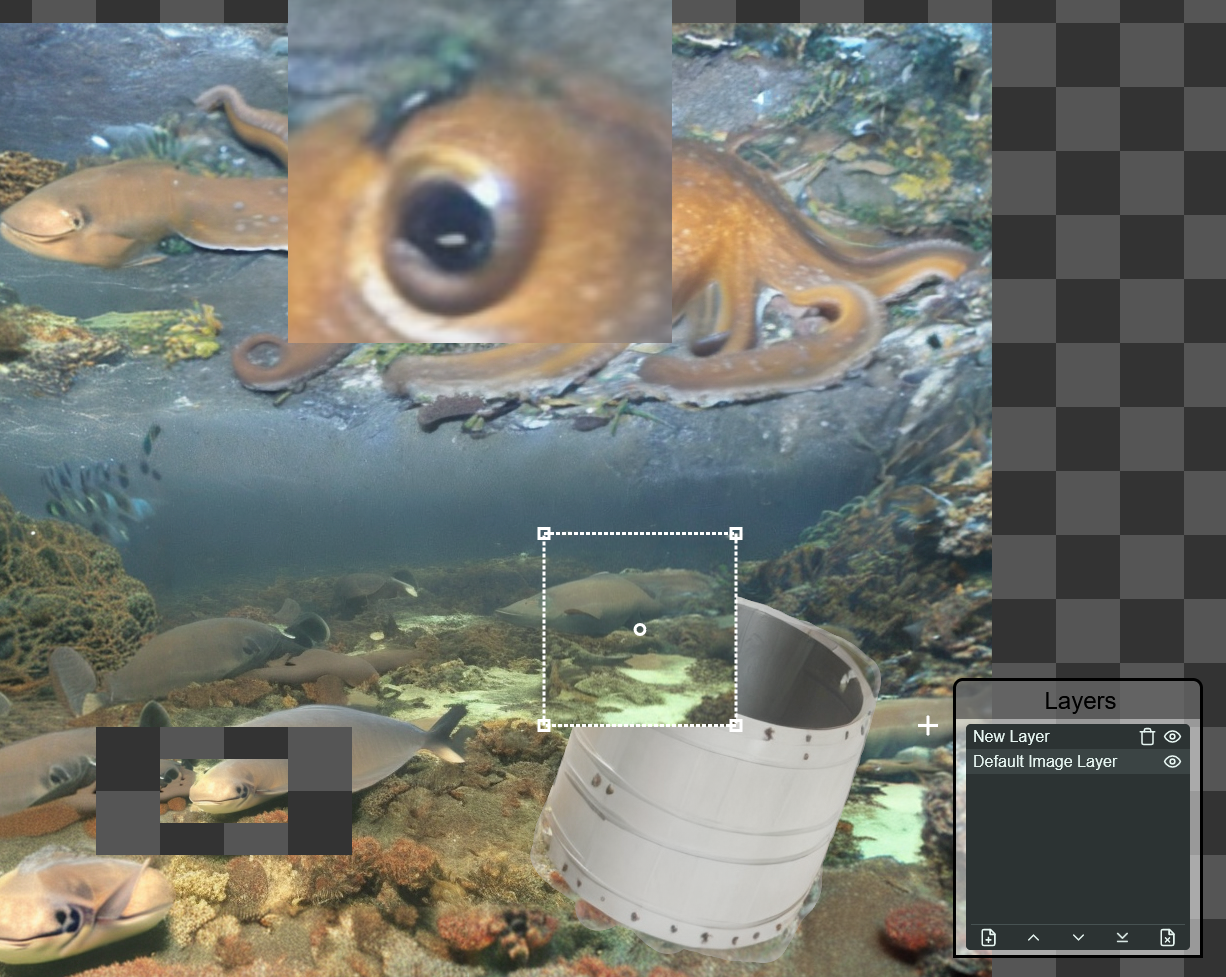
At this point, you should have a decent understanding of the basic functionality of openOutpaint and how to use its main features - have fun and play around with all the options and tools! You can always reset back to factory state using the "Reset to defaults" button in the Debug Info menu if something goes particularly out of control.