If you are a newcomer looking to learn LaTeX, please use Overleaf. After registering on their website, you can have a complete LaTeX environment in your browser without needing to install anything locally.
To avoid slow compilation or downtime on Overleaf before major conference deadlines, I found it necessary to set up a local LaTeX environment for writing. However, deploying such an environment locally can be challenging due to the different versions and dependencies of LaTeX. Improper installation could potentially harm the system's dependencies. To address this issue, this project utilizes VS Code's Dev Containers feature, which deploys a complete LaTeX environment using Docker images without impacting the local machine.
If you also need to write LaTeX using VS Code locally, you can follow the steps below for deployment.
This method will deploy the LaTeX environment to your local machine.
- Writing is not affected even when you're offline.
- Requires installation of Docker and pulling TeX Live image to your local machine, consuming disk space.
- Docker container runs on your local machine, consuming system resources, especially on devices with limited CPU and memory.
- If you work on multiple machines, you need to deploy the environment on each machine separately, which can be cumbersome.
- Install Docker and VS Code on your local machine.
- Install the Dev Containers extension in VS Code.
- Clone this project to your local machine and open it with VS Code.
- In the VS Code command palette (can be opened with the shortcut
F1), search and executeDev Containers: Reopen in Container.
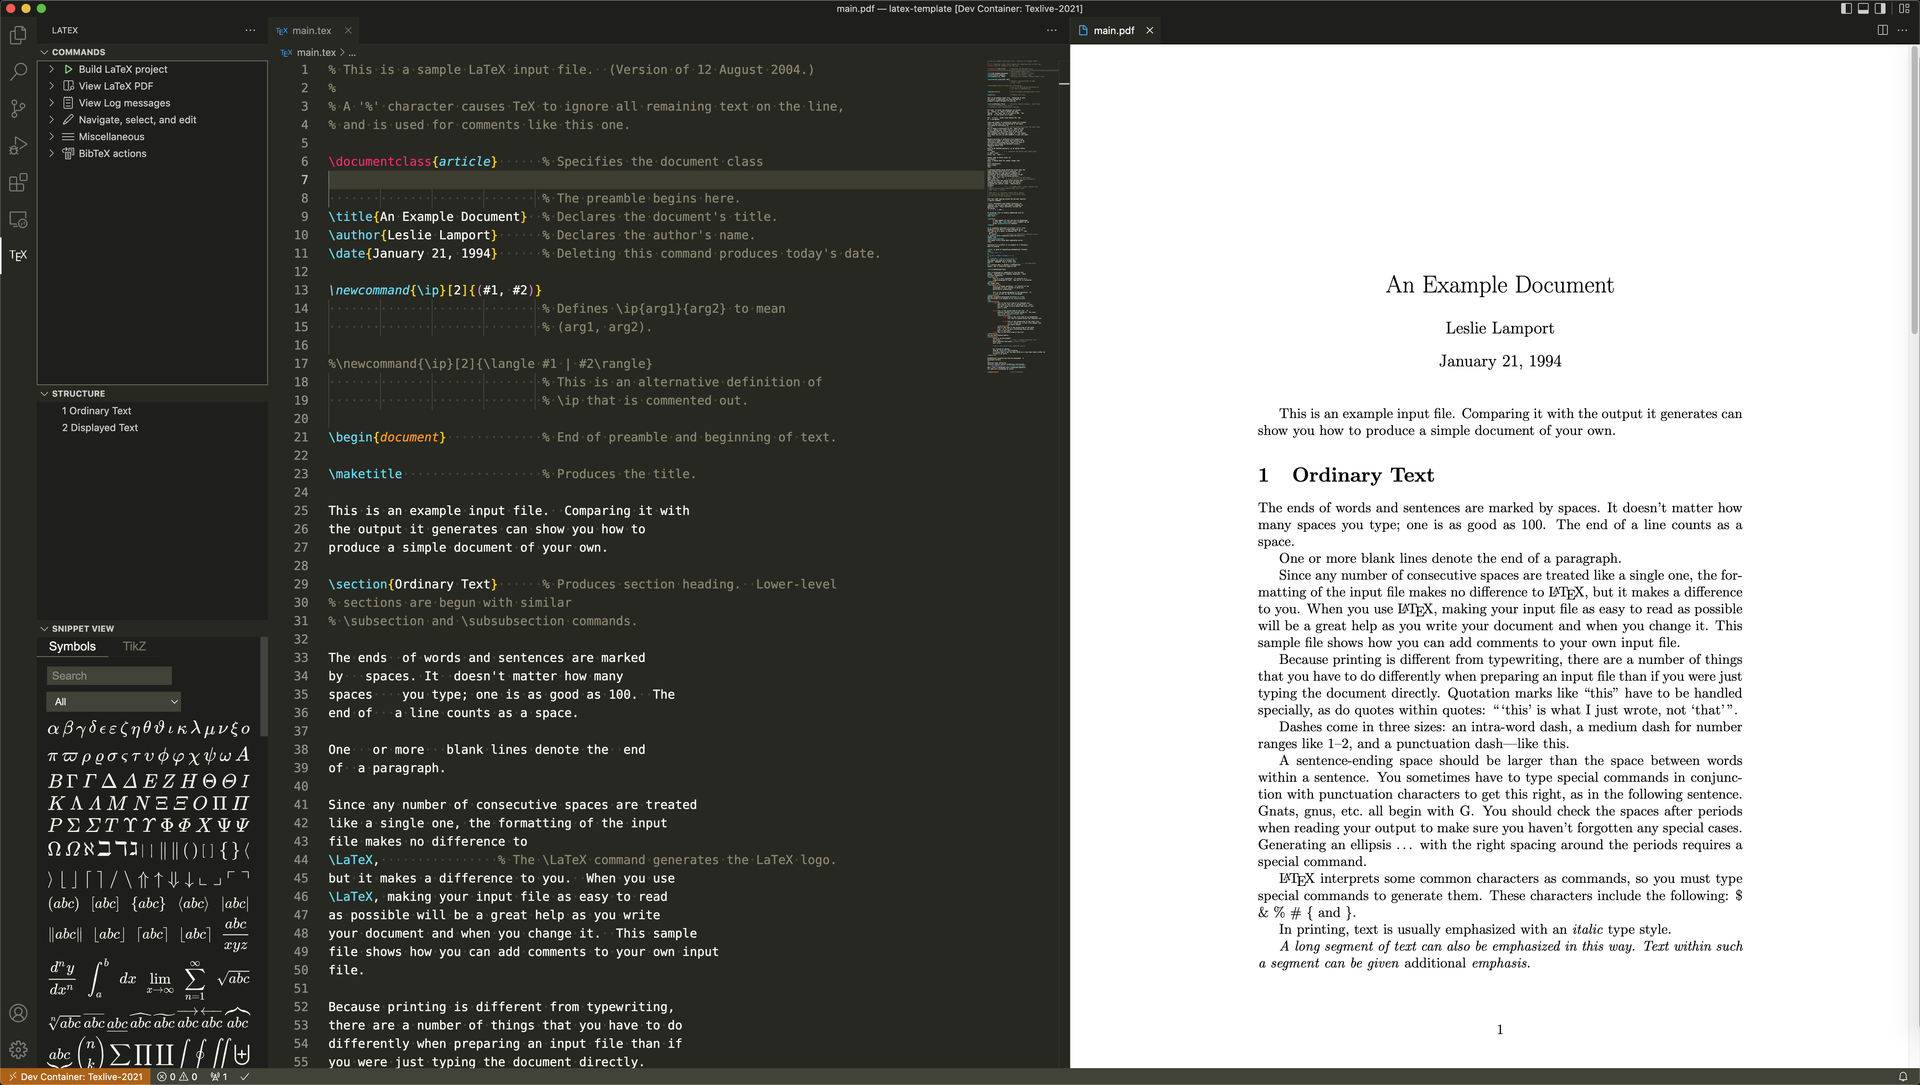
After installation, it should look like this:
This method involves deploying the LaTeX environment to a remote server. It can be a VPS you own, or a server from your company, school, or lab.
- No need to install Docker and TeX Live image on your local machine, saving disk space.
- Docker container runs on the remote server, not affecting local machine performance.
- Deploy it once on a server, and you can use it on any machine that can connect to that server.
-
A remote server is required.
-
Requires a connection to the server, making it unavailable in offline environments.
-
Installing and running Docker on the server requires
sudoprivileges, which may not be suitable for users with only regular permissions.You can contact the administrator to install Docker on the server and then use
sudo usermod -aG docker your_usernameto add your username to the docker user group. This will allow you to use the docker service withoutsudoprivileges. For more details, refer to the official documentation.
- Install Docker on the remote server.
- Install VS Code on your local machine.
- Install Dev Containers and Remote - SSH extensions in VS Code.
- Download this project to the remote server.
- Use
Remote - SSHto connect to the remote server and open the downloaded project folder. - In the VS Code command palette (can be opened with the shortcut
F1), search and executeDev Containers: Reopen in Container.
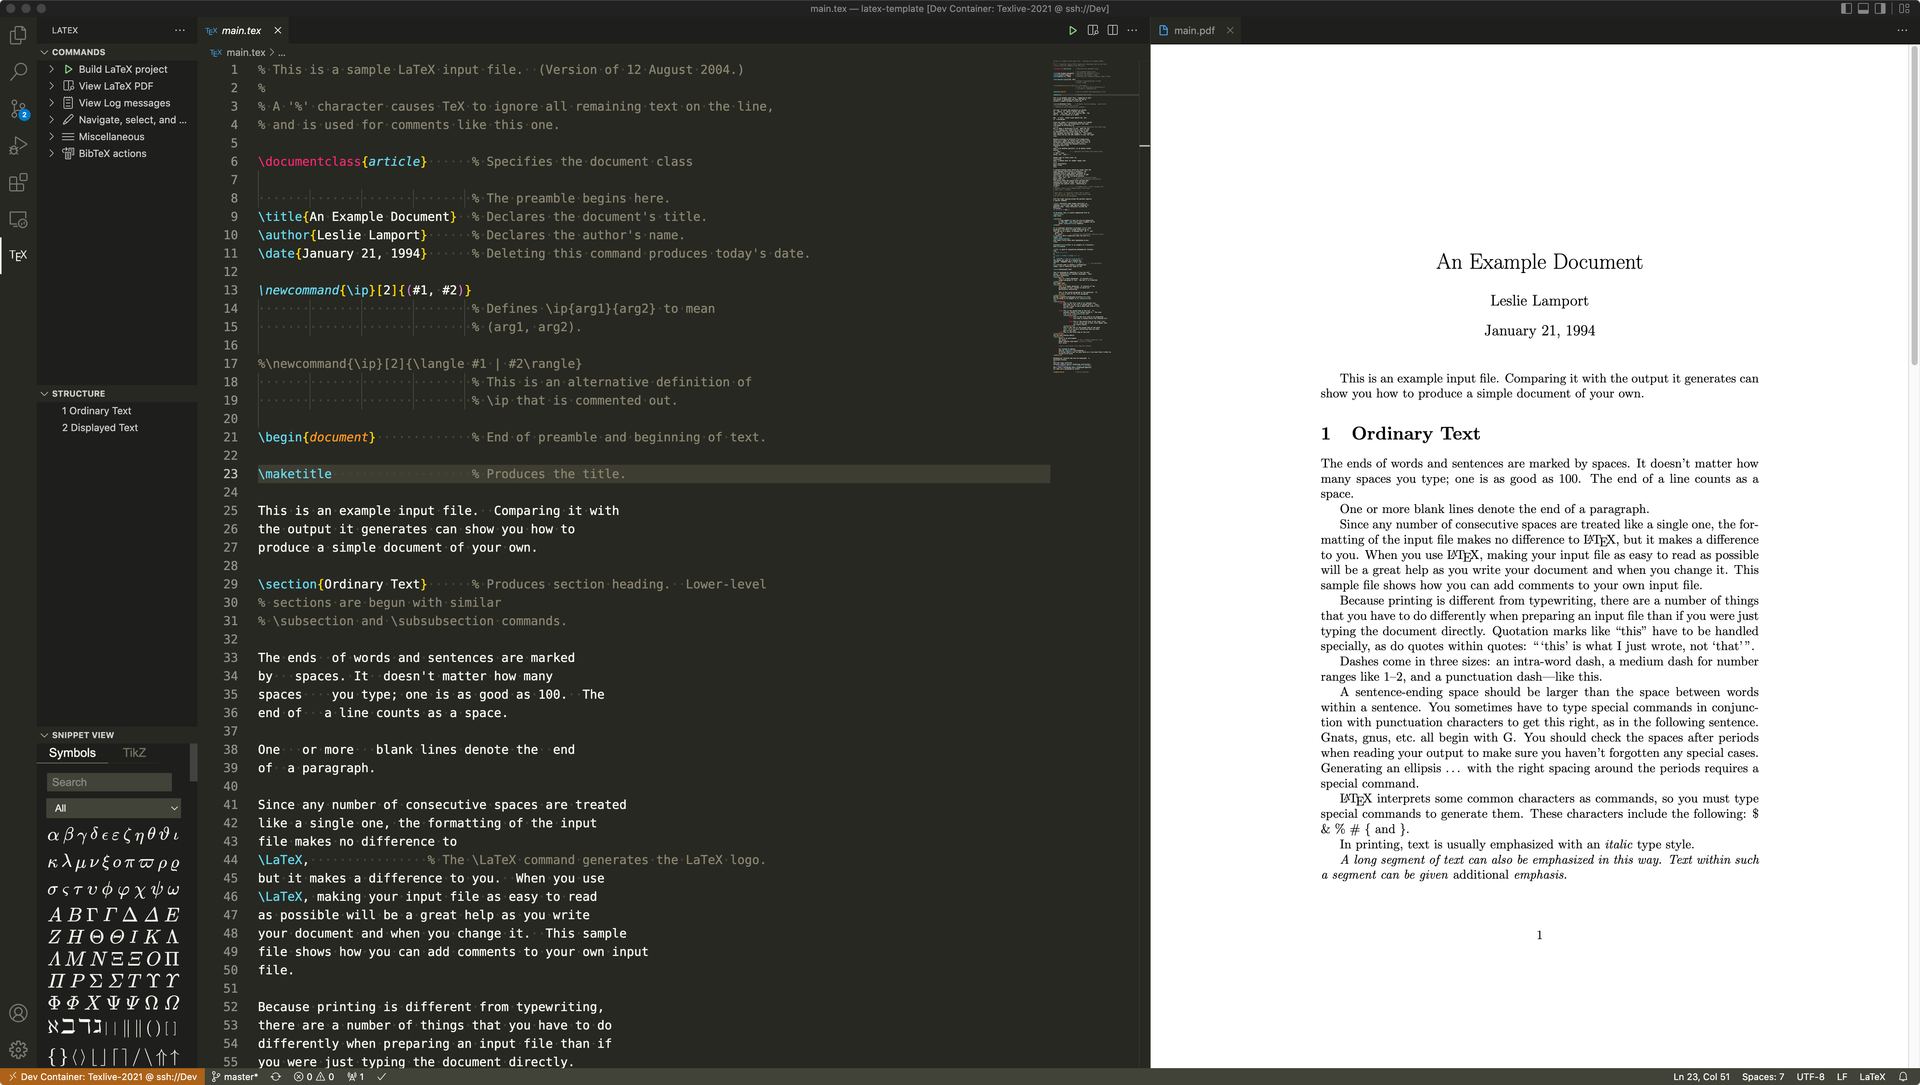
After installation, it should look like this:
This method utilizes GitHub Codespaces to deploy the LaTeX environmenton on a cloud-based server hosted by GitHub. Currently, Codespaces service is free.
Update: Currently, for free tier users, Codespaces offers 120 free core-hours per month. However, since the minimum machine size in Codespaces is 2 cores, you actually have a maximum of 60 free hours per month.
- No need to own a remote server.
- No need to install Docker and TeX Live image on your local machine, saving disk space.
- Docker container runs on GitHub's cloud-based server, not affecting local machine performance.
- No need to install any local softwares (not even the need to install VS Code!). The only requirement is a web browser.
You can still open GitHub Codespaces in your local VS Code if you prefer.
- Paid service. You only have a maximum of 60 free hours per month.
- Requires a connection to GitHub, making it unavailable in offline environments.
-
Fork this project to your GitHub.
-
Follow the steps shown in the image below to create a Codespace and open it in your browser.
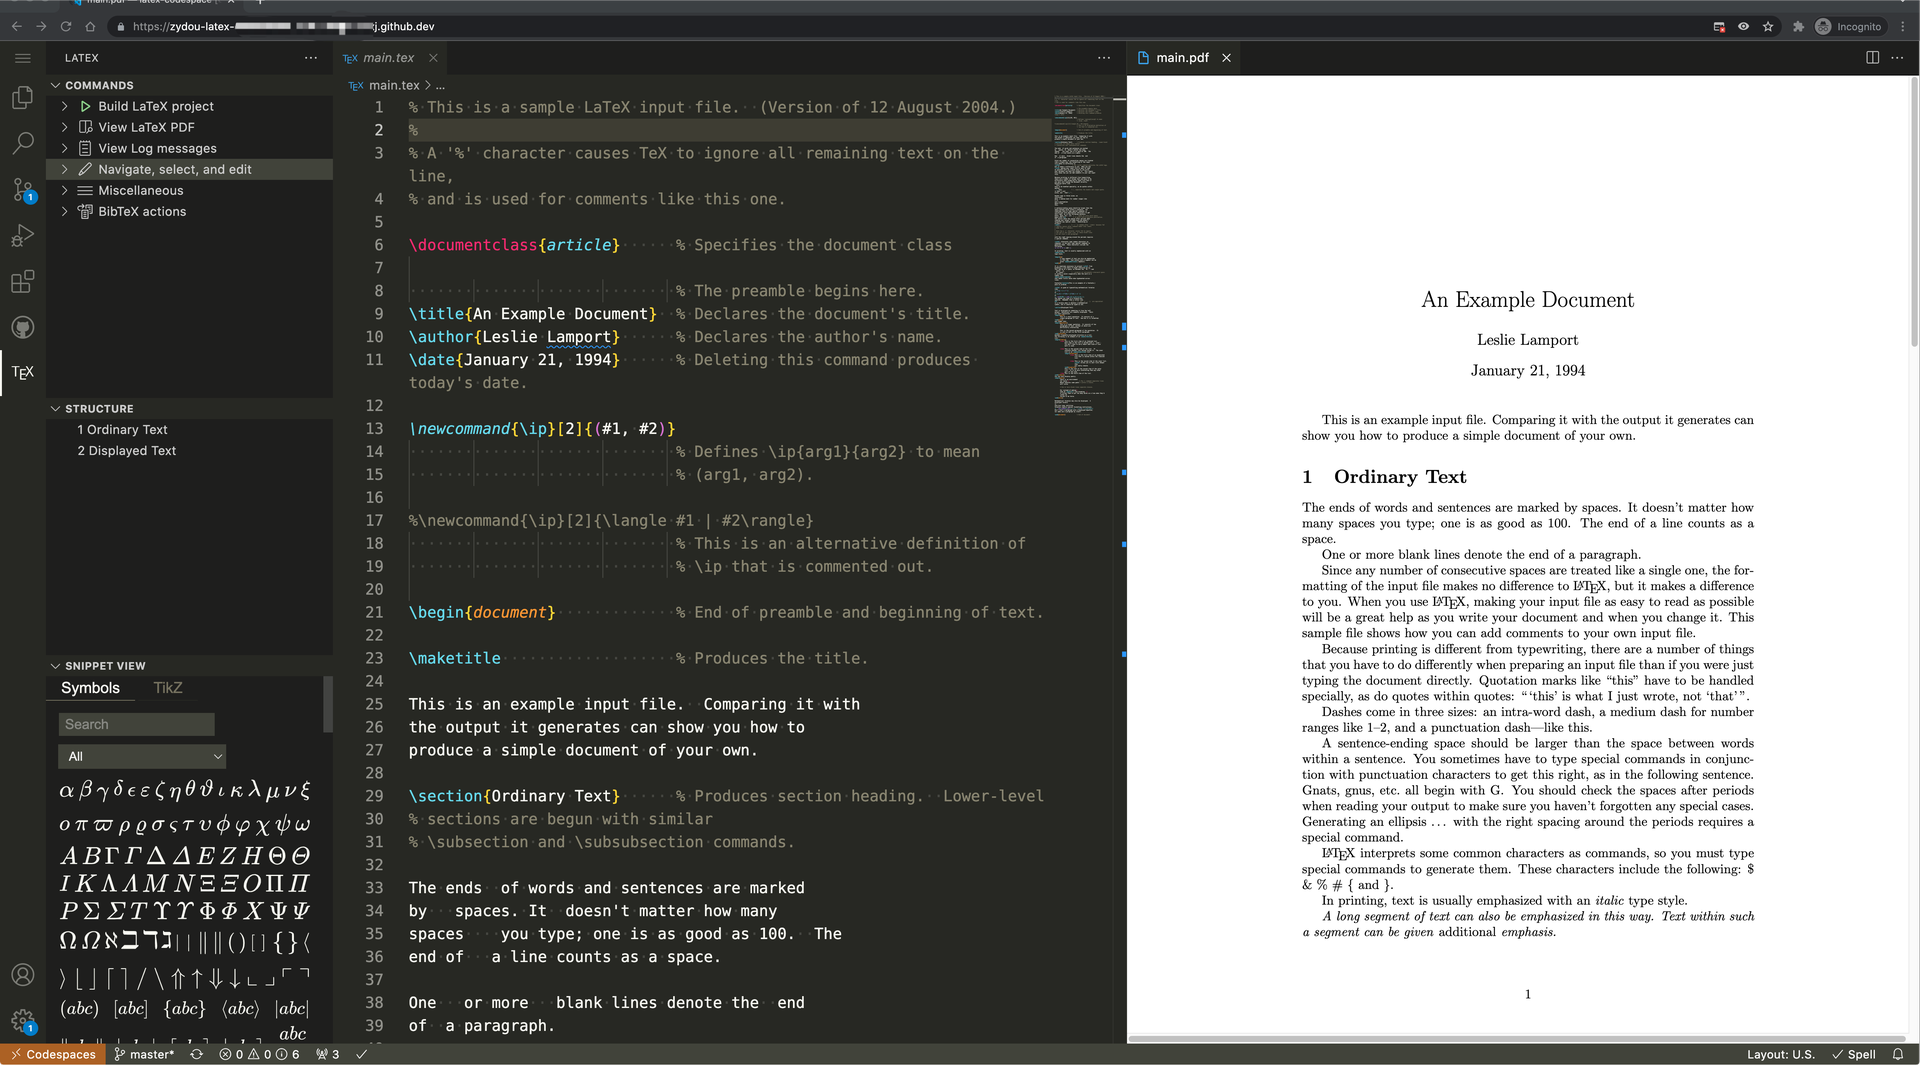
After finished, it should look like this:
-
(Optional) You can use GitHub Codespaces in your local VS Code. For detailed usage instructions, refer to the official documentation.

The configurations for devcontainer can be found in the .devcontainer/devcontainer.json file. To modify the configurations, simply edit this file. Here are some common customization options, and for more specific settings, refer to the official documentation.
.devcontainer/devcontainer.json file. To do this, open the VS Code command palette (can be opened with the shortcut F1), search and execute Dev Containers: Rebuild Container.
Modify the image option in the .devcontainer/devcontainer.json file. For example, changing it to "image": "zydou/devcontainer-texlive:2021" will switch to Tex Live 2021. These images are based on Debian Trixie (aka Debian 13). If you want a different Debian distribution or want to switch to Ubuntu, you can add the distribution name after the year. For example, "image": "zydou/devcontainer-texlive:2022-jammy" is Tex Live 2022 built on Ubuntu Jammy (aka Ubuntu 22.04).
The available Tex Live versions are:
| TeX Live | Description |
|---|---|
| latest | TeX Live 2023 |
| 2023 | TeX Live 2023 |
| 2022 | TeX Live 2022 |
| 2021 | TeX Live 2021 |
| 2020 | TeX Live 2020 |
| 2019 | TeX Live 2019 |
| 2018 | TeX Live 2018 |
The available Linux distributions are:
| Linux Distribution | Description |
|---|---|
| trixie | Debian 13 |
| bookworm | Debian 12 |
| bullseye | Debian 11 |
| buster | Debian 10 |
| jammy | Ubuntu 22.04 |
| focal | Ubuntu 20.04 |
| bionic | Ubuntu 18.04 |
| xenial | Ubuntu 16.04 |
Examples:
zydou/texlive:latest         # latest texlive on newest Debian
zydou/texlive:2022           # texlive-2022 on newest Debian
zydou/texlive:focal          # latest texlive on Ubuntu Focal
zydou/texlive:latest-buster  # latest texlive on Debian Buster
zydou/texlive:2021-jammy     # texlive-2021 on Ubuntu Jammy
💡Tip: The version support list above may be outdated. Please refer to the zydou/texlive repository for an accurate version support list.
The extensions option in the .devcontainer/devcontainer.json file defines the extensions that are installed by default. This project only installs the LaTeX Workshop and LaTeX Snippets extensions by default. Add the Extension ID of the desired extensions to the extensions list. For example, to add the Dictionary Completion extension:
  "extensions": [
    "james-yu.latex-workshop",
    "JeffersonQin.latex-snippets-jeff",
    "yzhang.dictionary-completion"
]Add any commands to .devcontainer/postCreateCommand.sh script. This script will be automatically executed after the devcontainer is built. For example:
#!/bin/bash

## Install system packages
sudo apt-get update
sudo apt-get install -y system_package_name

## Update texlive packages
sudo tlmgr update texlive_package_name

## Download some fonts
mkdir "$HOME/.fonts"
curl -sSLf -o "$HOME/.fonts/font_name.ttf" "https://example.com/font_name.ttf"
fc-cache -fv