Using Online API to make Network Requests
The goal of this guide is to show you how to use the Predix SDK For iOS Online API to make network requests to a Predix Cloud application or service.
You must have:
- Completed all tasks from our Getting Started Guide
- Completed all tasks from our Authentication API Guide
- Knowledge of Xcode's Interface Builder
- Experience in connecting the Xcode Interface Builder elements (IBOutlets and IBActions) to a Swift UIViewController
Using the Authentication API Guide as a base, we are going to bring in the Authentication Manager and Views from the Authentication project to bring up an authentication screen. The authentication screen allows us to simply press a button and send a request to a Predix Service without requesting for a UAA bearer token.
Note - Since we are referencing the Authentication API Guide example for authentication, we strongly recommend that you read this guide and complete the tasks outlined in this guide before you start working on the following tasks:
-
Open your project and create a new
UIViewController.File > New > Cocoa Touch Class
-
Enter Class: name as
OnlineAPIViewControllerand select theUIViewControllerfrom the Subclass of: drop down. -
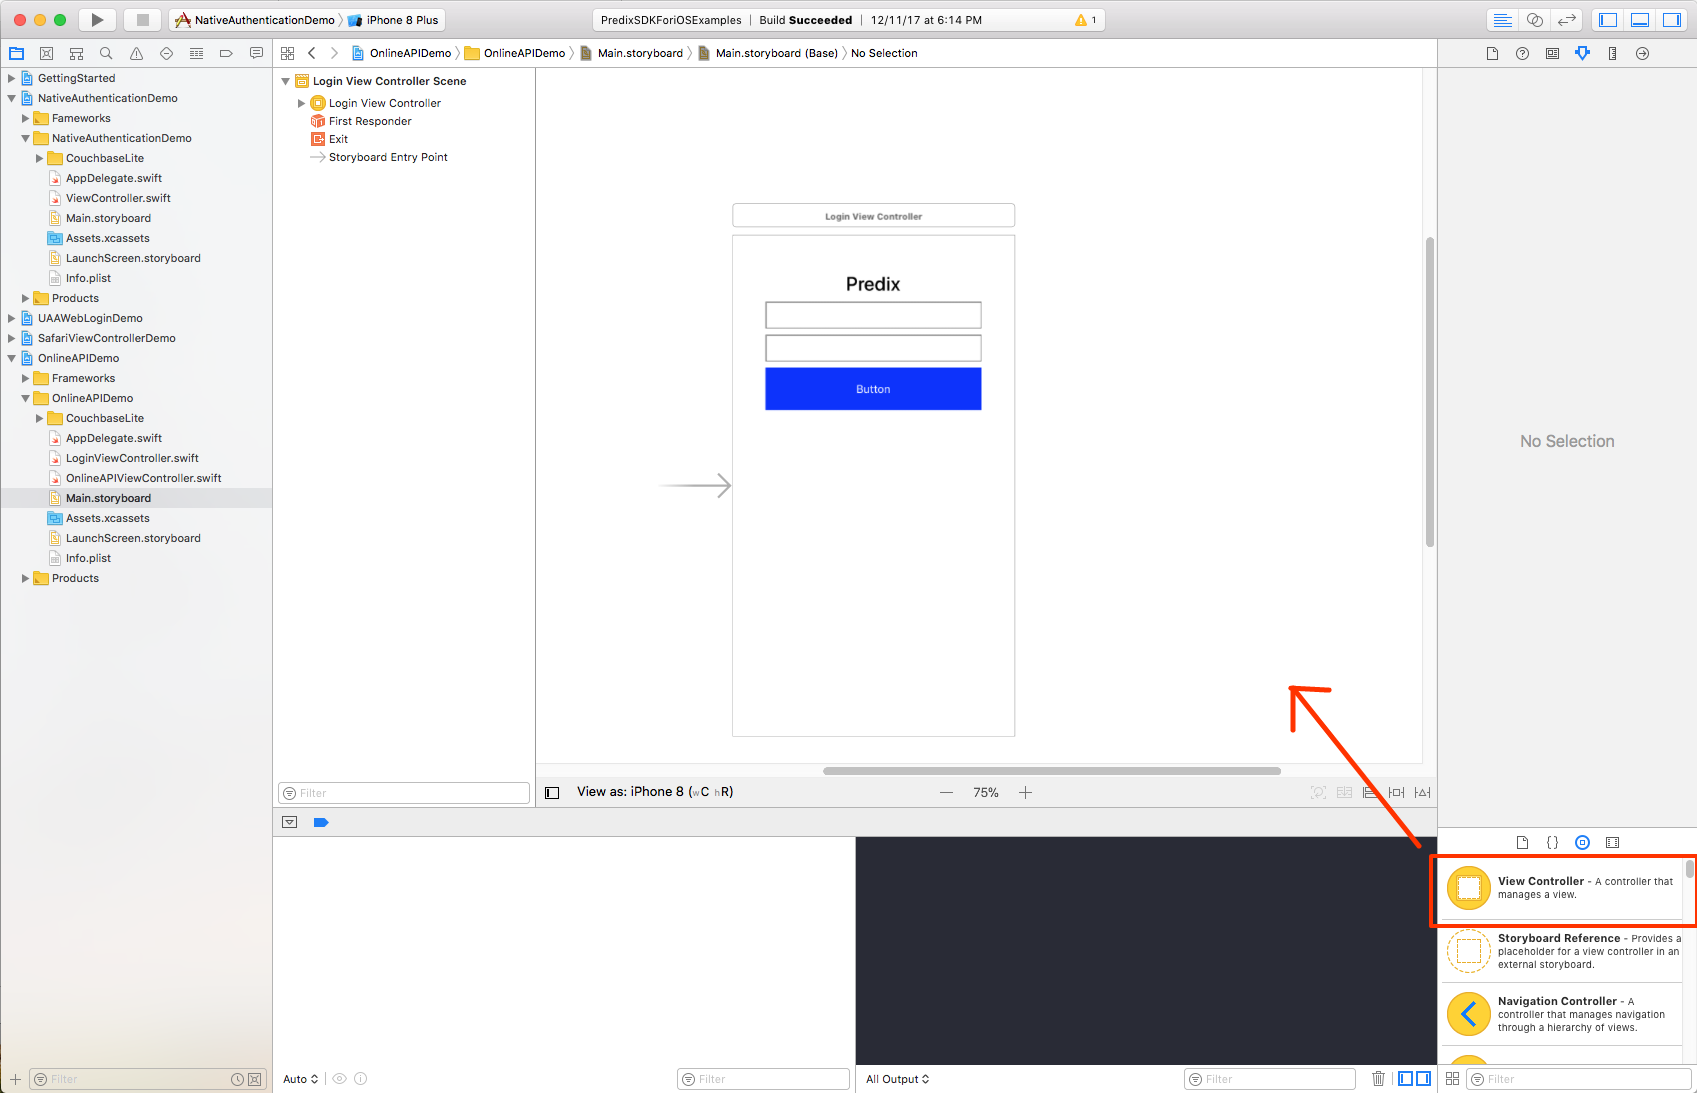
Navigate to your main StoryBoard and drag in a new View Controller.
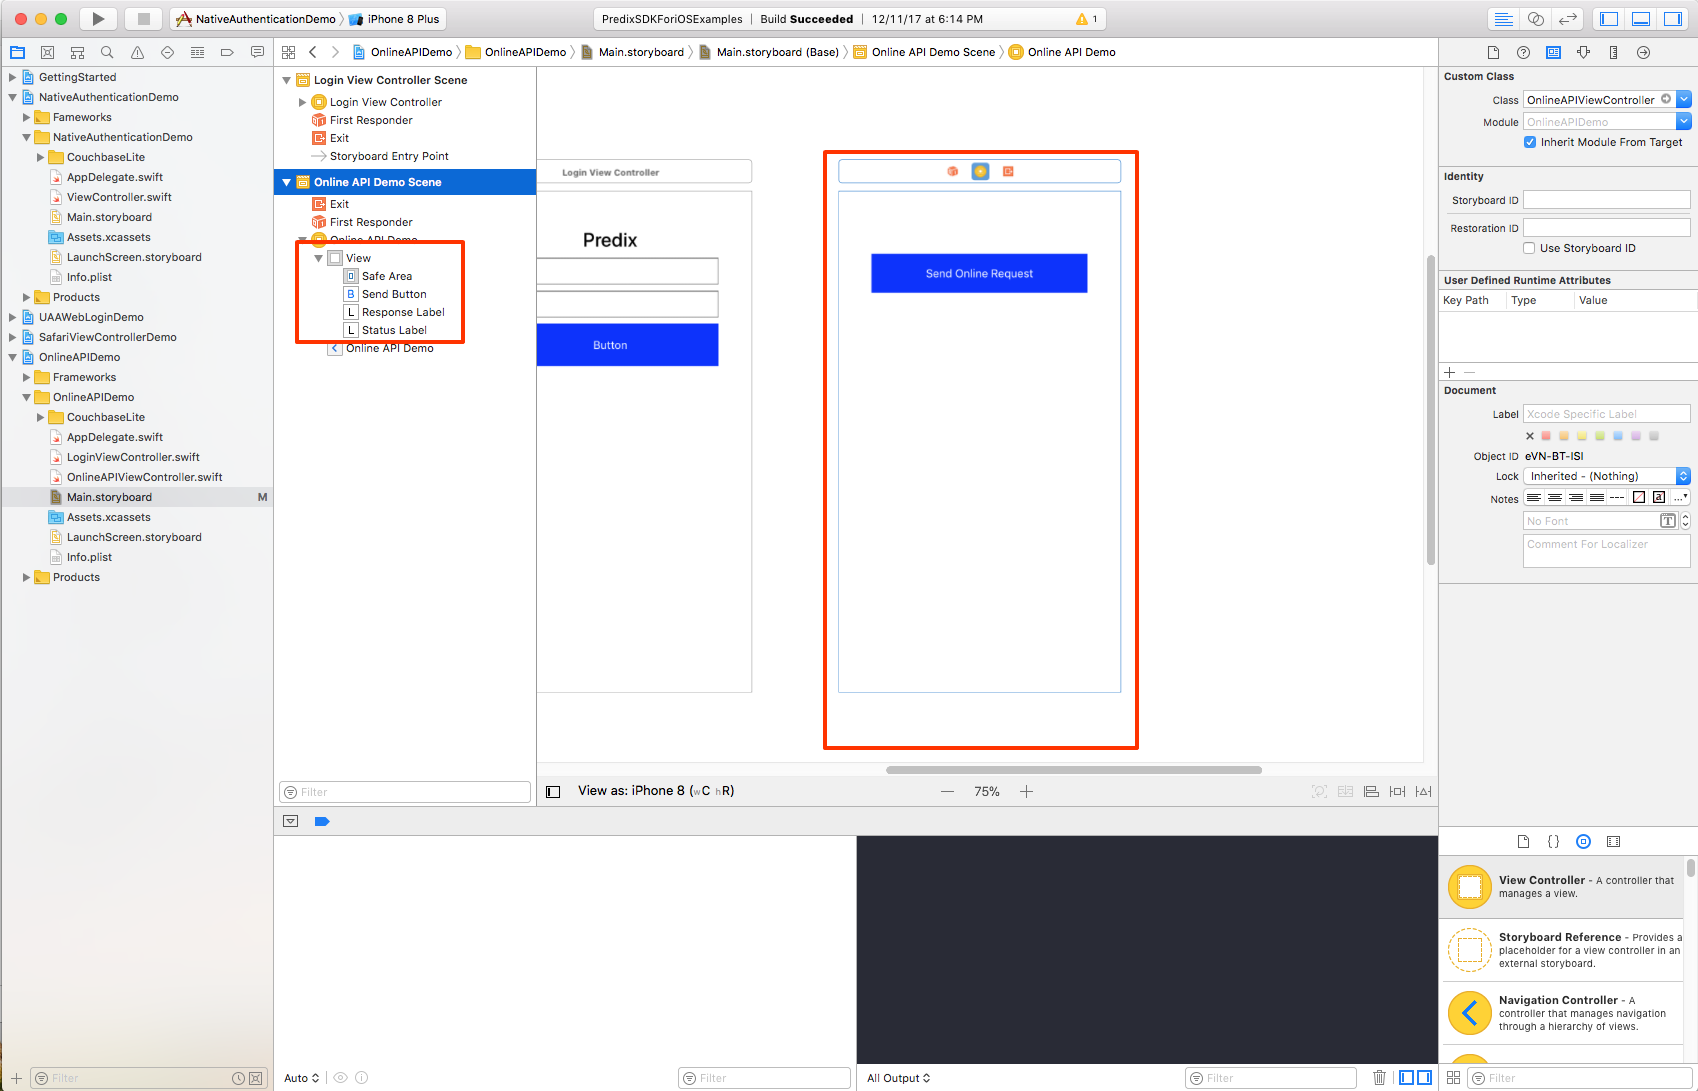
- Modify your View Controller to include a Custom Class that matches the name of the
UIViewControllerthat you created in Step 2.

- Add a button and two labels as shown below.
- Select the login view from the StoryBoard and add manual segues that connects to the View Controller.
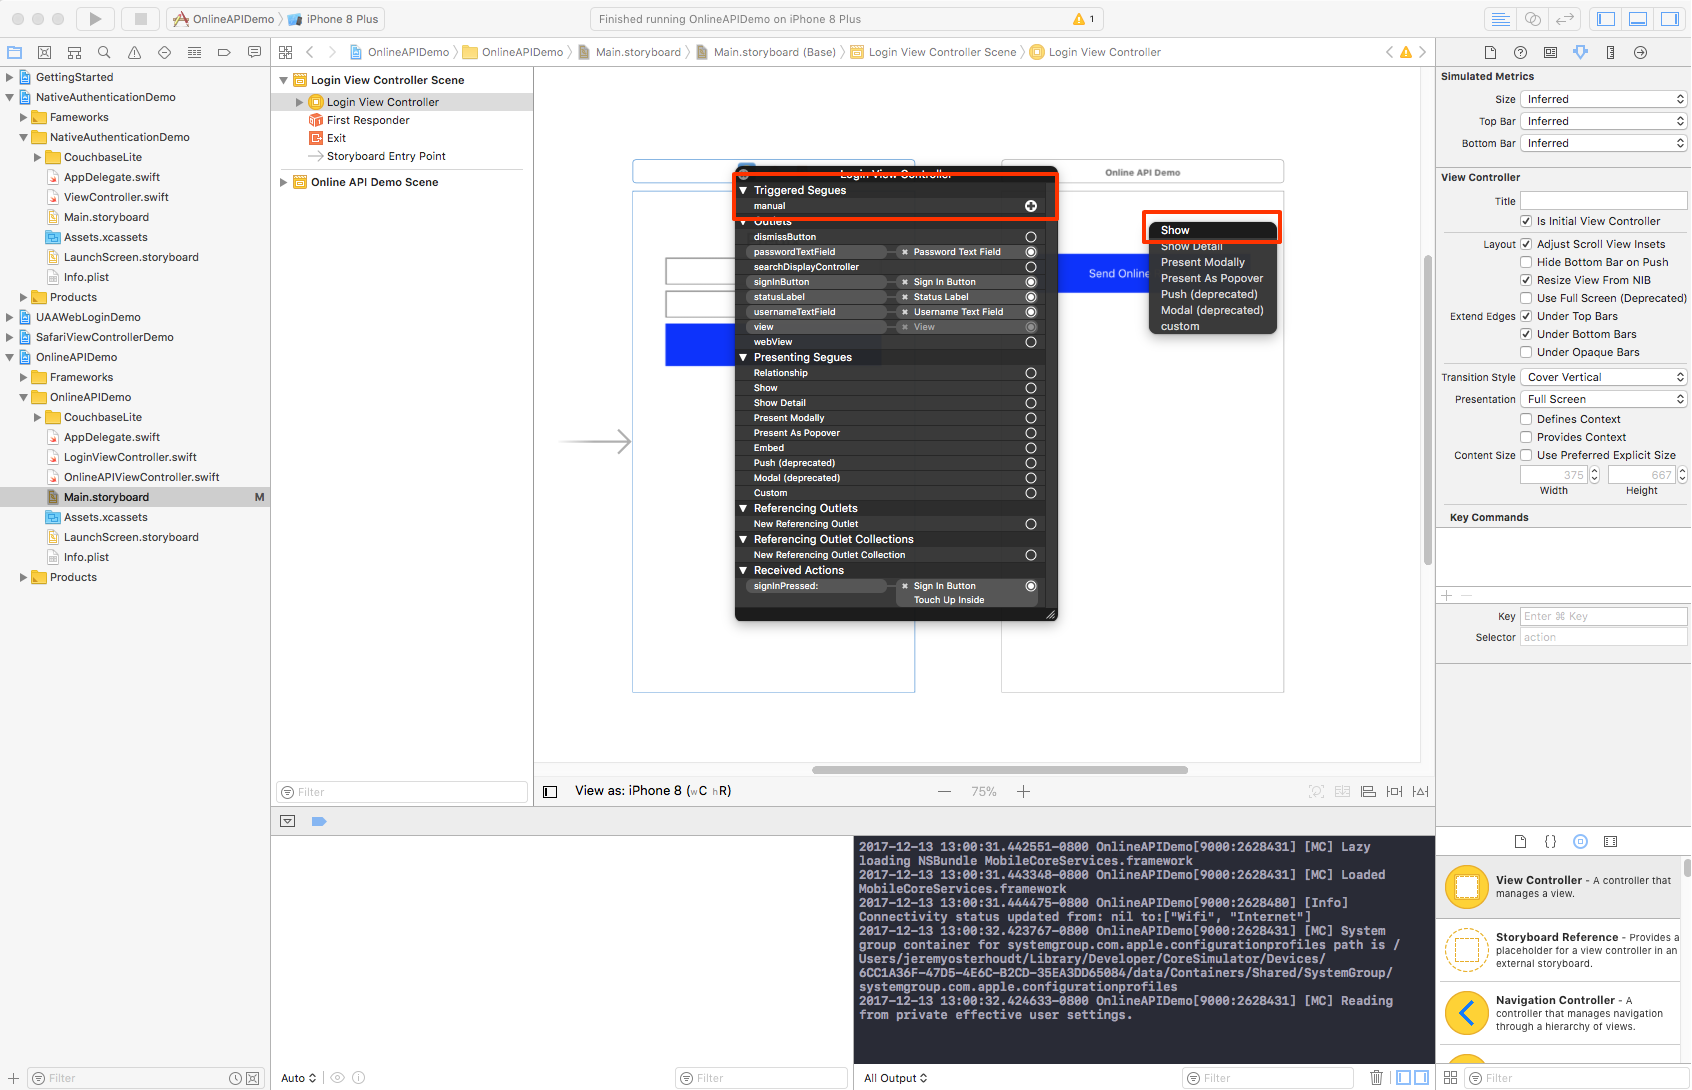
- Select the StoryBoard Segue and enter a name in the Identifier field. For this example, we are using the name, onlineAPI.

- Add your new View Controllers,
IBOutletsandIBActionto yourUIViewController.

- In your newly created
IBActionadd the following code:
@IBAction func sendOnlineRequest(_ sender: Any) {
    let url = URL(string: "https://predixsdkhelloapi.run.aws-usw02-pr.ice.predix.io/hello")!
    self.statusLabel.text = "sending request to \(url.absoluteString)"
    let task = URLSession.predix.dataTask(with: url) { (data, response, error) in
        DispatchQueue.main.async {
            if let urlResponse = response as? HTTPURLResponse {
                self.statusLabel.text = "got a response from \(url.absoluteString): statusCode: \(urlResponse.statusCode)"
            } else {
                self.statusLabel.text = "got a response"
            }

            if let requestError = error {
                self.statusLabel.text = "bad response from request: \(requestError)"
                return
            }

            if let jsonData = data, let json = try? JSONSerialization.jsonObject(with: jsonData, options: JSONSerialization.ReadingOptions(rawValue: 0)) {
                self.responseLabel.text = "\(json)"
            } else {
                self.statusLabel.text = "could not parse response data"
            }
        }
    }

    task.resume()
}- Run the application and when prompted login with the user name demo and the password demo
- Press the send request button. If the call is successful, you will see a statusCode:200 in the Status Label and a response body.
Example of a successful request:
Status label:
got a response from https://predixsdkhelloapi.run.aws-usw02-pr.ice.predix.io/hello: statusCode: 200
Response Label:
{
text = "Hello from a Predix Service Protected by UAA";
}
- Check out the Online API documentation
- See the example project