Setup Active Directory
Windows Azure Active Directory manages users, who can access your Simple Azure Virtual Machines Manager. In current version all users in your Active Directory can access SAVMM and no Access Control List is supported. Maybe in future version.
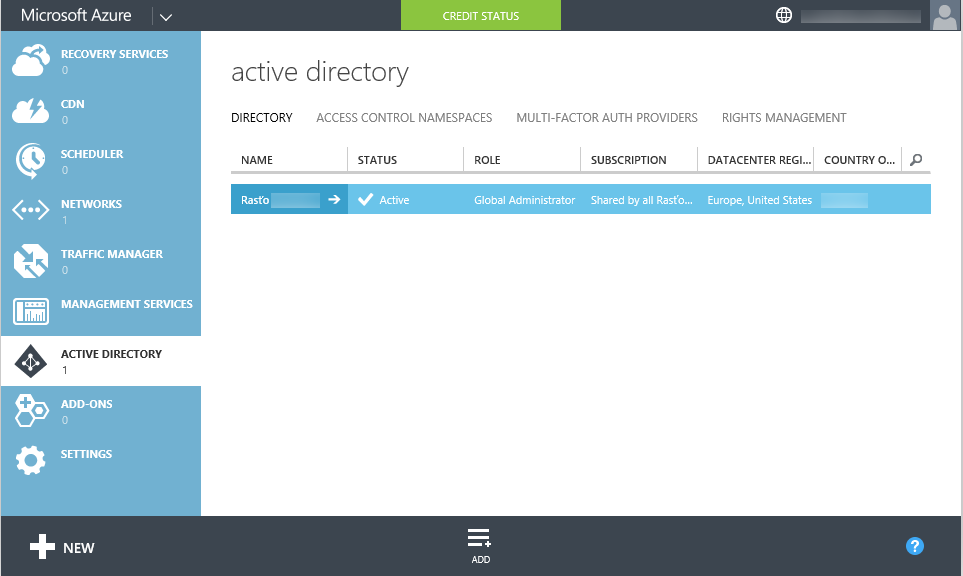
By default each subscription contains at least 1 Active Directory. You can use this one or create completely new Active Directory. In following description I use existing Active Directory.
Open Windows Azure Management Portal. Open Active Directory section.
Select Active Directory you want to use for authentication and go to Applications tab.
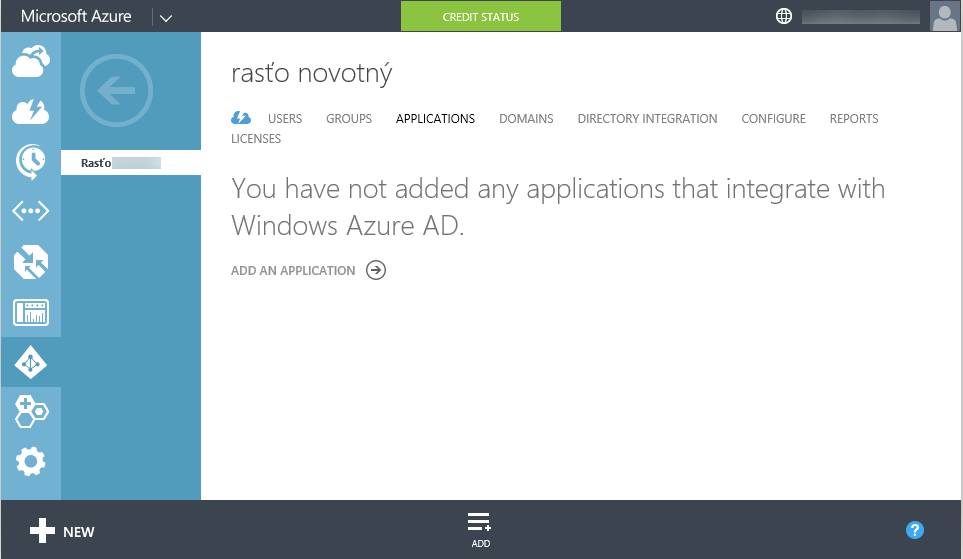
Click Add an application button. Select Add an application my organization is developing.

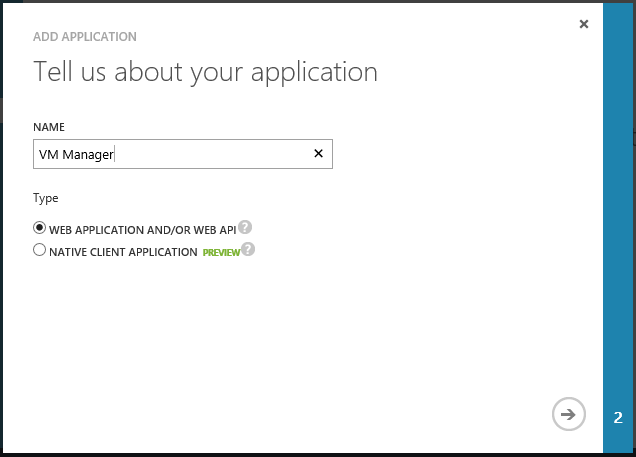
Specify name of the application and select that it is web application.
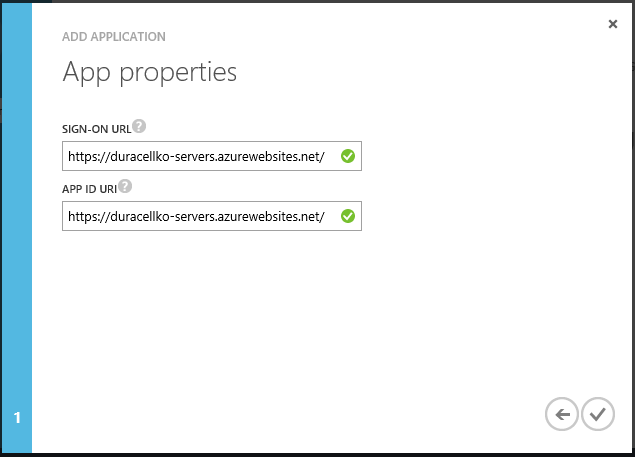
On the next page specify following settings:
- Sign-on URL: URL of your application, where you plan to deploy SAVMM. Don't forget to specify HTTPS protocol.
- App ID URI: unique identifier of your application. It can be same as application URL (Sign-on URL).
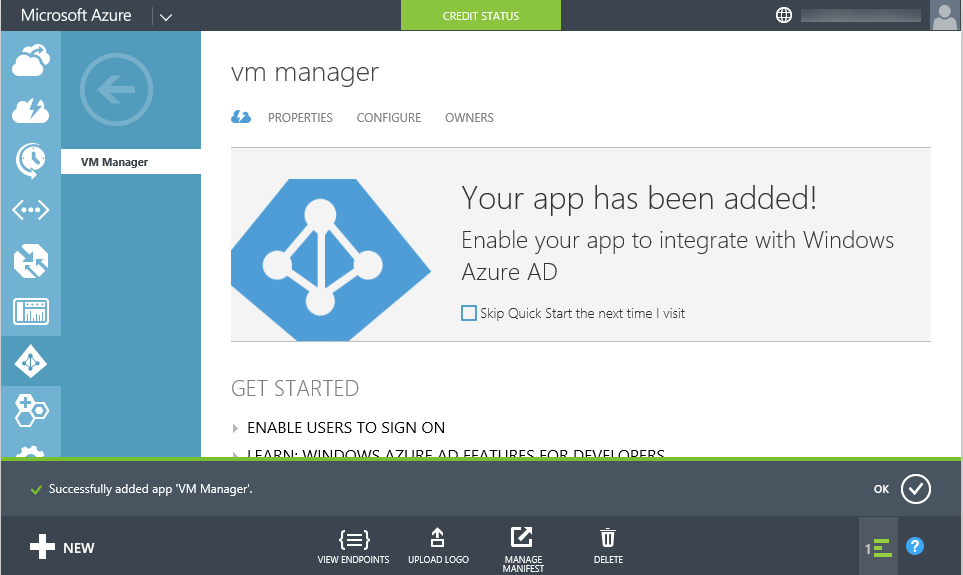
In Windows Azure Portal open Active Directory Application you just created. In bottom bar click View Endpoints.
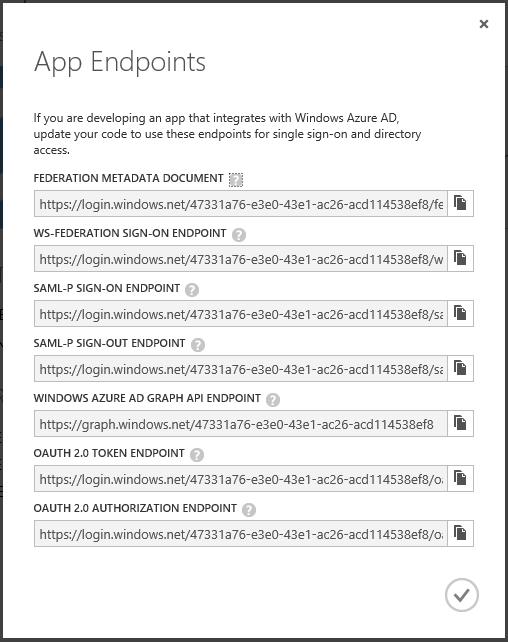
Copy Federation Metadata Document URL to clipboard.
Open Web.config file in Web folder of deployment package.
Find setting ida:FederationMetadataLocation and set value attribute to URL Federation Metadata Document from previous step.
<appSettings>
	...
	<add key="ida:FederationMetadataLocation" value="https://login.windows.net/47331a76-e3e0-43e1-ac26-acd114538ef8/federationmetadata/2007-06/federationmetadata.xml" />
</appSettings>
Find element system.identityModel and go to element system.identityModel/identityConfiguration/securityTokenHandlers/securityTokenHandlerConfiguration/audienceUris/add and set value attribute to App ID URI you specified, when creating Active Directory Application. If you don't remember, you can find it in Configuration tab of you Active Directory Application.
<system.identityModel>
	<identityConfiguration>
		<securityTokenHandlers>
			<securityTokenHandlerConfiguration>
				<issuerNameRegistry type="Duracellko.WindowsAzureVmManager.Identity.CacheIssuerNameRegistry, Duracellko.WindowsAzureVmManager.Identity" />
				<audienceUris>
					<add value="https://duracellko-servers.azurewebsites.net/" />
				</audienceUris>
				<certificateValidation certificateValidationMode="None" />
			</securityTokenHandlerConfiguration>
			<add type="System.IdentityModel.Services.Tokens.MachineKeySessionSecurityTokenHandler, System.IdentityModel.Services, Version=4.0.0.0, Culture=neutral, PublicKeyToken=b77a5c561934e089" />
			<remove type="System.IdentityModel.Tokens.SessionSecurityTokenHandler, System.IdentityModel, Version=4.0.0.0, Culture=neutral, PublicKeyToken=b77a5c561934e089" />
		</securityTokenHandlers>
	</identityConfiguration>
</system.identityModel>
Find wsFederation element in system.identityModel.services element. Change following attributes:
- issuer: replace {active_directory_id} with unique identifier from Federation Metadata Document URL that can be found in View Endpoints window.
- realm: set to App ID URI (from Configuration tab).
<system.identityModel.services>
	<federationConfiguration>
		<cookieHandler requireSsl="true" />
		<wsFederation passiveRedirectEnabled="true" issuer="https://login.windows.net/47331a76-e3e0-43e1-ac26-acd114538ef8/wsfed" realm="https://duracellko-servers.azurewebsites.net/" requireHttps="true" />
	</federationConfiguration>
</system.identityModel.services>
Save Web.config file.
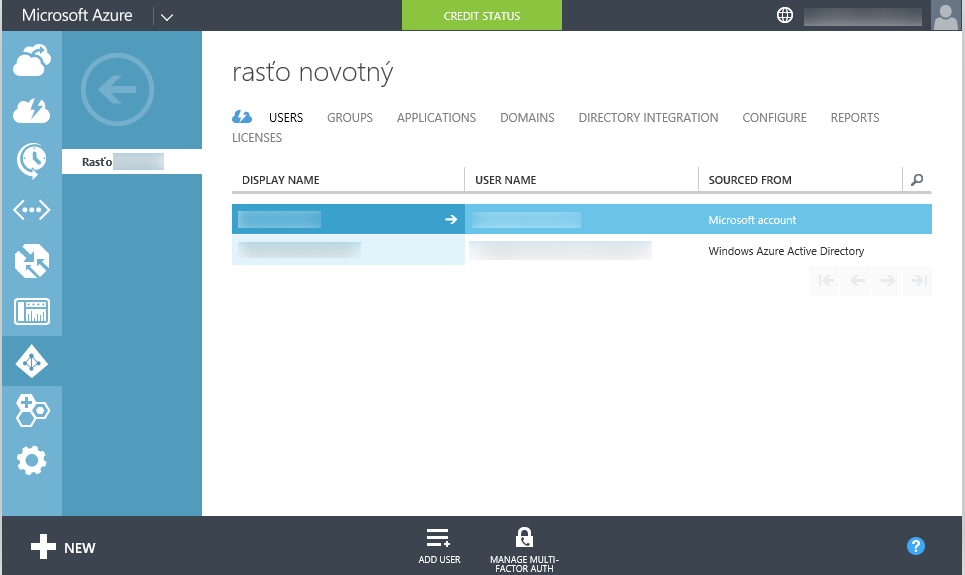
In Windows Azure Portal open Active Directory section and open Active Directory you use for authentication. Open Users tab.
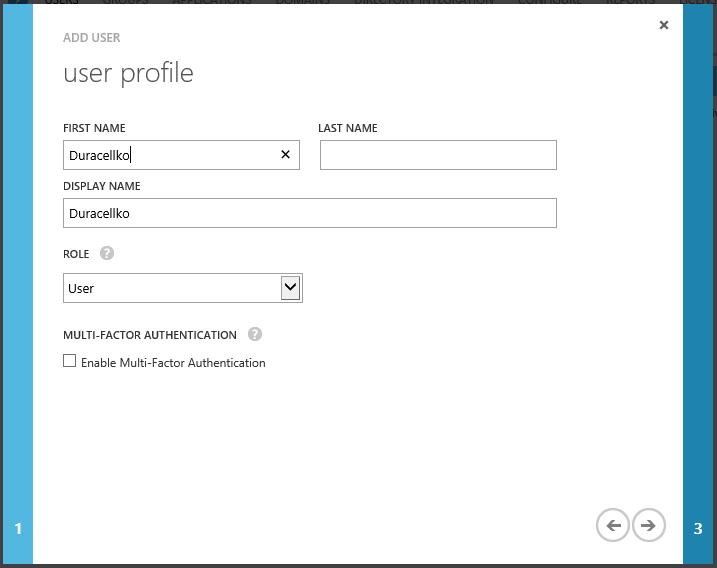
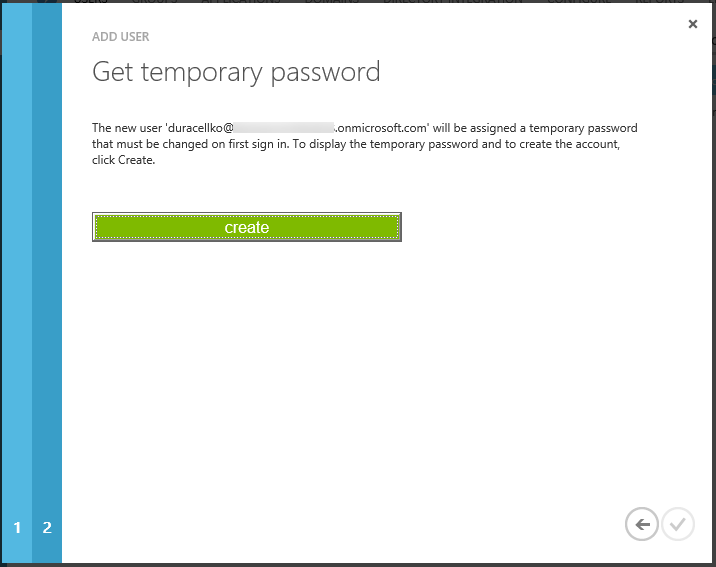
Click Add user at bottom bar. Select option "New user in your organization" and type user name.

On the next page enter user details.
On next page click create.
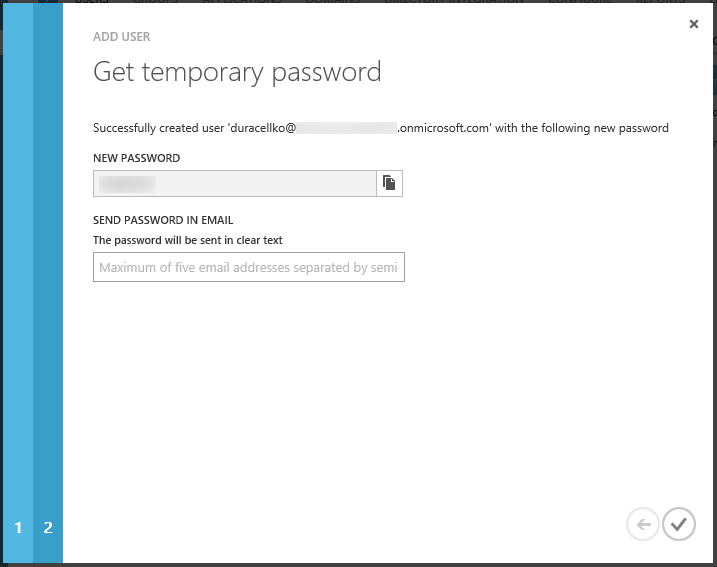
On the next page user password is shown. Either save it in safe place or send it to a specific email. Keep in mind that this is temporary password and user will be asked to change it after first login.
Now user is created. This user can login to your Simple Azure Virtual Machine Manager.
Next step is to [Deploy Web site](Deploy web site)