-
Notifications
You must be signed in to change notification settings - Fork 1
Logs
This tutorial will provide various ways to create / edit worklogs
And here is how 'Log details' screen looks like:
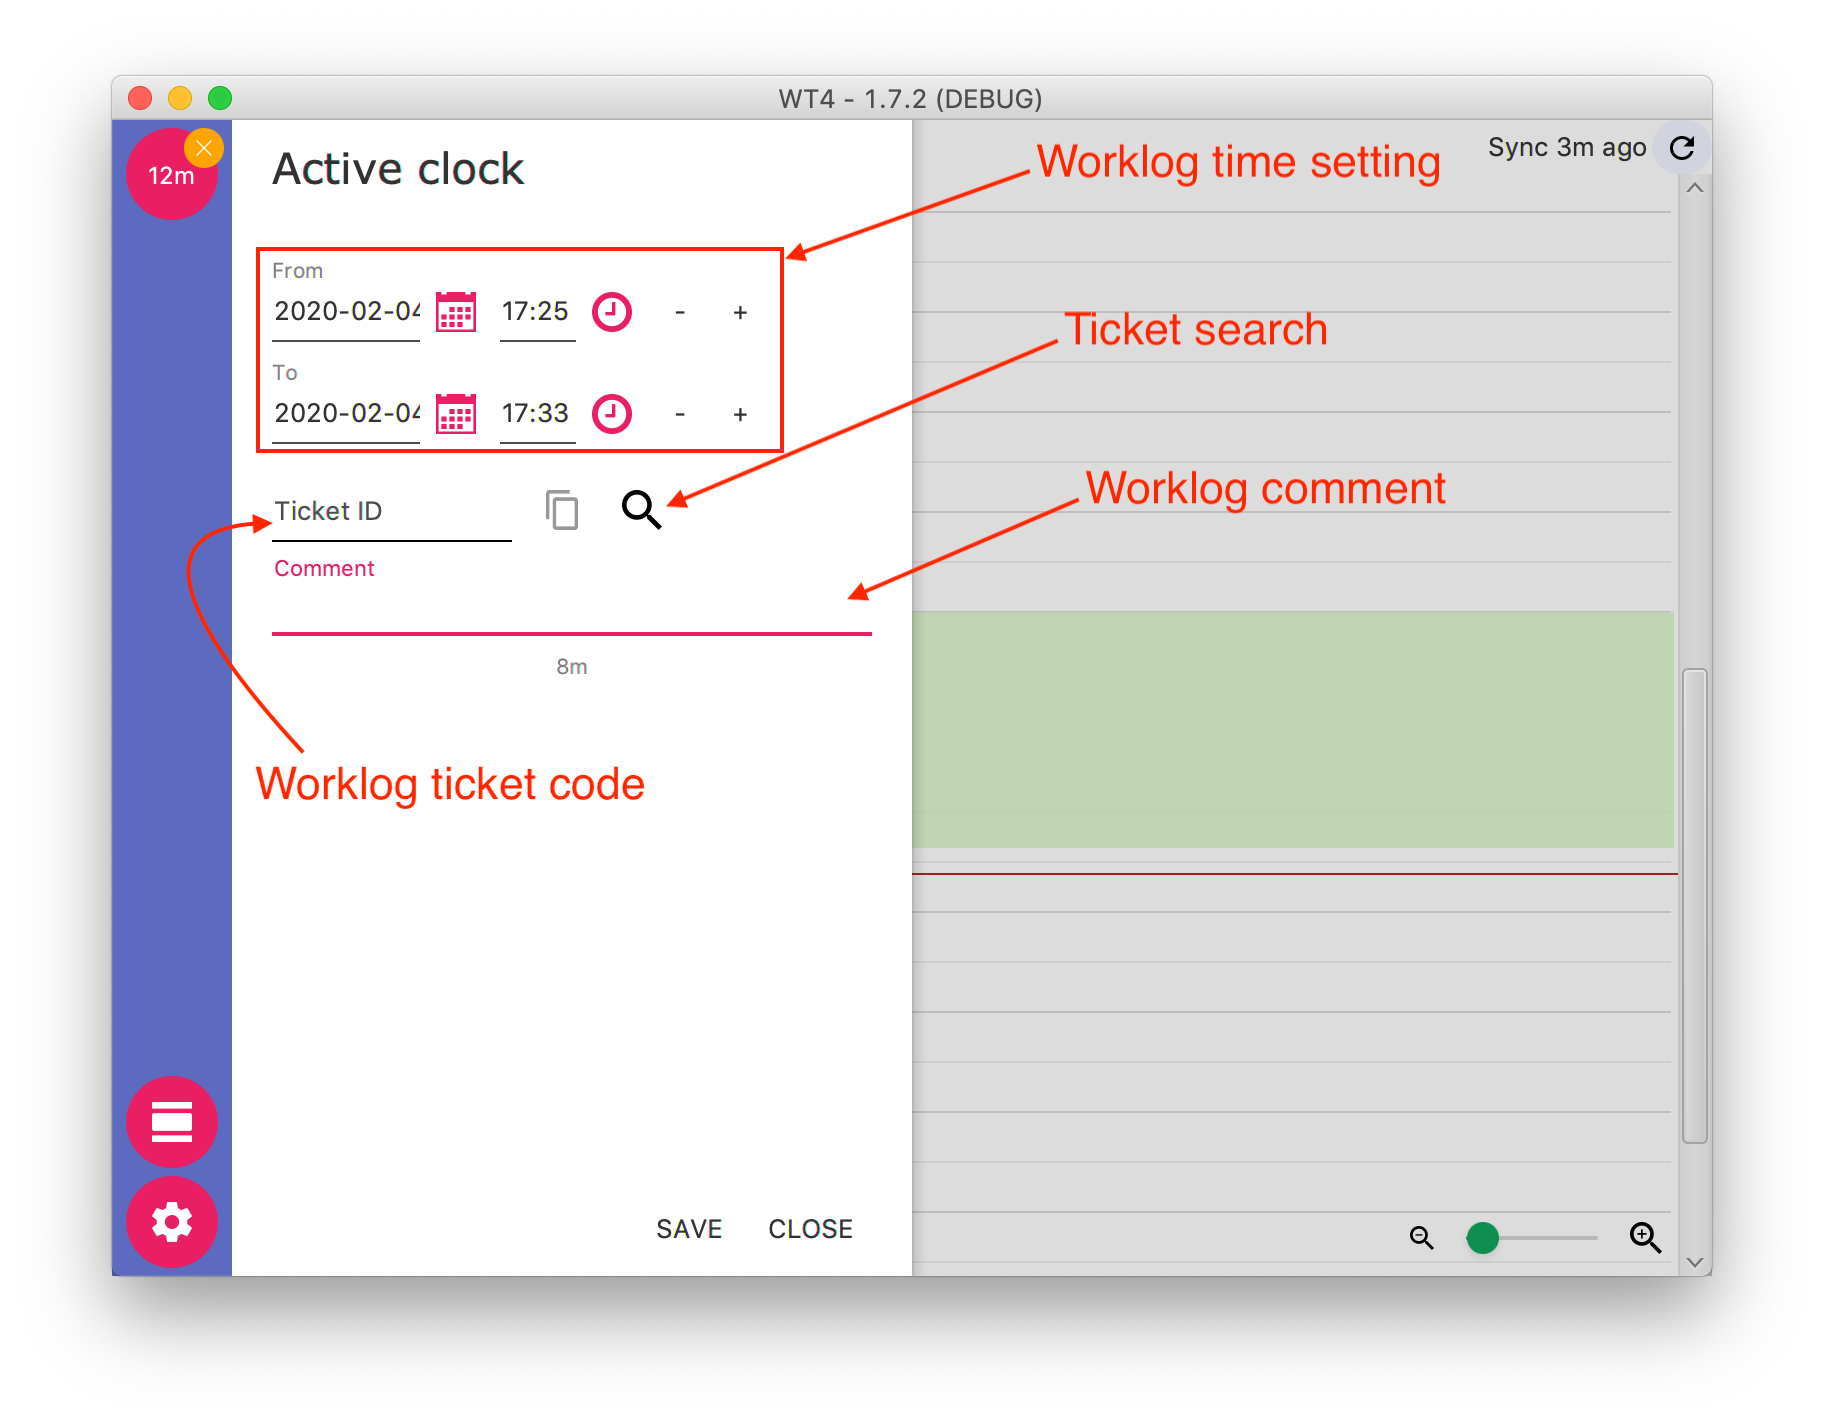
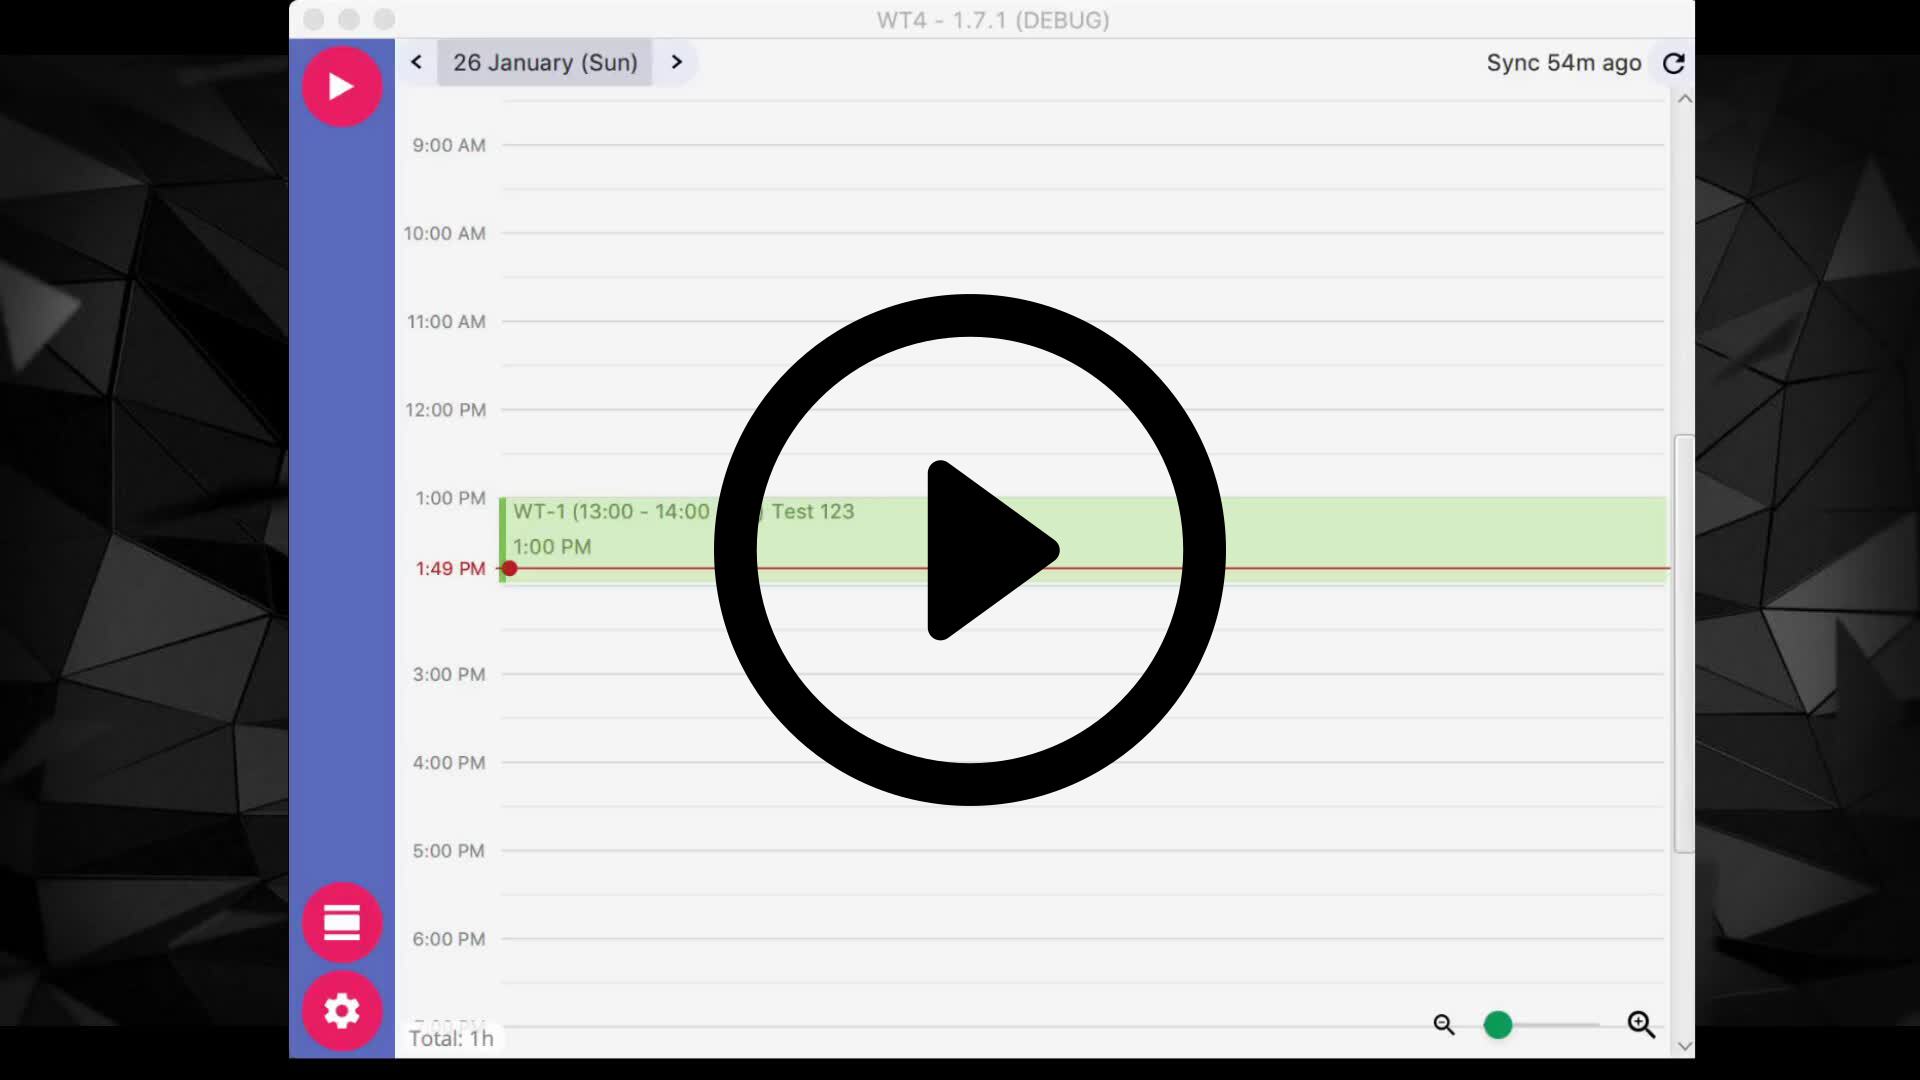
Here's how to save a log from an active clock
- Click on clock
>to start a clock - Click again on the clock to open 'Log details' screen
- Fill up details for a worklog
- Pro tip: All details are optional, so you can save instantly without entering anything. But to synchronize with JIRA, you will need to enter a ticket number and a comment.
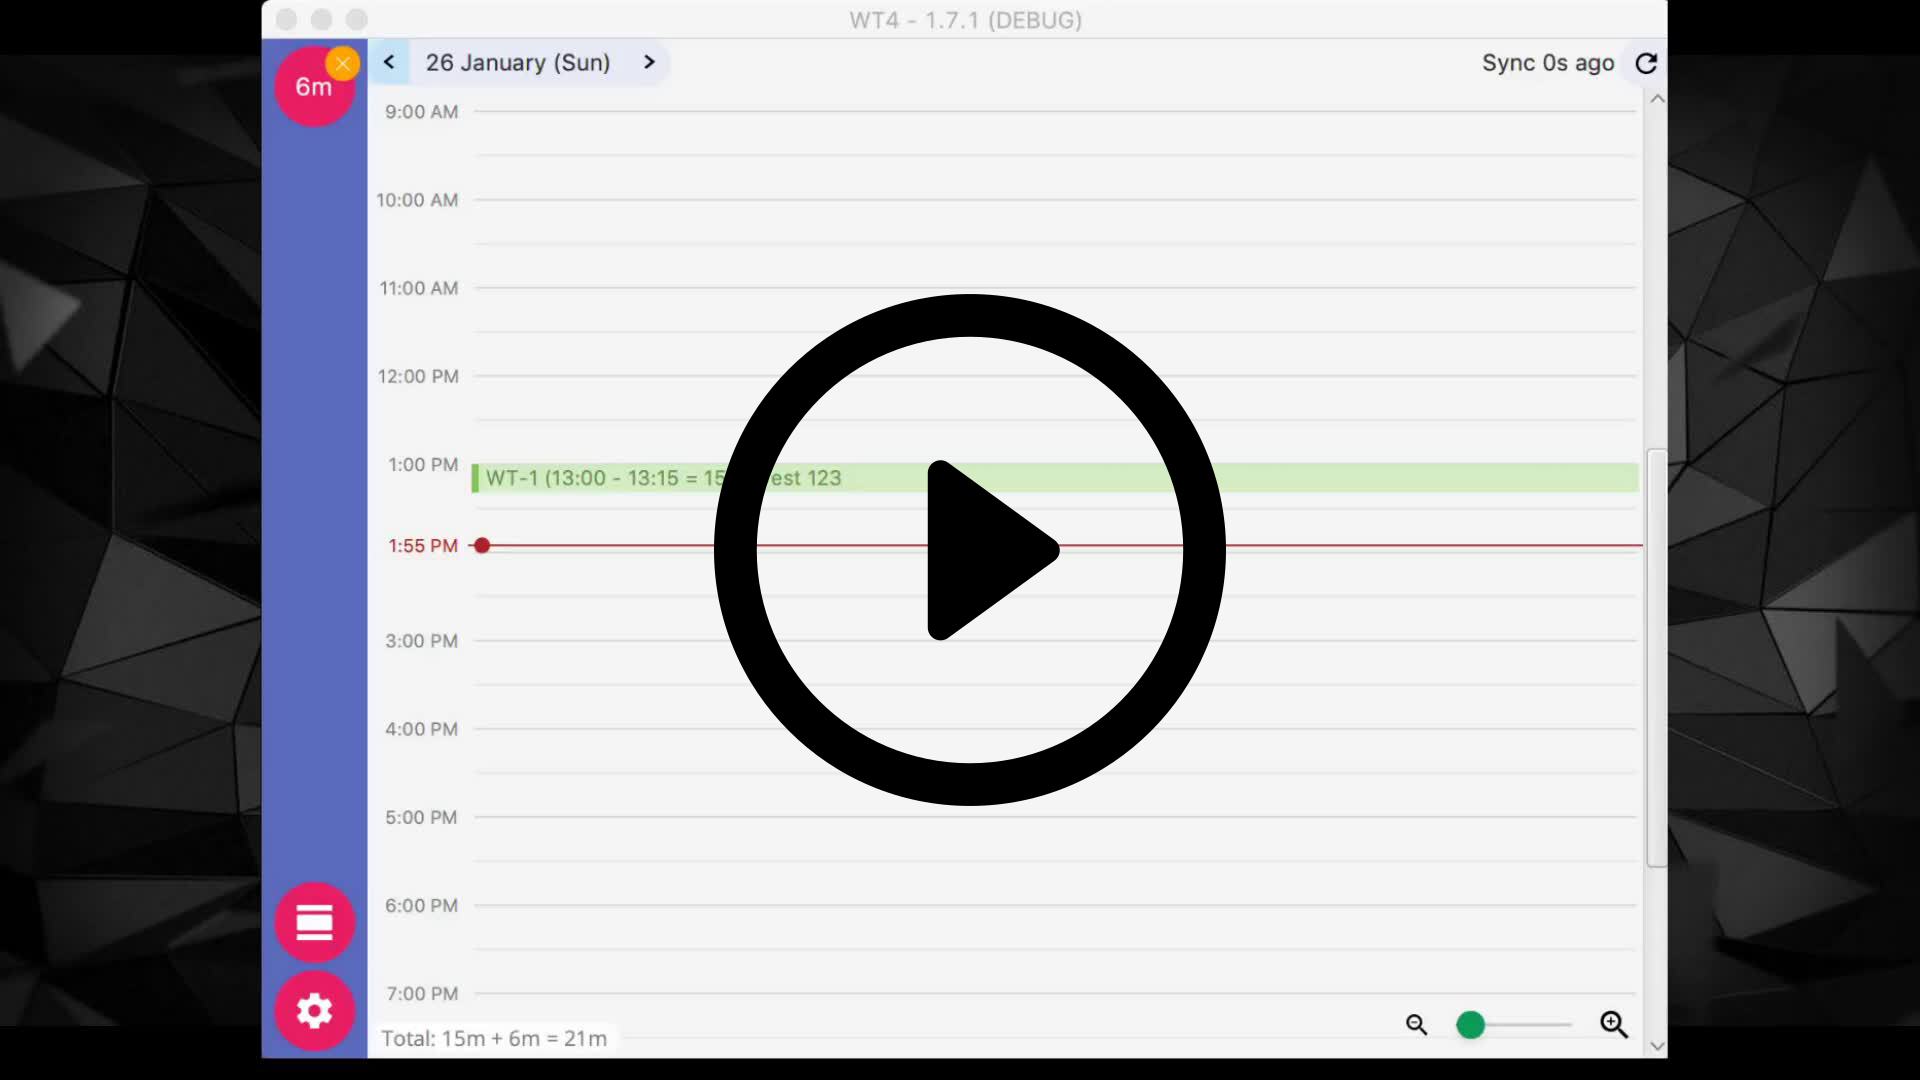
- To update actively running clock, open 'Log details' and edit clock / date
There are multiple ways how you can create a worklog that does not use Active clock. This section will display a way to create a custom log.
- Double click on Calendar day / week view
- Using context menu in Calendar day / week view
- Using context menu in List view
Whenever you have created a worklog, here are a couple of ways how you can edit them.
All worklogs can be edited (even those that are synchronized with JIRA - green ones).
-
Using Calendar day / week view
- Press and hold
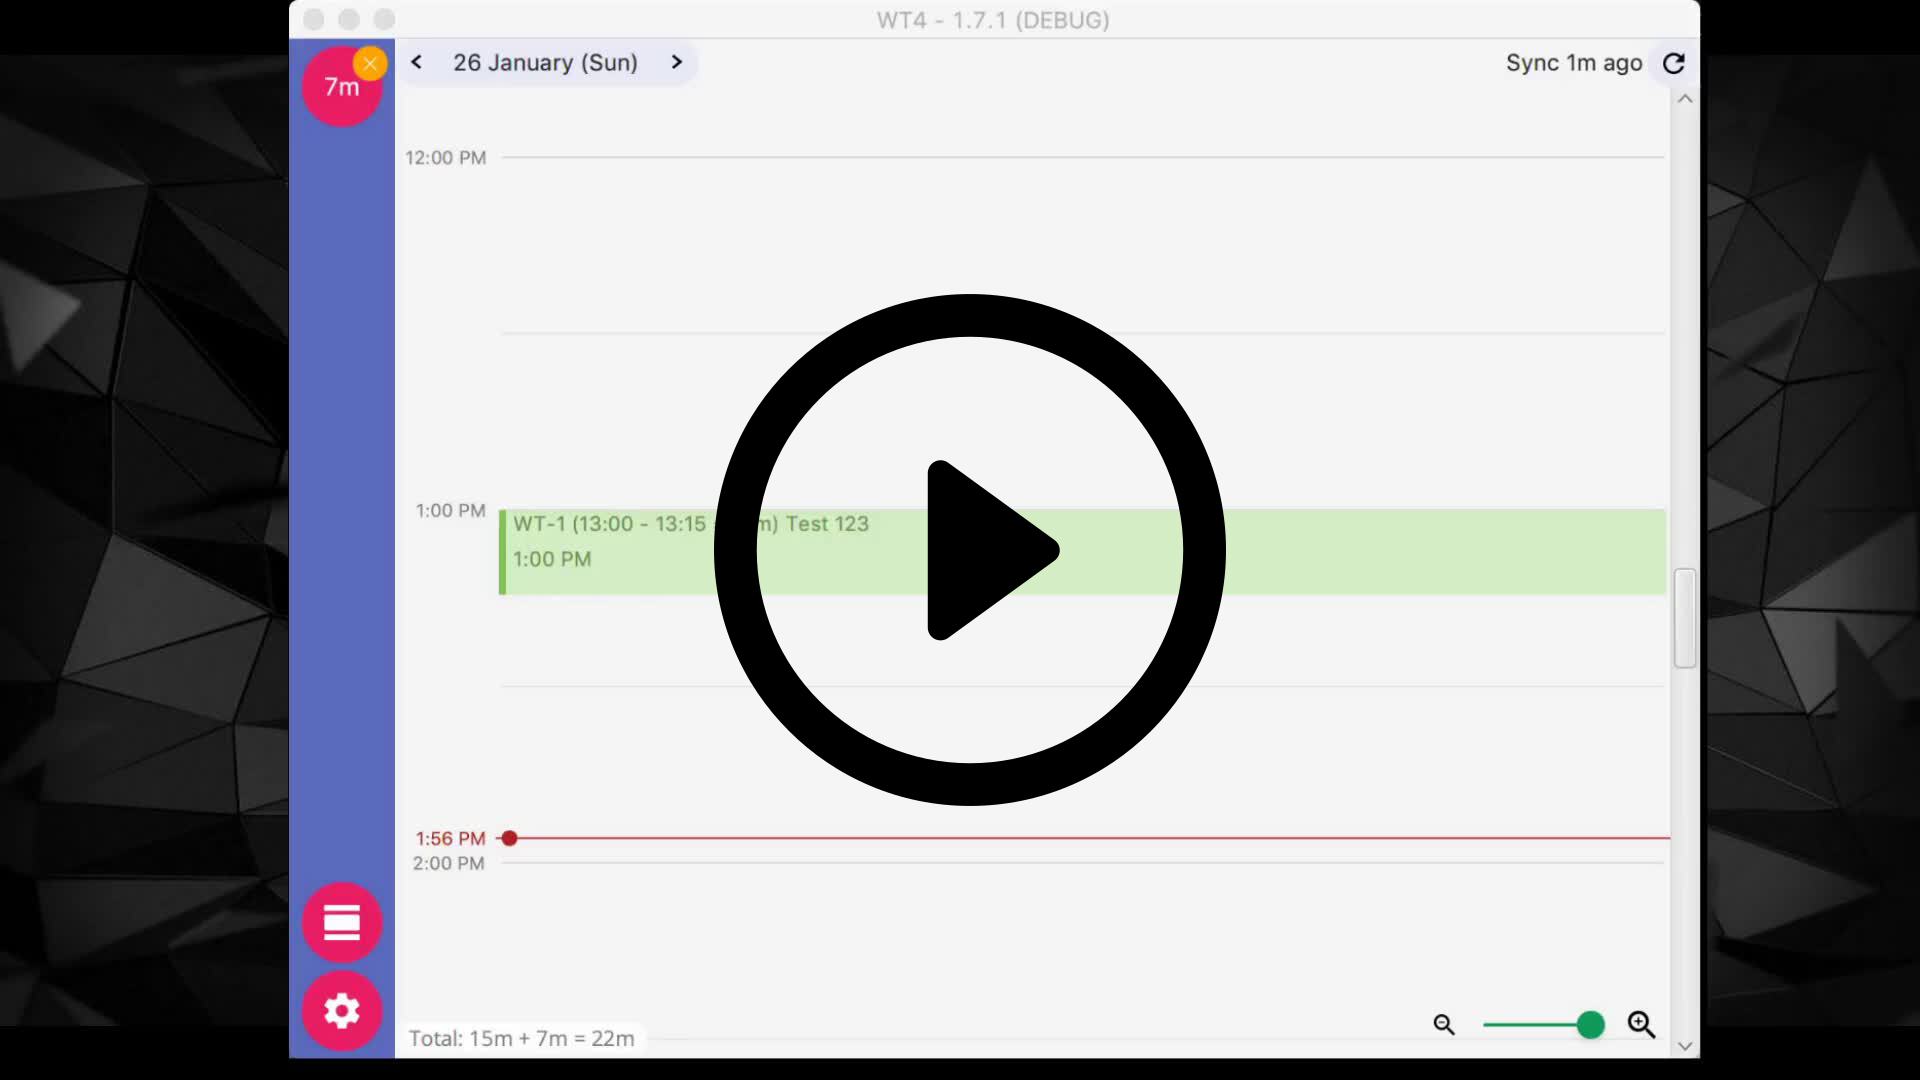
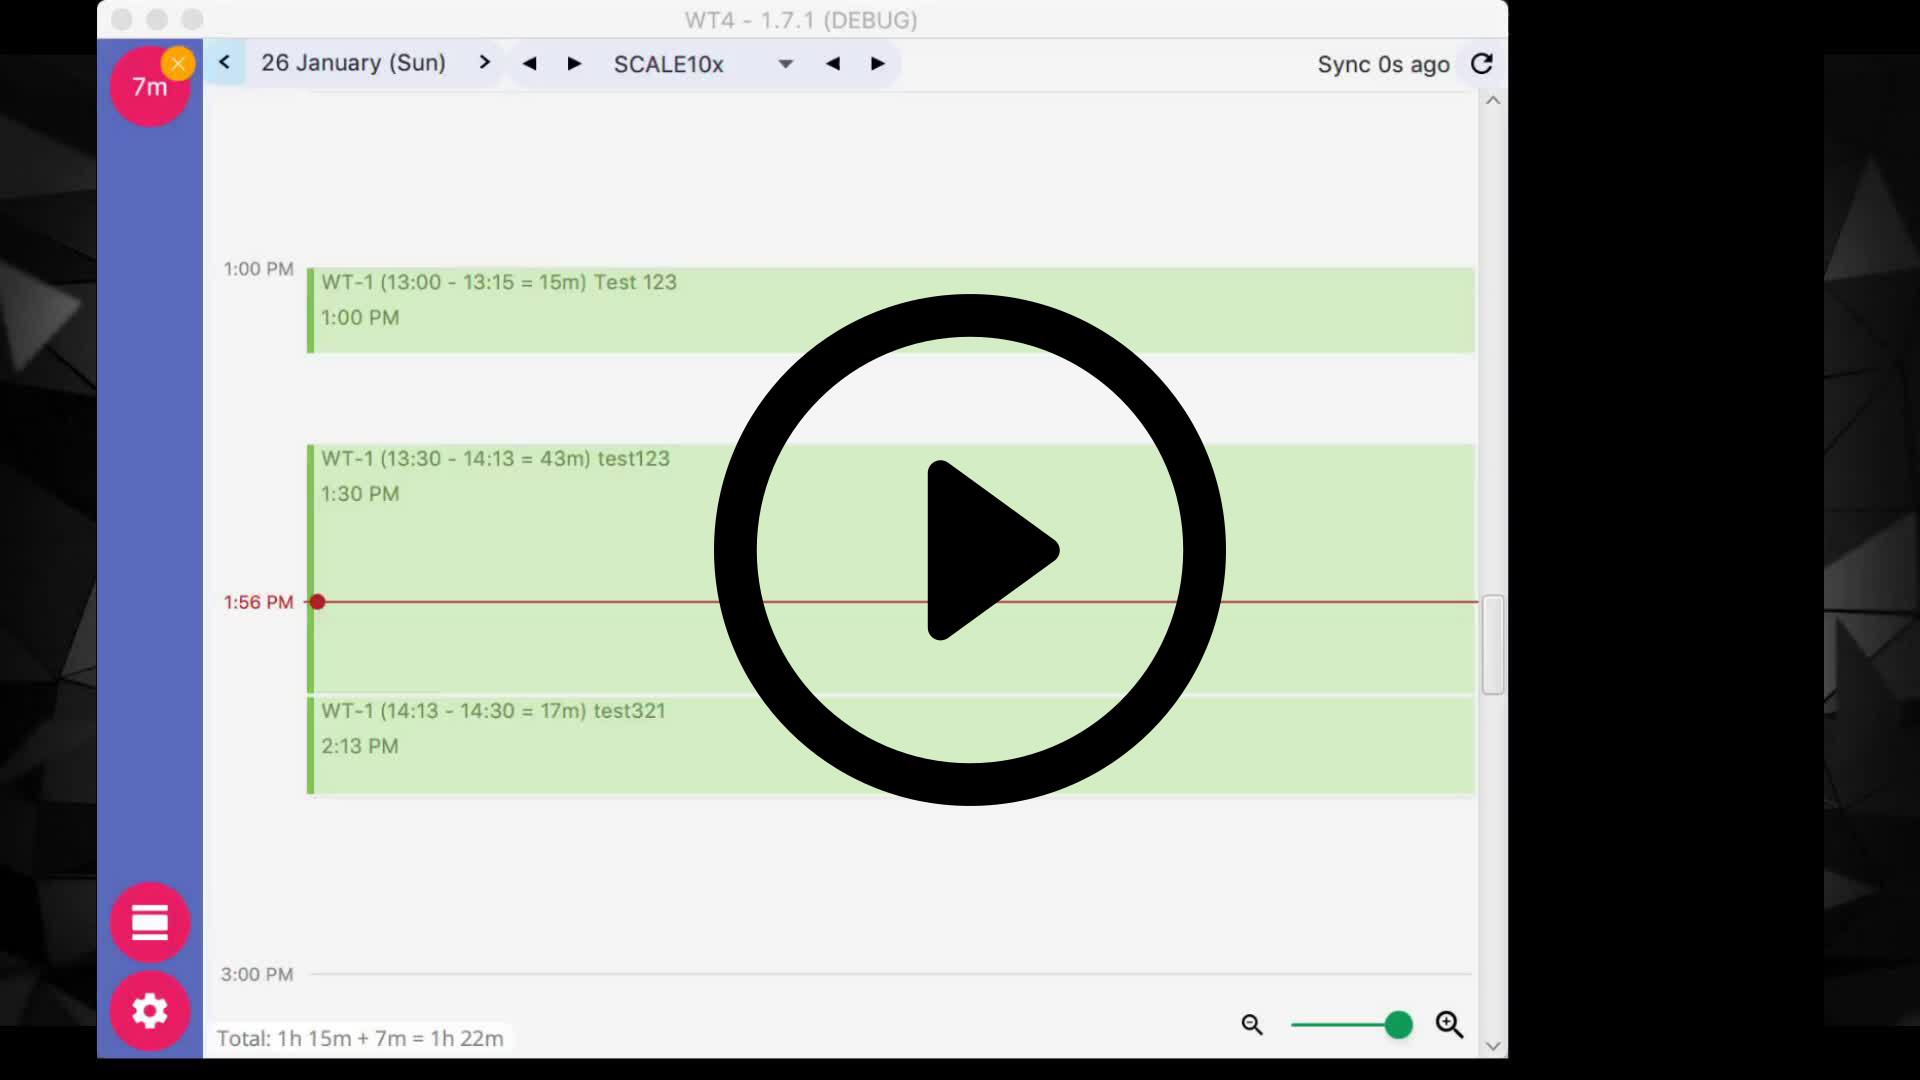
altbutton to enable calendar worklog update- To move a worklog, drag the center of it
- To scale a worklog, drag edge of it
- This action can be moved through the days as well, whenever using week view
- Press and hold
-
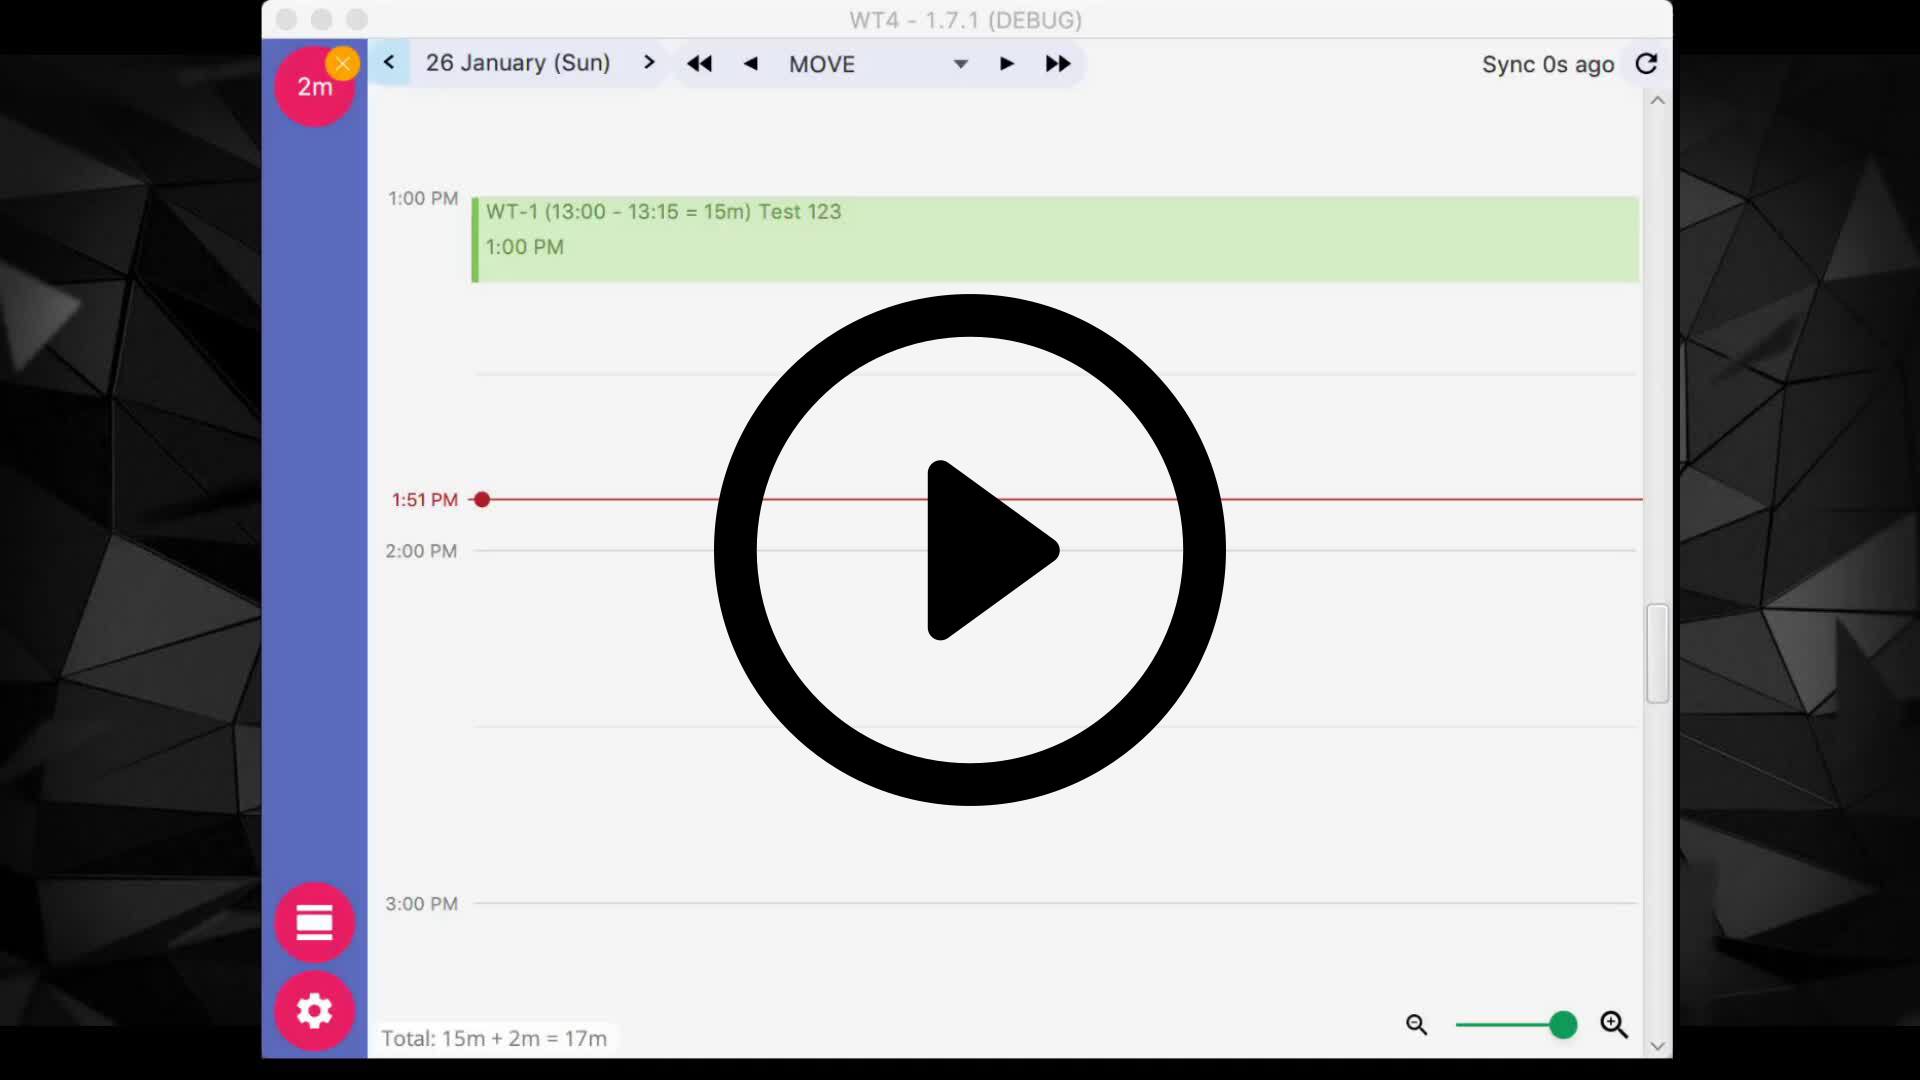
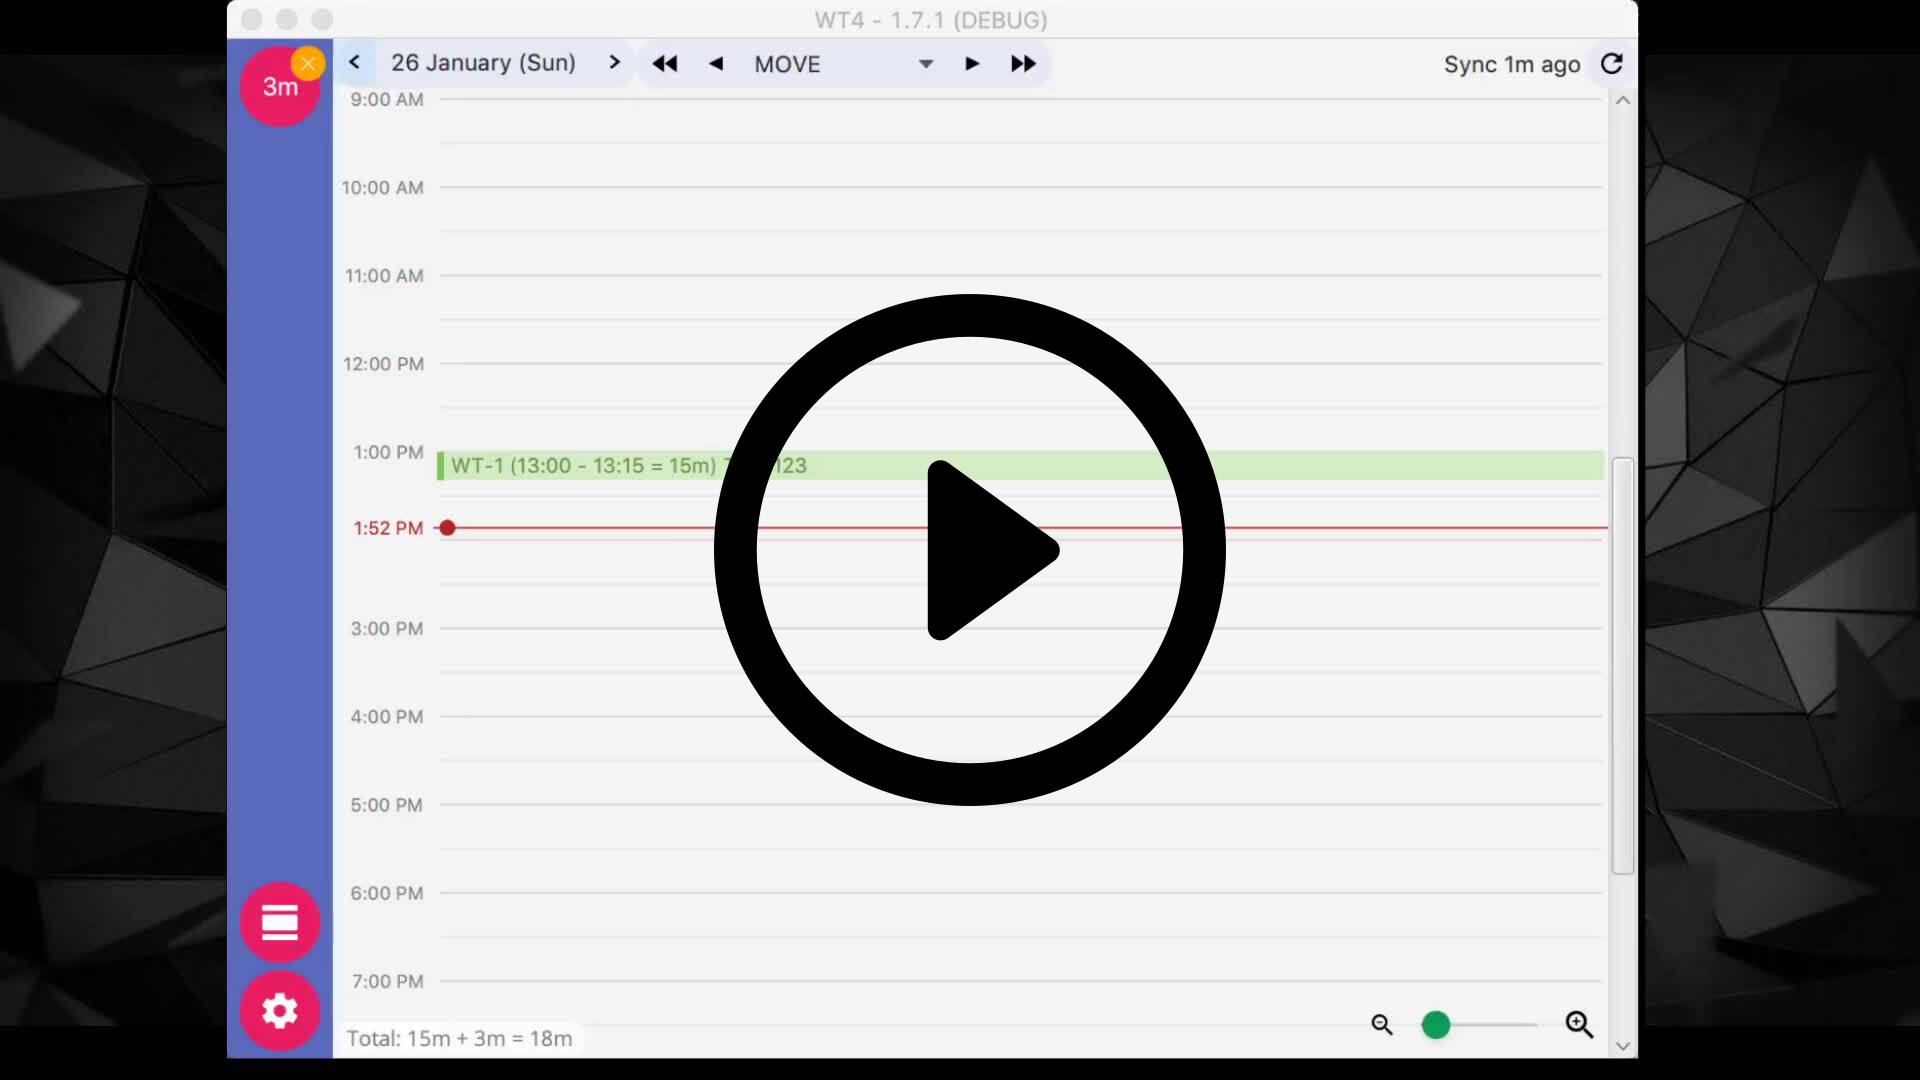
Using Calendar day / week view with precise log editing
- Press on worklog to be edited
- Change action you want to take on a worklog (MOVE / SCALE)
-
Using 'Log details' precise editing
- Press secondary mouse button on worklog for context menu
- From context menu press 'Update' or double click a worklog
- Update it's date / time
- Press 'Save'
After knowing the basics how to create / update worklogs you can combine some functions to easily generate new worklogs.
Sometimes it's easier to clone a worklog and update it instead of creating a new one to have it's ticket number or a comment
- Press secondary mouse on worklog
- Press 'Clone'
- After log is duplicated, update it with it's new position
- Cloned worklog will have the same ticket and comment
Sometimes worklog you may want to split worklogs into multiple ones by using different messages and different ticket numbers. Here's how you do it
- Press secondary mouse on worklog
- Press 'Split'
- Use slider where the worklog should be split out
- Fill up details of both worklogs
Sometimes there is a worklog that you don't need. From context menu you can delete those. Deleting works on synchronized worklogs as well.
- Press secondary mouse on worklog
- Press 'Delete'
- Worklog will be deleted
- Note: Green worklogs will be deleted after synchronization with JIRA
